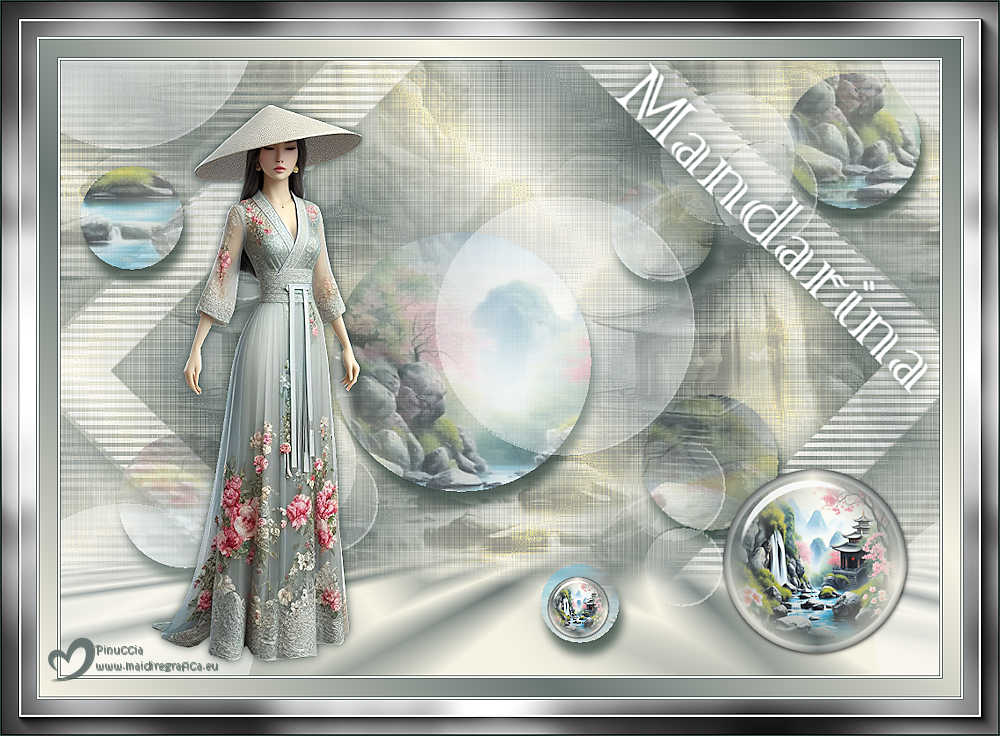
|
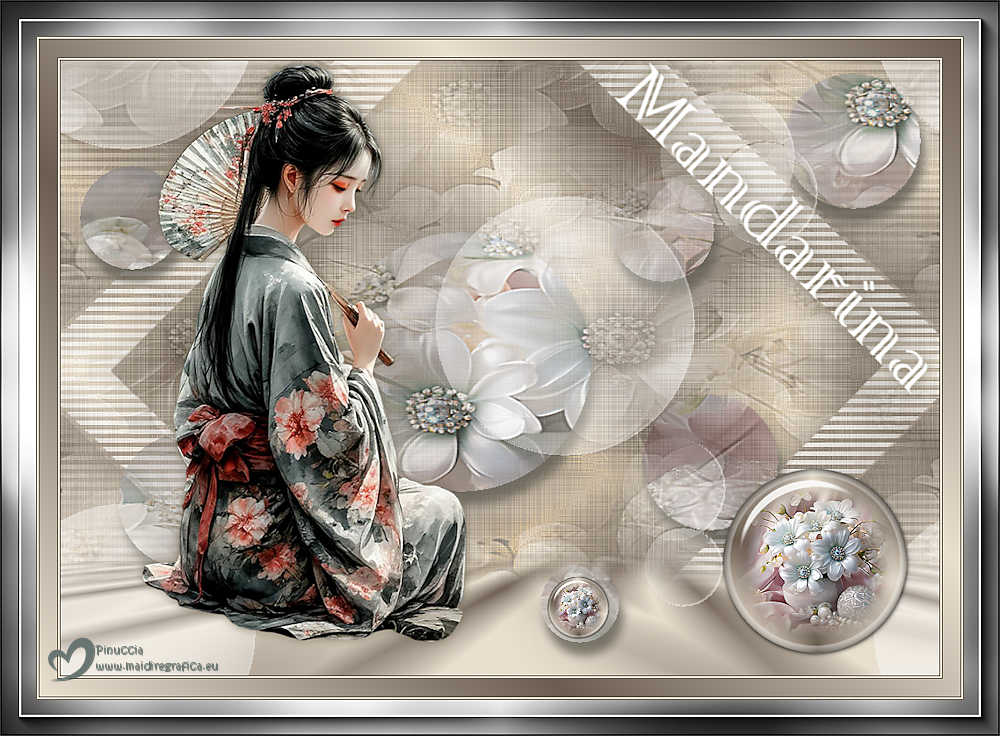
MANDARINA


Thanks Yedralina for your invitation to translate your tutorials into english

This tutorial was written with PSP2020 and translated with PSPX9, PSPX8 and PSP2020, but it can also be made using other versions of PSP.
Since version PSP X4, Image>Mirror was replaced with Image>Flip Horizontal,
and Image>Flip with Image>Flip Vertical, there are some variables.
In versions X5 and X6, the functions have been improved by making available the Objects menu.
In the latest version X7 command Image>Mirror and Image>Flip returned, but with new differences.
See my schedule here
 italian translation here italian translation here
 french translation here french translation here
 your versions here your versions here
For this tutorial, you will need:

For the misted thanks Virginia.
The rest of the material is by Yedralina.
(The links of the tubemakers here).

consult, if necessary, my filter section here
Filters Unlimited 2.0 here
Visual Manipulation - Transmission here
Unplugged Shapes - Rotocube here
Alien Skin Eye Candy 5 Impact - Glass here
Simple - Top Left Mirror here
Mura's Meister - Perspective Tiling here
Sybia - ZIGZAGGE here
AAA Frames - Foto Frame here
Filters Visual Manipulation, Unplugged Shapes, Simple and Sybia can be used alone or imported into Filters Unlimited.
(How do, you see here)
If a plugin supplied appears with this icon  it must necessarily be imported into Unlimited it must necessarily be imported into Unlimited

You can change Blend Modes according to your colors.
In the newest versions of PSP, you don't find the foreground/background gradient (Corel_06_029).
You can use the gradients of the older versions.
The Gradient of CorelX here
Copy the preset  in the folder of the plugin Alien Skin Eye Candy 5 Impact>Settings>Glass. in the folder of the plugin Alien Skin Eye Candy 5 Impact>Settings>Glass.
One or two clic on the file (it depends by your settings), automatically the preset will be copied in the right folder.
why one or two clic see here

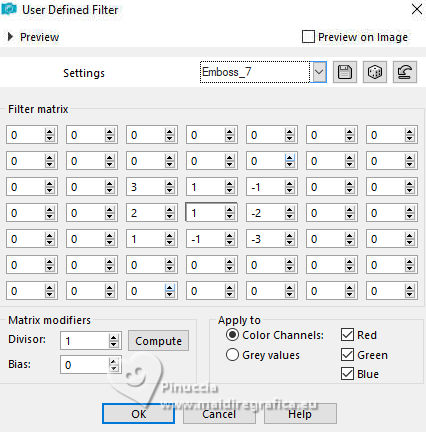
Copy the preset Emboss 7 in the Presets Folder.
If you have problems with alpha channel,
open a new transparent image 1000 x 700 pixels,
and use the selection from disk (to copy in the Selections Folder).
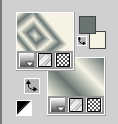
Set your foreground color to #697573
and your background color to #f6f3e4.

color 3 (for the Drop Shadow) #30433c.
Set your foreground color to a Foreground/Background Gradient, style Rectangular.
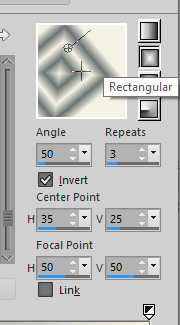
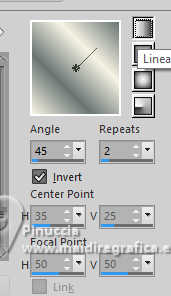
Set your background color to a Foreground/Background Gradient, style Linear.
1. Open CanalAlpha_MANDARINA
This image, that will be the basis of your work, is not empty,
but contains the selections saved to alpha channel.
Flood Fill  the transparent image with your foreground Rectangular Gradient. the transparent image with your foreground Rectangular Gradient.
2. Effects>Image Effects>Seamless Tiling.

3. Image>Mirror>Mirror Vertical (Image>Flip).
4. Layers>Duplicate.
Close this layer and activate the layer below, Raster 1.
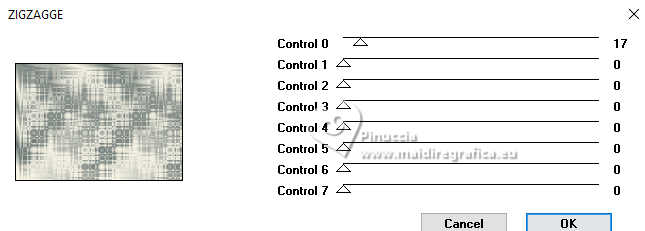
5. Effects>Plugins>Sybia - ZIGZAGGE, default settings.
6. Effects>Edge Effects>Enhance.
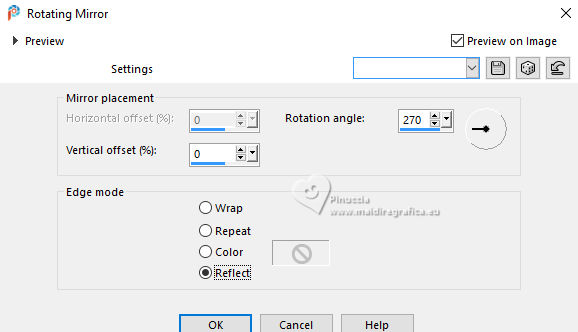
7. Effects>Reflection Effects>Rotating Mirror.
8. Layers>Duplicate.
9. Effects>Plugins>Filters Unlimited 2.0 - Unplugged Shapes - Rotocube, default settings.
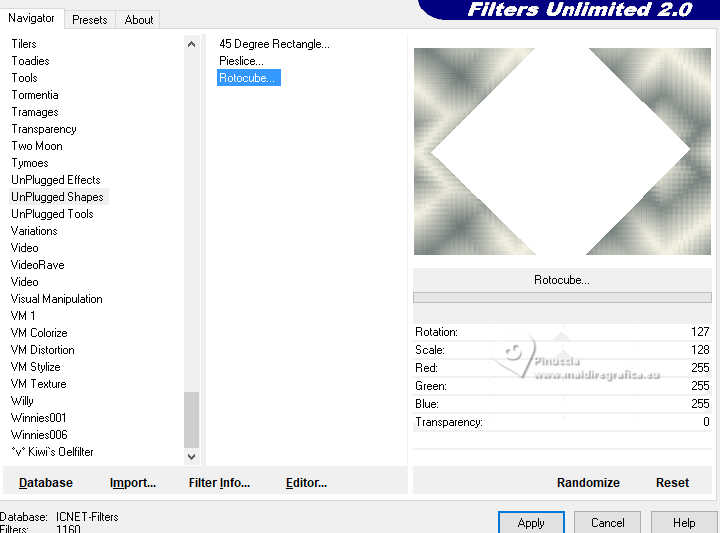
10. Activate your Magic Wand Tool  , tolerance and feather 0, , tolerance and feather 0,
and click in the white rhomnus to select it.
Press CANC on the keyboard 
Selections>Select None.
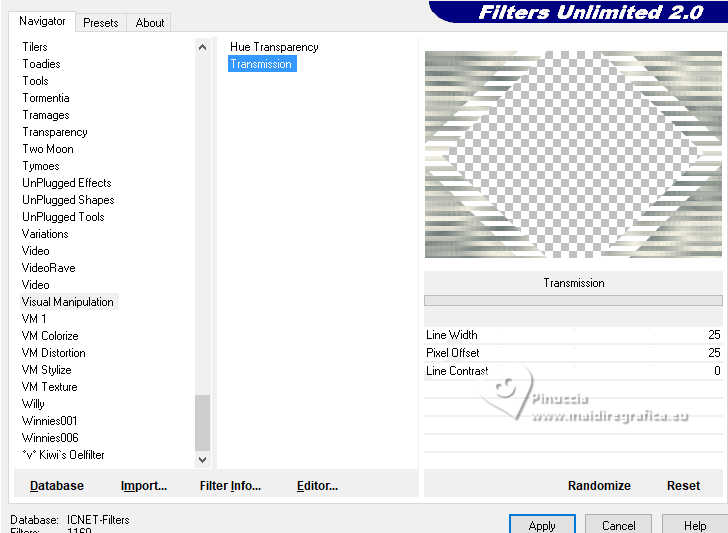
11. Effects>Plugins>Filters Unlimited 2.0 - Visual Manipulation - Transmission, default settings.
12. Selections>Load/Save Selection>Load Selection from Alpha Channel.
The selection #1 is immediately available. You just have to click Load.
(make sure Invert image is selected).

or Load the selection from disk Sel0919

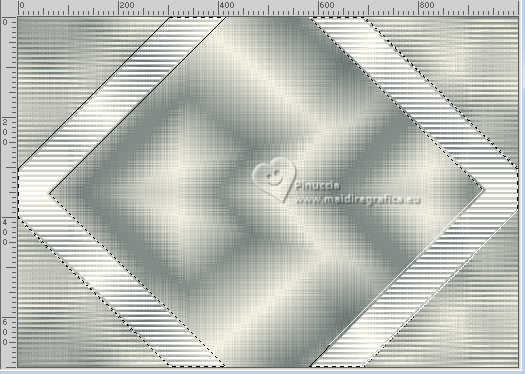
Selections>Promote Selection to Layer.
Selections>Select None.
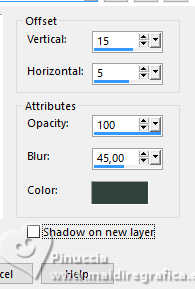
13. Effects>3D Effects>Drop Shadow, color 3 #30433c.
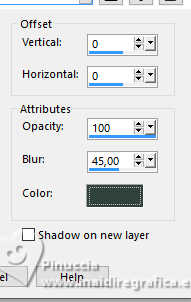
Reduce the opacity of this layer to +/-35%.
Activate the layer below and reduce the opacity to +/-35%.
14. Layers>New Raster Layer.
Selections>Select All.
15. Open the misted CV_Asia_044 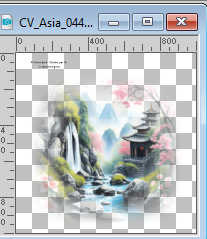
Erase the watermark and go to Edit>Copy.
Minimize the tube: you'll use it again.
Go back to your work and go to Edit>Paste into Selection.
Selections>Select None.
16. Effects>Image Effects>Seamless Tiling - Side by Side.

Effects>Image Effects>Seamless Tiling.

17. Edit>Copy.
Edit>Paste as new image, and minimize this image that you'll use for the borders.
18. Go back to your work.
On the same layer: reduce the opacity to +/-40%, according to your colors.
Layers>Arrange>Move Down
Change the Blend Mode of this layer to Luminance.

Stay always on this layer.
19. Selections>Load/Save Selection>Load Selection from Alpha Channel.
Open the selections menu and load the selection #2
or ©Yedralina_Sel0918. Remember to deselect Invert.
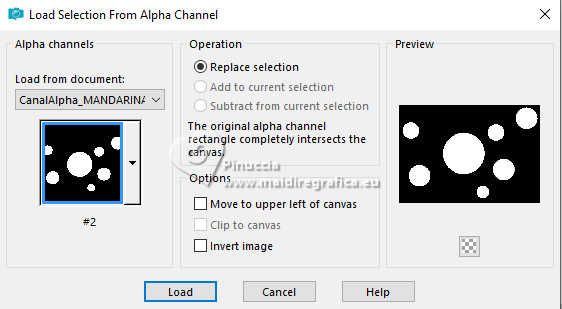
Selections>Promote Selection to Layer.
Layers>Arrange>Bring to top.
20. Effects>3D Effects>Drop Shadow, color 3 #30433c.
Selections>Select None.
Reduce the opacity of this layer to +/-75%.
21. Open the tube Deco00366©Yedralina 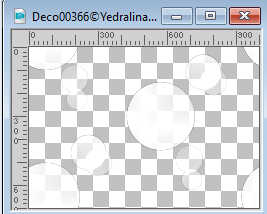
Edit>Copy.
Go back to your work and go to Edit>Paste as new layer.
It is not necessary to move it.
Change the Blend Mode of this layer to Soft Light.
22. Effects>User Defined Filter, select the preset Emboss 7.
23. Re-open and activate the layer Copy of Raster 1.
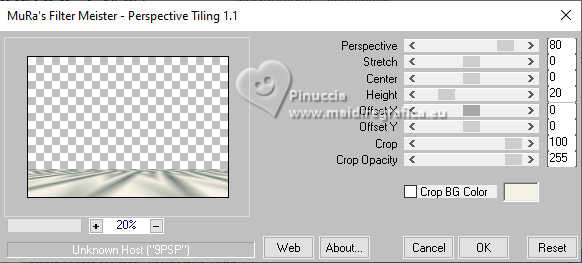
24. Effects>Plugins>Mura's Meister - Perspective Tiling.
25. Activate your Magic Wand Tool  , Tolerance 0 and Feather 40, , Tolerance 0 and Feather 40,
and click in the transparent part to select it.
Press +/-5 times CANC on the keyboard 
Selections>Select None.
don't forget to set again the Feather to 0.
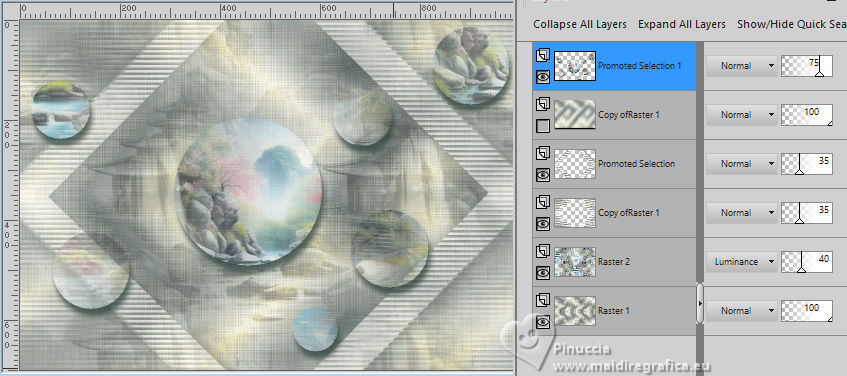
27. You should have this
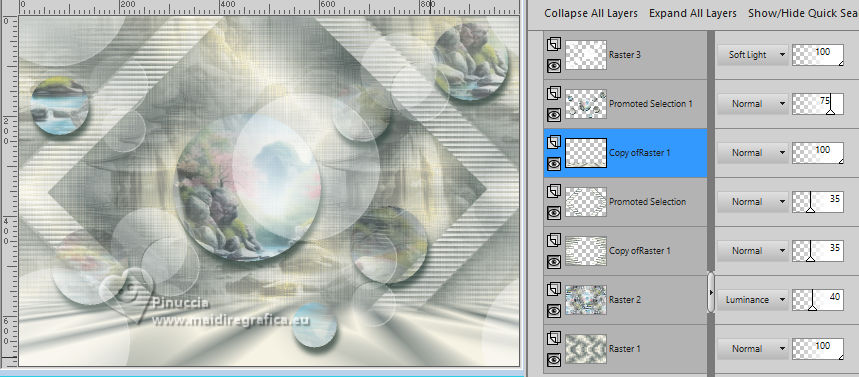
Layers>New Raster Layer.
Layers>Arrange>Bring to Top.
Flood Fill  the layer with your background Linear Gradient. the layer with your background Linear Gradient.
28. Effects>Geometric Effects>Circle.
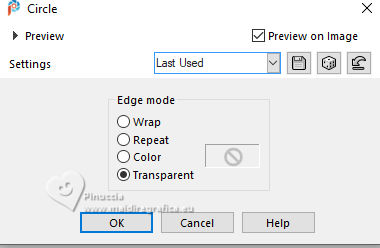
Image>Resize, to 30%, resize all layers not checked.
29. Selections>Load/Save Selection>Load Selection from Alpha Channel.
Open the selections menu and load the selection #3 or ©Yedralina_Sel0935.

Selections>Modify>Contract - 10 pixels.
30. Activate again the misted CV_Asia_044 and go to Edit>Copy.
Go back to your work and go to Edit>Paste into Selection.
Adjust>Sharpness>Sharpen.
Effects>3D Effects>Drop Shadow, color white.
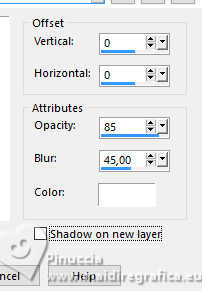
Selections>Select None.
31. Effects>Plugins>Alien Skin Eye Candy 5 Impact - Glass
Preset ©Yedralina_Glass3
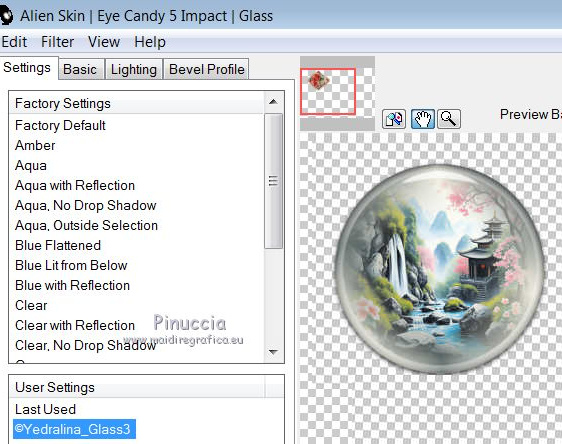
Settings:
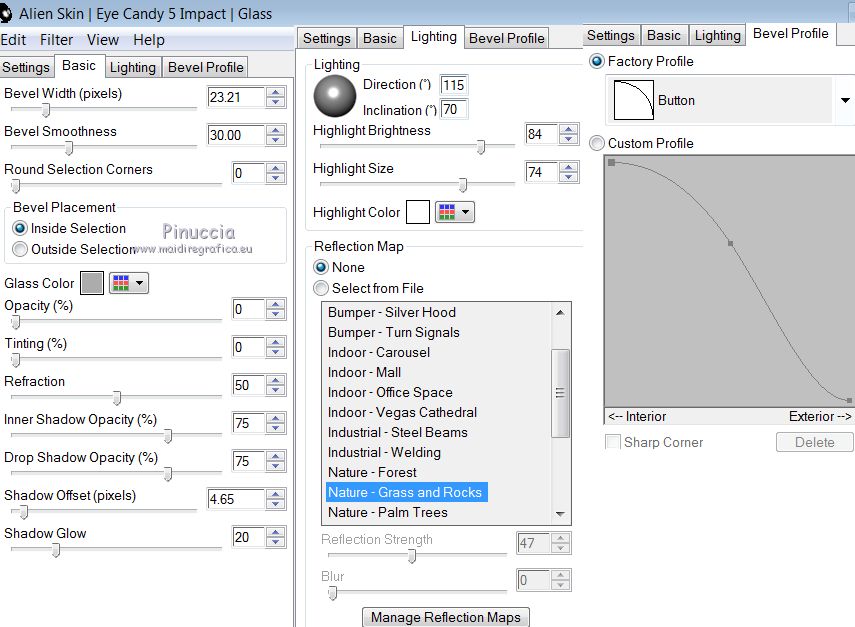
32. K key to activate your Pick Tool 
Position X: 748,00 - Position Y: 460,00.

M key to deselect the Tool.
33. Effects>Reflection Effects>Feedback.

34. Activate your Selection Tool  , rectangle, , rectangle,
and select the last bottom sphères
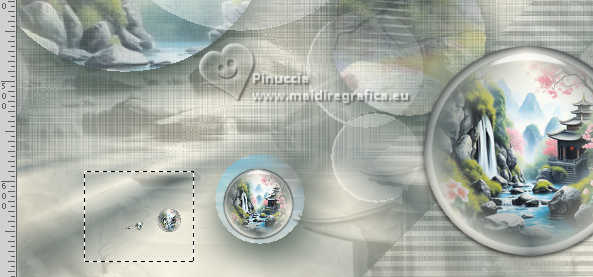
Press CANC on the keyboard
Selections>Select None.
35. Open your main tube 2785_IA©Yedralina 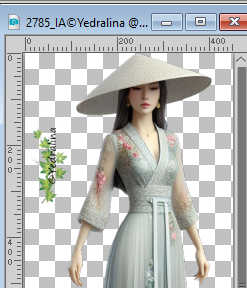
Erase the watermark and go to Edit>Copy.
Go back to your work and go to Edit>Paste as new layer.
Image>Resize, if necessary - for the supplied tube to 65%, resize all layers not checked.
Adjust>Sharpness>Sharpen.
36. Effects>3D Effects>Drop Shadow, color 3 #30433c.
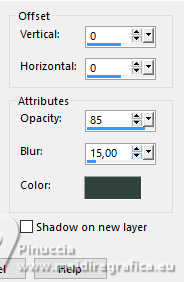
Move  the tube to the left side. the tube to the left side.
37. Open the text titulo_MANDARINA 
Edit>Copy.
Go back to your work and go to Edit>Paste as new layer.
38. Image>Free Rotate - 45 degrees to right.
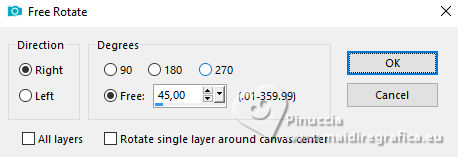
39. K key to activate your Pick Tool 
Position X: 629,00 - Position Y: 1,00.

M key to deselect the Tool.
Effects>3D Effects>Drop Shadow, color 3 #30433c.
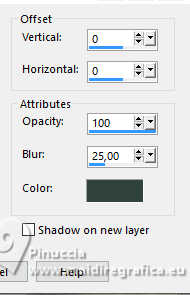
40. Your tag and the layers.
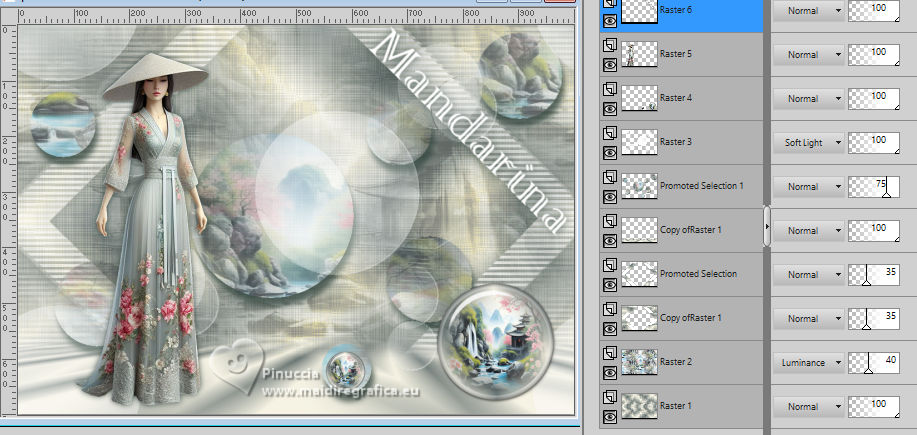
41. Image>Add Borders, 1 pixel, symmetric, foreground color.
Image>Add Borders, 2 pixels, symmetric, background color.
Image>Add Borders, 1 pixel, symmetric, foreground color.
Selections>Select All.
42. Image>Add Borders, 20 pixels, symmetric, whatever color.
Selections>Invert.
43. Flood Fill  the selection with your background Linear Gradient. the selection with your background Linear Gradient.
Selections>Select None.
44. Image>Add Borders, 1 pixel, symmetric, foreground color.
Image>Add Borders, 2 pixels, symmetric, background color.
Image>Add Borders, 1 pixel, symmetric, foreground color.
Selections>Select All.
45. Image>Add Borders, 40 pixels, symmetric, whatever color.
Selections>Invert.
46. Activate the image minimized at step 17.
Edit>Copy.
Go back to your work.
47. Layers>New Raster Layer.
Edit>Paste into Selection.
Adjust>Blur>Gaussian Blur - radius 20.

48. Effects>Plugins>Simple - Top Left Mirror.
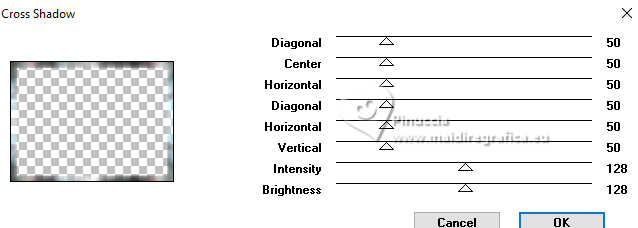
49. Effects>Plugins>Graphics Plus - Cross Shadow, default settings.
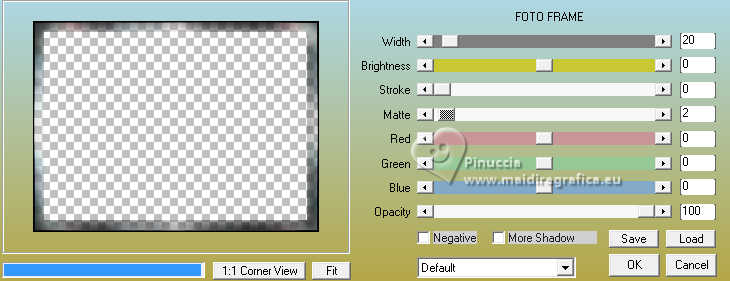
50. Effects>Plugins>AAA Frames - Foto Frame.
Change the Blend Mode of this layer to Luminance.
Selections>Select None.
51. Image>Add Borders, 1 pixel, symmetric, color 3 #30433c.
52. Image>Resize, 1000 pixels width, resize all layers checked.
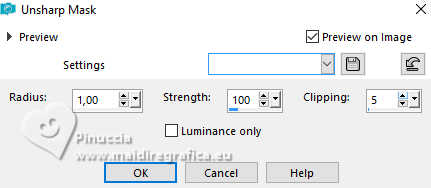
53. Adjust>Sharpness>Unsharp Mask.
54. Sign your work on a new layer.
55. Layers>Merge>Merge All and save as jpg.
For the misted thanks Mentali; the tube is mine from a Pinterest image.

If you have problems or doubts, or you find a not worked link, or only for tell me that you enjoyed this tutorial, write to me.
23 August 2025

|

