|
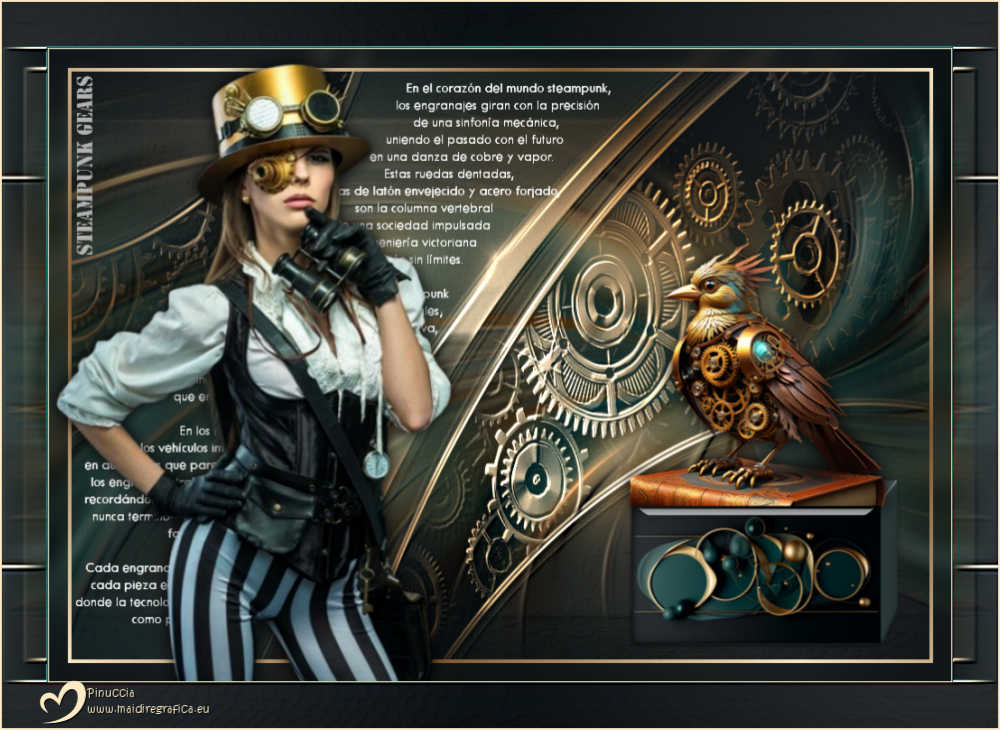
STEAMPUNK GEARS


Thanks Yedralina for your invitation to translate your tutorials into english

This tutorial was written with PSP2020 and translated with PSPX9, PSPX8 and PSP2020, but it can also be made using other versions of PSP.
Since version PSP X4, Image>Mirror was replaced with Image>Flip Horizontal,
and Image>Flip with Image>Flip Vertical, there are some variables.
In versions X5 and X6, the functions have been improved by making available the Objects menu.
In the latest version X7 command Image>Mirror and Image>Flip returned, but with new differences.
See my schedule here
 italian translation here italian translation here
 french translation here french translation here
 your versions here your versions here
For this tutorial, you will need:

For the tubes thanks Lady Valella and Mentali.
The rest of the material is by Yedralina.
(The links of the tubemakers here).

consult, if necessary, my filter section here
Alien Skin Eye Candy 5 Impact - Glass, Extrude here

You can change Blend Modes according to your colors.
In the newest versions of PSP, you don't find the foreground/background gradient (Corel_06_029).
You can use the gradients of the older versions.
The Gradient of CorelX here
Copy the preset  in the folder of the plugin Alien Skin Eye Candy 5 Impact>Settings>Glass/Extrude. in the folder of the plugin Alien Skin Eye Candy 5 Impact>Settings>Glass/Extrude.
One or two clic on the file (it depends by your settings), automatically the preset will be copied in the right folder.
why one or two clic see here

Copy the preset Emboss 6 in the Presets Folder.
Copy the selections in the Selections Folder.
Metti il preset nella cartella Impostazioni predefinite.
Metti le selezioni nella cartella Selezioni.
Colors:
Change the colors of the JPG1 image to match your tubes.
Choose two colors from your image,
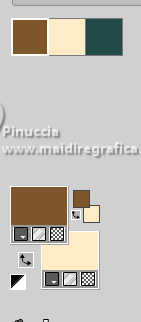
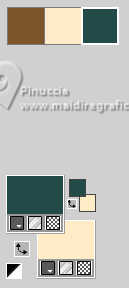
and set the foreground color to the dark color, for me #7f562d,
and the background color to the light color, for me #feebc6.
Finally, choose a third color a shade lighter than your foreground color, for me #234a49.

Set the foreground color to the dark color #7f562d,
and the background color to the light color #feebc6.
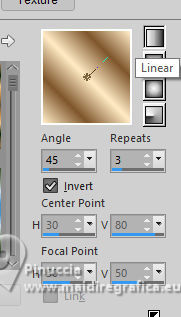
Set your foreground color with a Foreground/Background Gradient, style Linear.
1. Open a new transparent image 1000 x 700 pixels.
2. Selections>Select All.
Open the image JPG1 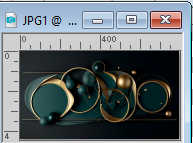
(you can change color according to your tubes)
Edit>Copy.
Go back to your work and go to Edit>Paste into Selection.
Selections>Select None.
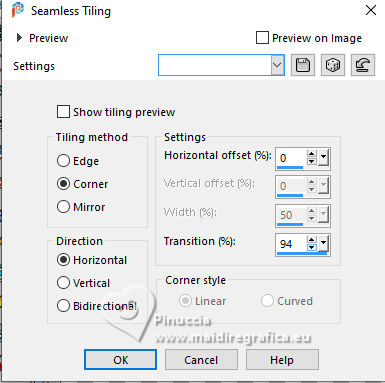
3. Effects>Image Effects>Seamless Tiling.
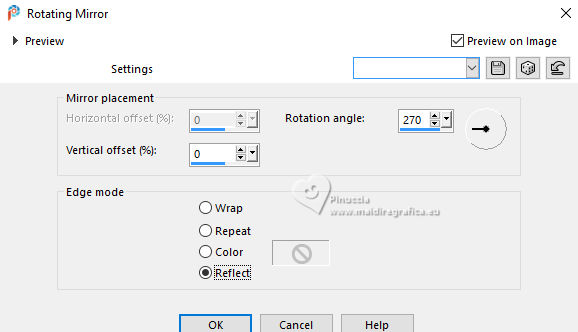
4. Effects>Reflection Effects>Rotating Mirror, default settings.

Effects>Reflection Effects>Rotating Mirror.
5. Layers>New Raster Layer.
Flood Fill  the layer with your Gradient. the layer with your Gradient.
6. Open the image JPG2 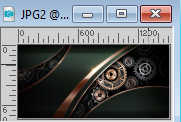
Minimize the image.
Layers>New Mask layer>From image
Open the menu under the source window and you'll see all the files open.
Select the image JPG2.

Layers>Merge>Merge Group.
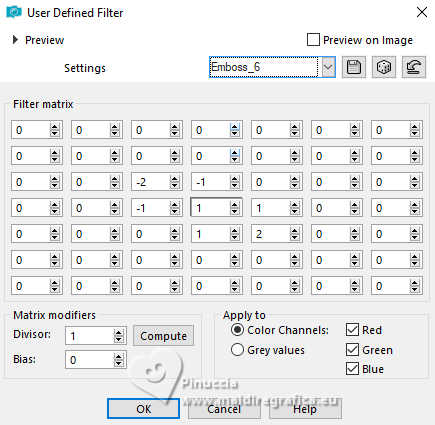
7. Effects>User Defined Filter - select the preset Emboss 6 and ok.
8. Layers>New Raster Layer.
Selections>Load/Save Selection>Load Selection from Disk.
Look for and load the selection ©Yedralina_Sel0902
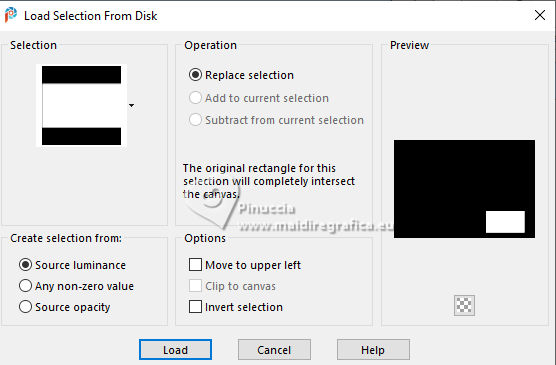
Activate the image JPG1 and go to Edit>Copy.
Go back to your work and go to Edit>Paste into Selection.
10. Effects>Plugins>Alien Skin Eye Candy 5 Impact - Glass.
Select the preset ©Yedralina_Glass2
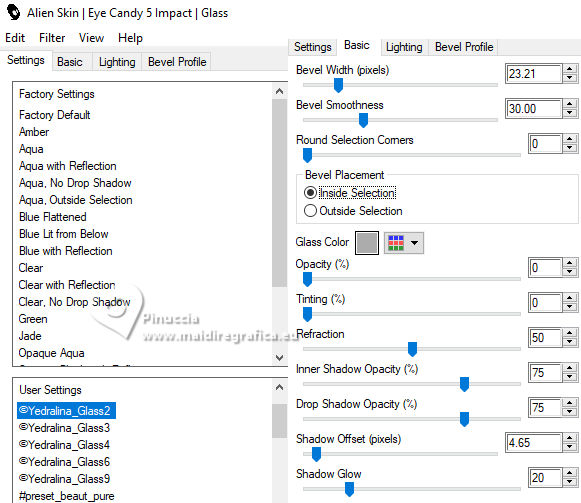
Selections>Select None.
11. Effects>Plugins>Alien Skin eye Candy 5 Impact - Extrude.
Select the preset EC5_Extr_006-Yedra - Solid Color: color 3 #234a49.

12. Activate your background layer.
Adjust>Blur>Radial Blur.
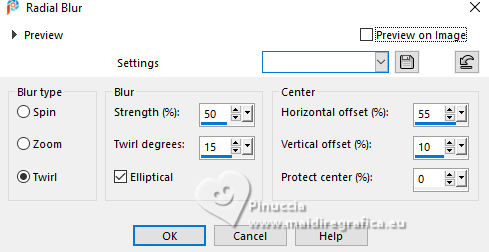
Effects>User Defined Filter - Emboss 6.

13. Layers>New Raster Layer.
Selections>Load/Save Selection>Load Selection from Disk.
Look for and load the selection ©Yedralina_Sel0903
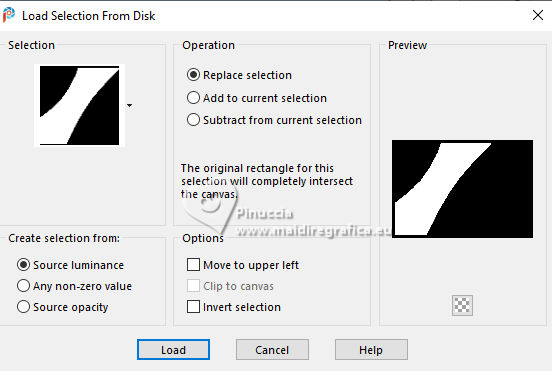
Set your foreground color to the color 3 #234a49.
Reduce the opacity of your Flood Fill Tool to 20%.
Flood Fill  the selection with your foreground color. the selection with your foreground color.
Selections>Select None.
don't forget to set again the opacity of your Flood Fill Tool to 100
14. Open Textincl_STEAMPUNK GEARS_Yedra 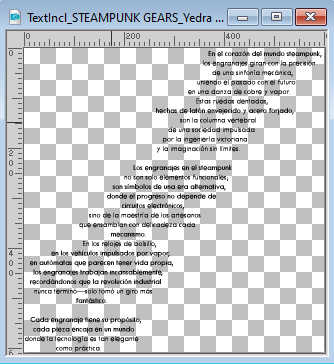
Edit>Copy.
Go back to your work and go to Edit>Paste as new layer.
K key to activate your Pick Tool 
Position X: 29,00 - Position Y: 37,00.


M key to deselect the Tool.
Layers>Arrange>Bring to Top.
If the colors of your image are dark, and you prefer the text in white,
go to Image>Negative Image
*****
If you prefer to write the text in your own language, do the following:
Layers>New Raster Layer.
Selections>Load/Save Selection>Load Selection from Disk.
Load again the selection ©Yedralina_Sel0903

Activate your Text Tool  , font Tw Cen MT , font Tw Cen MT
size 16 - background color: light color

The text in the material is in a .txt file.
I've translated it into Italian, French, and English
Select the text in your language.
Edit>Copy.
Return to your work.
Activate the Text tool and Paste.
Layers>Convert to raster layer.
Selection>Select None.
K key to activate your Pick Tool 
Position X: 29,00 - Position Y: 37,00.

*****
Reduce the opacity of this layer to 65%,
or change the Blend Mode to Soft Light, to your liking.
15. Open Titulo_STEAMPUNK GEARS_Yedra 
Edit>Copy.
Go back to your work and go to Edit>Paste as new layer.
K key to activate your Pick Tool 
Position X: 28,00 - Position Y: 29,00.

M key to deselect the Tool.
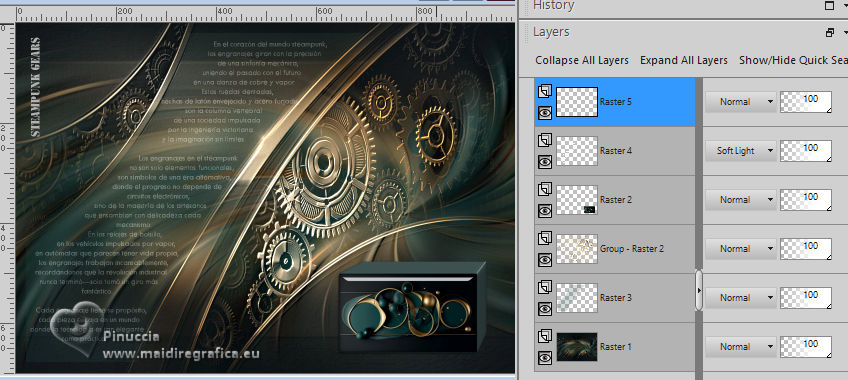
These are the settings:
Font Stencil, size 72 - background color: gradient with colors 2 and 3 

We have this
Layers>Merge>Merge visible.
16. Selections>Select All.
Selections>Modify>Contract - 20 pixels.
Selections>Invert.
17. Adjust>Blur>Gaussian Blur - radius 10.

Selections>Invert.
18. Layers>New Raster Layer.
Set again your foreground color to the initial Gradient.
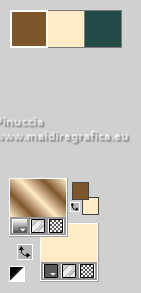
Flood Fill  the layer with your gradient. the layer with your gradient.
(don't forget to set again the opacity to 100)
19. Selections>Modify>Contract - 4 pixels.
Press CANC on the keyboard 
Selections>Select None.
20. Open your main tube LValellaTFa2023-1265 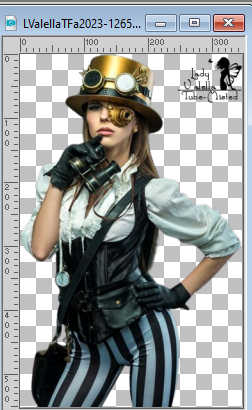
Erase the watermark and go to Edit>Copy.
Go back to your work and go to Edit>Paste as new layer.
Image>Resize, if necessary, resize all layers not checked.
Adjust>Sharpness>Sharpen.
Move  the tube to the left. the tube to the left.
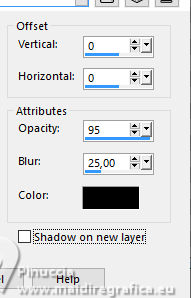
Effects>3D Effects>Drop shadow, at your choice; for me.
21. Open the tube deco mentali-steampunk1 
Edit>Copy.
Go back to your work and go to Edit>Paste as new layer.
Image>Resize, if necessary, resize all layers not checked.
Adjust>Sharpness>Sharpen.
Move  the tube to the right. the tube to the right.
Effects>3D Effects>Drop shadow, same settings.
22. Image>Add Borders, 1 pixel, symmetric, color 3.
Image>Add Borders, 1 pixel, symmetric, background color.
Image>Add Borders, 1 pixel, symmetric, color 3.
Selections>Select All.
23. Image>Add Borders, 50 pixels, symmetric, whatever color.
Selections>Invert.
24. Activate the image JPG1 and go to Edit>Copy.
Go back to your work and go to Edit>Paste into Selection.
25. Effects>Reflection Effects>Rotating Mirror.

26. Adjust>Blur>Motion Blur.
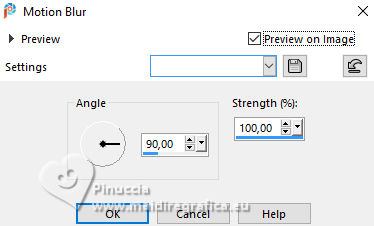
Effects>Reflection Effects>Rotating Mirror, default settings.

27. Effects>User Defined Filter - Emboss 6.

Selections>Select None.
28. Image>Add Borders, 1 pixel, symmetric, background color.
29. Image>Resize, 1000 pixels width, resize all layers checked.
30. Sign your work on a new layer.
Layers>Merge>Merge All and save as jpg.
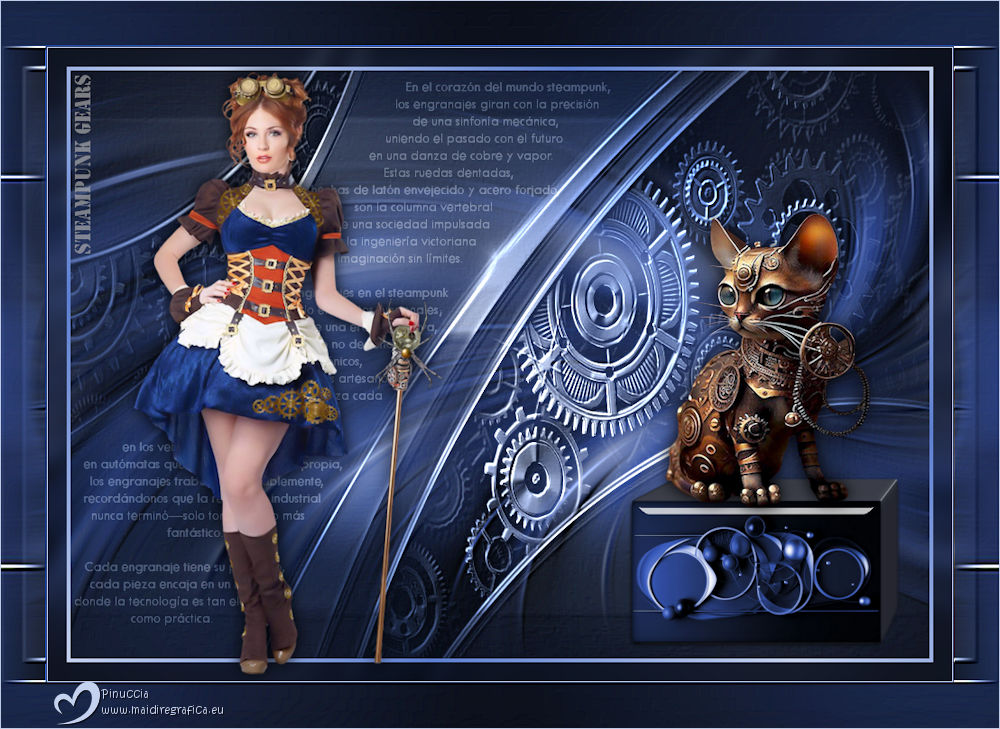
For the tubes of this version thanks Lady Valella and Cat Dana.

If you have problems or doubts, or you find a not worked link, or only for tell me that you enjoyed this tutorial, write to me.
15 October 2025

|

