INDIS

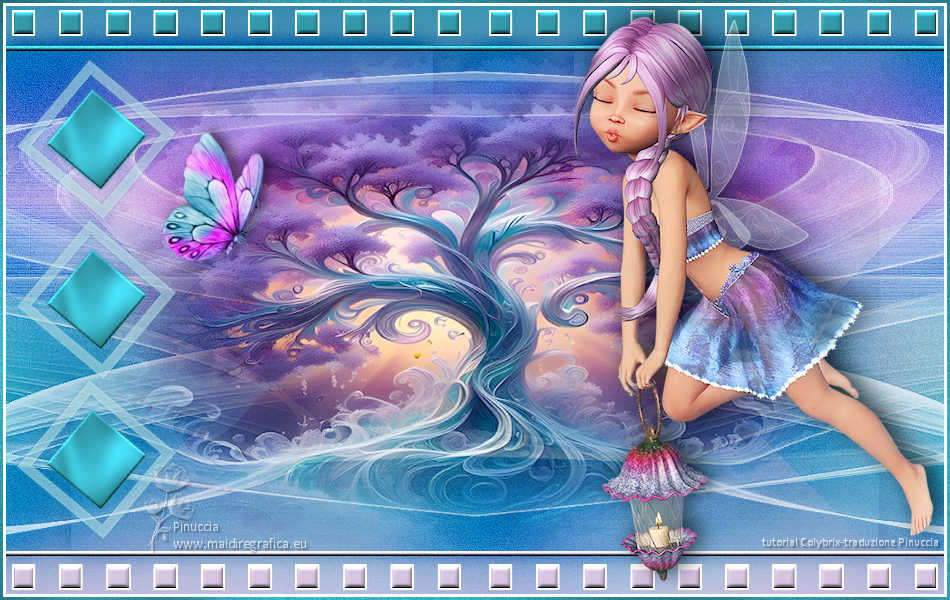
Thanks Colybrix for your invitation to translate

Clic and move the brush to follow the tutorial.

To print


|
This tutorial was translated with PSP09, but it can also be made using other versions of PSP.
Since version PSP X4, Image>Mirror was replaced with Image>Flip Horizontal,
and Image>Flip with Image>Flip Vertical, there are some variables.
In versions X5 and X6, the functions have been improved by making available the Objects menu.
In the latest version X7 command Image>Mirror and Image>Flip returned, but with new differences.
See my schedule here
 italian translation here italian translation here
 your versions here your versions here

Necessary

(The links of the tubemakers here).
consult, if necessary, my filter section here
Filters Unlimited 2.0 here
&>Bkg Kaleidoscope> - @BlueBerry Pie (to import in Unlimited) here
Graphics Plus - Cross Shadow here
Filters Grapphics Plus can be used alone or imported into Filters Unlimited.
(How do, you see here)
If a plugin supplied appears with this icon  it must necessarily be imported into Unlimited it must necessarily be imported into Unlimited

You can change Blend Modes according to your colors.
In the newest versions of PSP, you don't find the foreground/background gradient (Corel_06_029).
You can use the gradients of the older versions.
The Gradient of CorelX here

Open the mask in PSP and minimize it with the rest of the material.
Set your foreground color to #3199a9,
and your background color to #d7c4e0
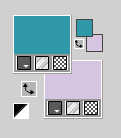
Color 3 #ffffff
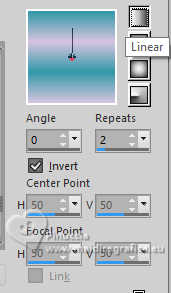
Set your foreground color to a Foreground/Background Gradient, style Linear.
1. Open Alpha
Window>Duplicate or, on the keyboard, shift+D to make a copy.

Close the original.
The copy, that will be the basis of your work, is not empty,
but contains the selections saved to alpha channel.
Flood Fill  the transparent image with your Gradient. the transparent image with your Gradient.
2. Layers>New Raster Layer.
Selections>Select All.
Open the misted arbre mist coly Image IA 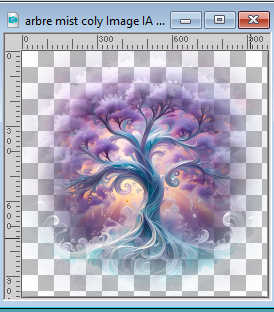
Edit>Copy.
Go back to your work and go to Edit>Paste into Selection.
Selections>Select None.
3. Layers>Duplicate.
Close this layer and activate the layer below of the original.
Effects>Image Effects>Seamless Tiling, Side by Side.

4. Adjust>Blur>Gaussian Blur - radius 50
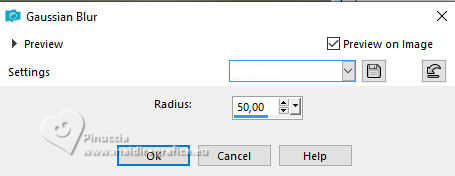
Adjust>Add/Remove Noise/Add Noise.

Change the Blend Mode of this layer to Hard Light.
Layers>Merge>Merge Down.
5. Layers>Duplicate.
Effects>Plugins>Filters Unlimited 2.0 - &>Bkg Kaleidoscope> - @BlueBerry Pie.

Change the Blend Mode of this layer to Burn and reduce the opacity to 70%.
Effects>Edge Effects>Enhance.
Effects>Reflection Effects>Rotating Mirror.

6. Image>Resize, to 85%, resize all layers not checked.
Effects>Image Effects>Seamless Tiling, same settings.
Effects>3D Effects>Drop Shadow, color black.

7. Layers>New Raster Layer.
Selections>Load/Save Selection>Load Selection from Alpha Channel.
The selection sélection 1 is immediately available.
You just have to click Load.
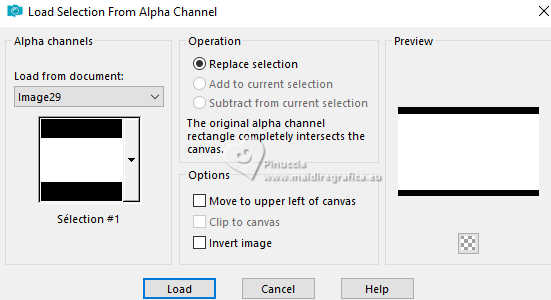
Flood Fill  the selection with your Gradient. the selection with your Gradient.
Adjust>Add/Remove Noise/Add Noise, same settings.

Selections>Modify>Contract - 5 pixels.
Press CANC on the keyboard  . .
Selections>Select None.
8. Effects>3D Effects>Inner Bevel.

The layer Copy of Raster 2 is always closed.

Layers>Merge>Merge visible.
9. Layers>New Raster Layer.
Selections>Load/Save Selection>Load Selection from Alpha Channel.
Open the selections menu and load the selection sélection 2
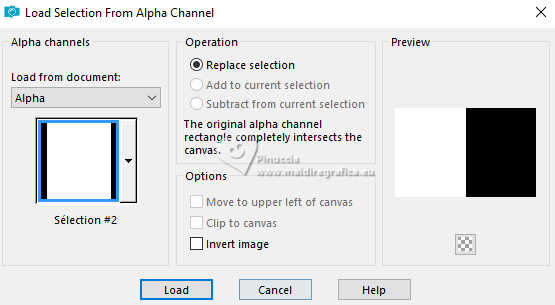
Set your foreground color to white.
Layers>New Raster Layer.
Flood Fill  the layer with color white. the layer with color white.
Layers>New Mask layer>From image
Open the menu under the source window and you'll see all the files open.
Select the mask Silvie_Mask_Deco55R
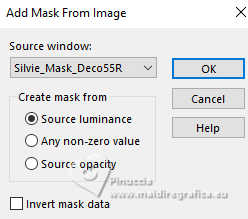
Effects>Edge Effects>Enhance.
Layers>Merge>Merge group.
Selections>Select None.
10. Layers>Duplicate.
Image>Mirror>Mirror horizontal (Image>Mirror).
Layers>Merge>Merge Down.
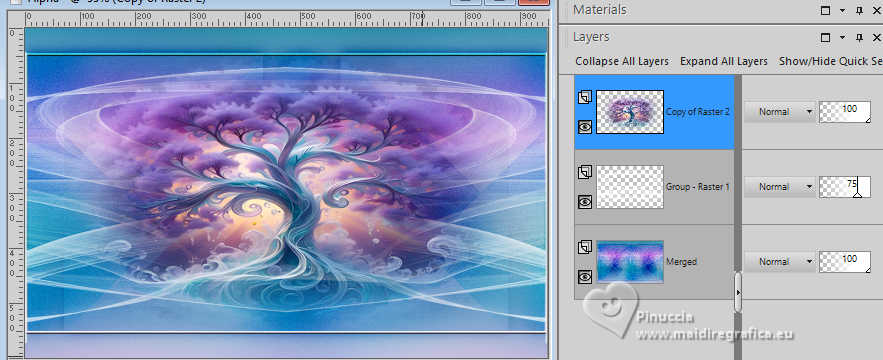
Reduce the opacity of this layer to 75%.
11. K key to activate your Pick Tool 
mode Scale 
pull the top central node a bit down and the bottom central node up, to have about this

12. Open and activate your top layer.
Image>Resize, if necessary, for my example I resized to 85%,
so that it does not go beyond the edges of the frame at the top and bottom.
13. Layers>New Raster Layer.
Selections>Load/Save Selection>Load Selection from Alpha Channel.
Open the selections menu and load the selection sélection 3

Flood Fill  the selection with color white. the selection with color white.
Selections>Modify>Contract - 2 pixels.
Set your foreground color to the first one #3199a9.
Flood Fill  the selection with your foreground color. the selection with your foreground color.
Effects>3D Effects>Inner Bevel, same settings.
14. Selections>Load/Save Selection>Load Selection from Alpha Channel.
Open the selections menu and load the selection sélection 4

Set again your foreground color to white.
Flood Fill  the selection with color white. the selection with color white.
Selections>Modify>Contract - 2 pixels.
Flood Fill  the selection with your background color. the selection with your background color.
Effects>3D Effects>Inner Bevel, same settings.
15. Layers>New Raster Layer.
Selections>Load/Save Selection>Load Selection from Alpha Channel.
Open the selections menu and load the selection sélection 5

Reduce the opacity of your Flood Fill Tool to 50.
Flood Fill  the selection with color white. the selection with color white.
Selections>Modify>Contract - 15 pixels.
Press CANC on the keyboard.
Selections>Modify>Contract - 15 pixels.
Set again the opacity of your Flood fill Tool to 100.
Set again your foreground color to #3199a9.
Flood Fill  the selection with your foreground color. the selection with your foreground color.
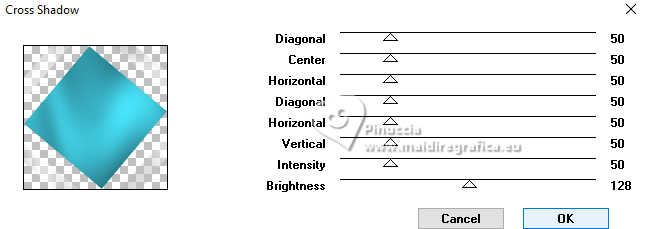
Effects>Plugins>Graphics Plus - Cross Shadow.
Effects>3D Effects>Inner Bevel, same settings.
Selections>Select None.
Image>Resize, to 70%, resize all layers not checked.
16. K key to activate your Pick Tool 
set Position X: 17,00 and Position Y: 60,00.

Layers>Duplicate.
Keep Position X: 17,00 and set Position Y: 220,00.

Layers>Duplicate.
Keep Position X: 17,00 and set Position Y: 380,00.

Layers>Merge>Merge down - 2 times.
Effects>3D Effects>Drop Shadow, foreground color.

17. Open your main tube fantasy35-coly 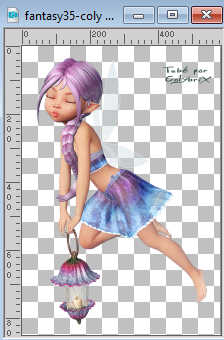
Erase the watermark and go to Edit>Copy.
Go back to your work and go to Edit>Paste as new layer.
Image>Resize, to 72%, resize all layers not checked.
Move  the tube to the right side. the tube to the right side.
Effects>3D Effects>Drop Shadow, color black.

or settings at your choice.
18. Open the tube Papillon 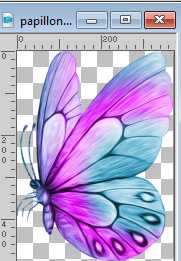
Edit>Copy.
Go back to your work and go to Edit>Paste as new layer.
Image>Mirror>Mirror horizontal (Image>Mirror).
Image>Resize, to 25%, resize all layers not checked.
Place  the tube to your liking. the tube to your liking.
K key to activate your Pick Tool 
and apply a slight rotation to the right.

Effects>3D Effects>Drop Shadow, color black.

19. Layers>New Raster Layer.
Set again your foreground color to the first color #3199a9
Flood Fill  the layers with your foreground color. the layers with your foreground color.
Adjust>Add/Remove Noise/Add Noise, same settings.
Effects>Plugins>Graphics Plus - Cross Shadow, same settings.
Selections>Select All.
Selections>Modify>Contract - 3 pixels.
Set your foreground color to white.
Flood Fill  the selection with color white. the selection with color white.
Selections>Modify>Contract - 3 pixels.
Press CANC on the keyboard.
Selections>Select None.
20. Sign your work on a new layer.
Layers>Merge>Merge All and save as jpg.
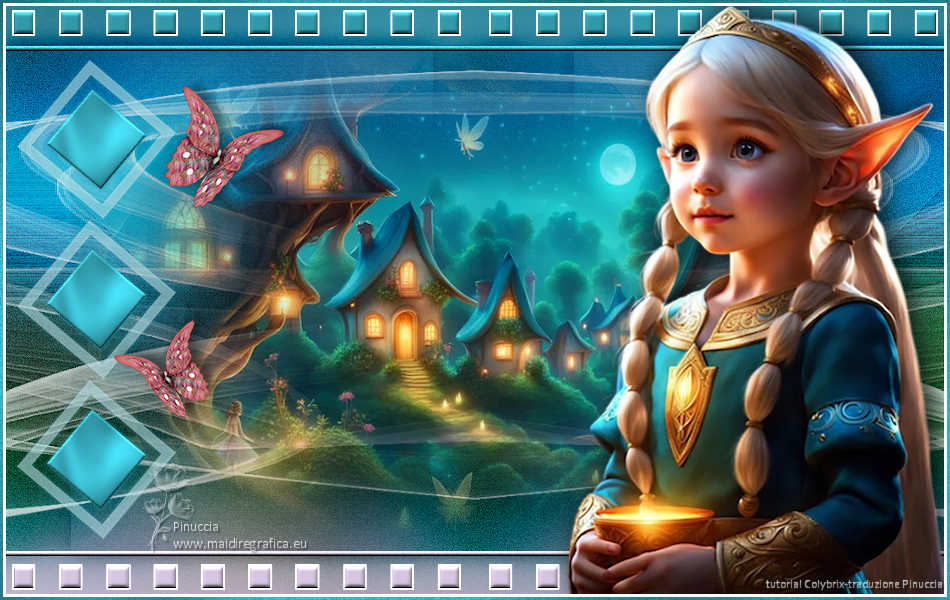
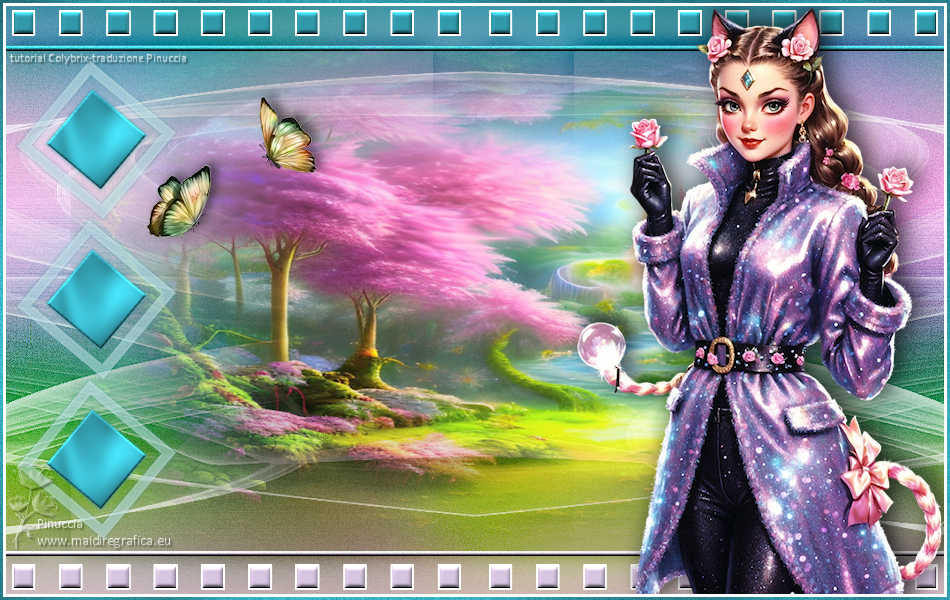
For the tubes of these versions thanks
Colybrix
Catty

If you have problems or doubts, or you find a not worked link, or only for tell me that you enjoyed this tutorial, write to me.
11 Février 2024

|

