PRINTEMPS 2026


Thanks Colybrix for your invitation to translate

Clic and move the brush to follow the tutorial.

To print


|
This tutorial was translated with PSP09, but it can also be made using other versions of PSP.
Since version PSP X4, Image>Mirror was replaced with Image>Flip Horizontal,
and Image>Flip with Image>Flip Vertical, there are some variables.
In versions X5 and X6, the functions have been improved by making available the Objects menu.
In the latest version X7 command Image>Mirror and Image>Flip returned, but with new differences.
See my schedule here
 italian translation here italian translation here
 your versions here your versions here
Necessary

For the tubes thanks Cat Dana and Riet; for the masks thanks Narah.
Note by Colybrix: For the tutorial I used une image for the background,
and after I made a misted.
You can also use une image and a different misted,
it is not necessary use the image for the misted.
(The links of the tubemakers here).
Plugins
consult, if necessary, my filter section here
Alien Skin Eye Candy 5 Impact - Glass here
Mehdi - Sorting Tiles here
AAA Frames - Foto Frame here

You can change Blend Modes according to your colors.

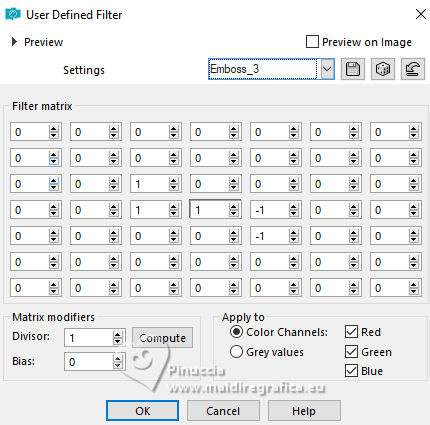
Copy the preset Emboss 3 in the Presets Folder.
Open the masks in PSP and minimize them with the rest of the material.
Colors:
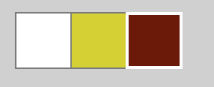
Set your foreground color to #ffffff
and your background color to #d5d135
color 3 #6b1a0c
1. Open Alpha Printemps 2026
Window>Duplicate and work on the copy.
The copy, that will be the basis of your work, is not empty,
but contains the selections saved to alpha channel.
Selections>Select All.
Open your background image Fond-amaryllis-in-garden-design 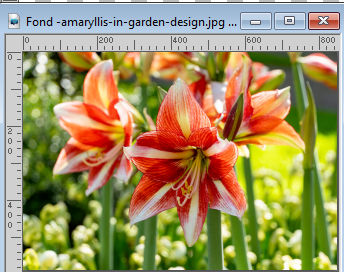
Edit>Copy.
Go back to your work and go to Edit>Paste into Selection.
Selections>Select None.
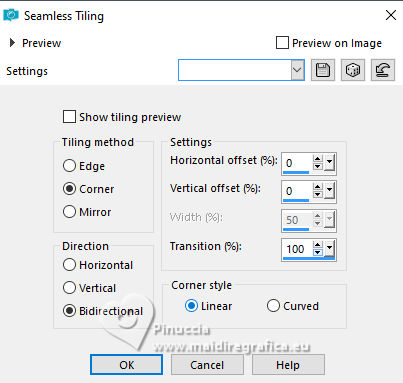
2. Effects>Image Effects>Seamless Tiling.
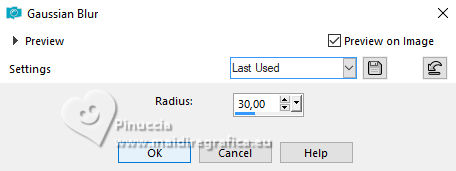
3. Adjust>Blur>Gaussian Blur - radius 30.
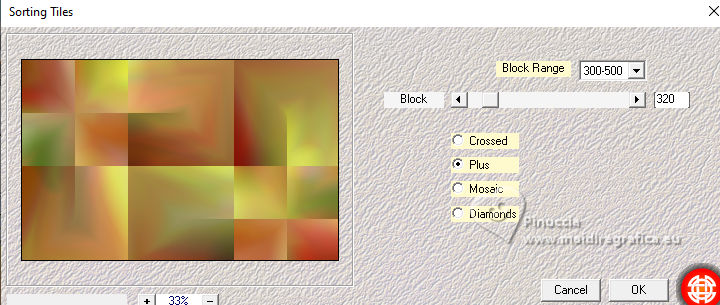
Effects>Plugins>Mehdi - Sorting Tiles.
4. Adjust>Hue and Saturation>Vibrancy.
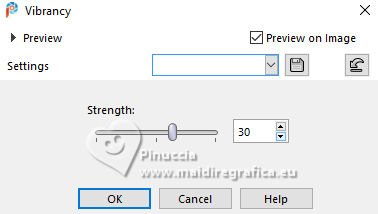
note by Colybrix:
For older versions that don't have this feature,
this setting slightly enhances the colors.
You can optionally duplicate the layer, set it to Overlay mode,
and lower the opacity to 50% (or a value of your choice depending on your colors).
Then merge the two layers.
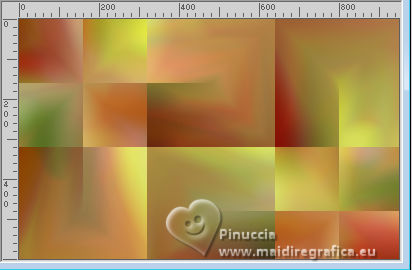
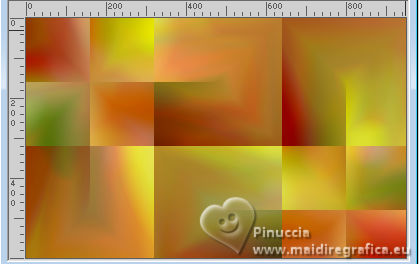
To help you choose, see below the difference before and after applying the effect
Effects>Edge Effects>Enhance.
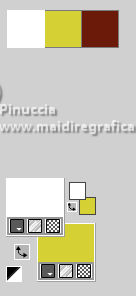
5. Layers>New Raster Layer.
Flood Fill  the layer with your white foreground color. the layer with your white foreground color.
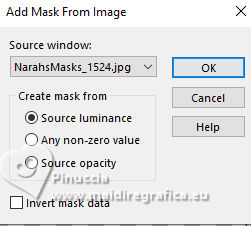
Layers>New Mask layer>From image
Open the menu under the source window and you'll see all the files open.
Select the mask NarahsMasks_1524
Layers>Merge>Merge Group.
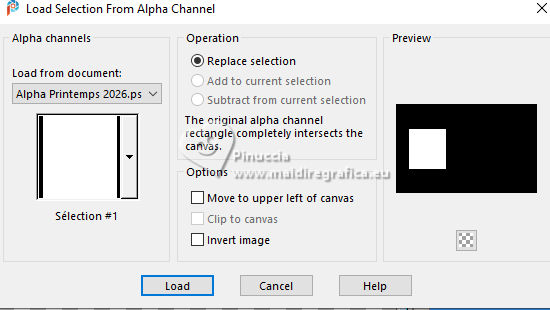
6. Selections>Load/Save Selection>Load Selection from Alpha Channel.
The selection Sélection #1 is immediately available.
You just have to click Load.
Press CANC on the keyboard 
7. Activate your bottom layer, Raster 1.
Selections>Promote Selection to Layer.
Adjust>Blur>Gaussian Blur - radius 30.
Selections>Modify>Contract - 5 pixels.
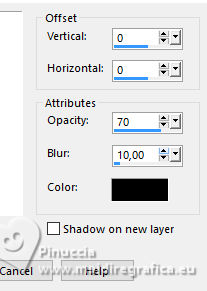
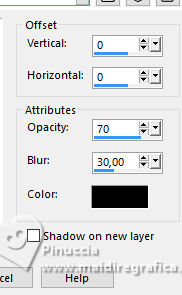
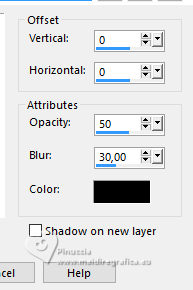
Effects>3D Effects>Drop Shadow, color black.
8. Layers>New Raster Layer.
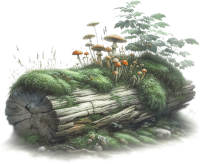
Open the tube mist fleurs 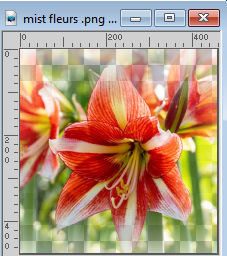
Edit>Copy.
Go back to your work and go to Edit>Paste into Selection.
Adjust>Sharpness>Sharpen.
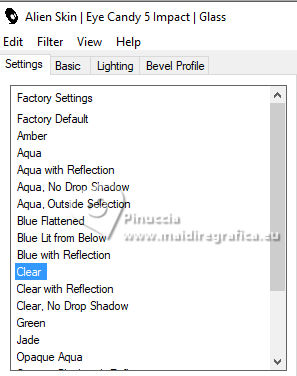
9. Effects>Plugins>Alien Skin Eye Candy 5 Impact - Glass.
preset Clear and ok.
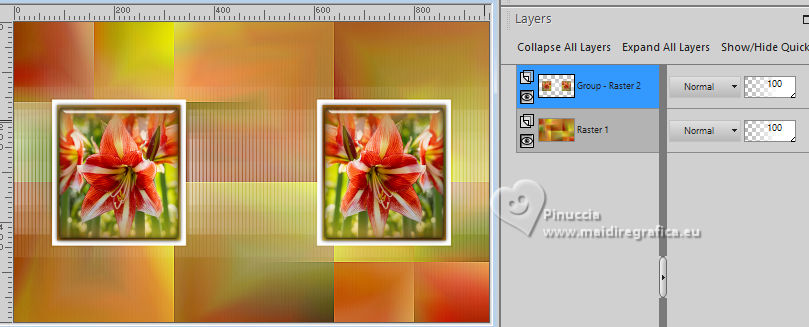
10. Layers>Merge>Merge Down.
Selections>Select None.
Layers>Arrange>Move up.
Effects>3D Effects>Drop Shadow, last settings.
11. Laters>Duplicate.
Image>Mirror>Mirror Horizontal.
Layers>Merge>Merge Down - 2 times.
12. Selections>Load/Save Selection>Load Selection from Alpha Channel.
Open the selections menu and load the selection Sélection #2.
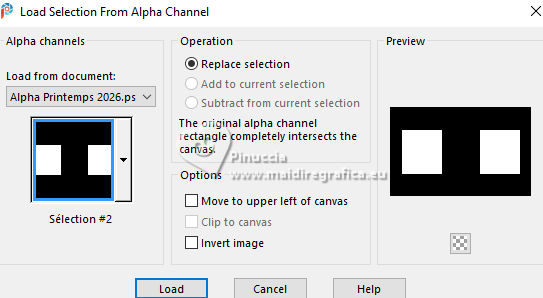
Effects>3D Effects>Drop Shadow, color black.
13. Selections>Load/Save Selection>Load Selection from Alpha Channel.
Open the selections menu and load the selection Sélection #3.
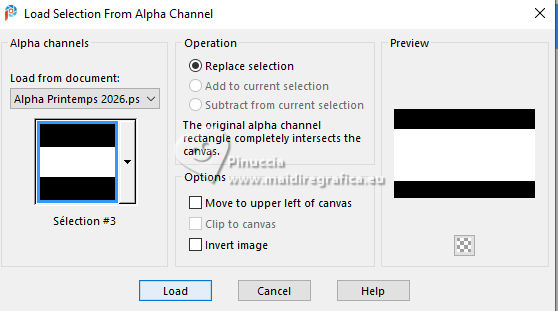
Effects>3D Effects>Drop shadow, color black.
Keep selected.

14. Layers>New Raster Layer.
Flood Fill the layer with your white foreground color.
Selections>Modify>Contract - 2 pixels.
Press CANC on the keyboard.
Selections>Select None.
15. Activate your bottom layer, Raster 1.
Layers>New Raster Layer.
Flood Fill the layer with your background color.
Layers>New Mask layer>From image
Open the menu under the source window
and select the mask NarahsMasks_1521

Effects>User Defined Filter - Emboss 3
Layers>Merge>Merge Group.
16. Layers>Merge>Merge visible.
Effects>Plugins>AAA Frames - Foto Frame.

17. Open the tube 2026 03 07 Fillette Cat Dana 1 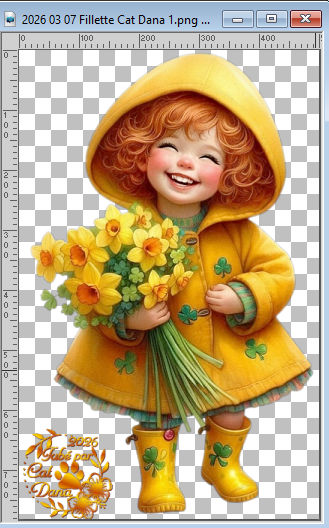
Erase the watermark and go to Edit>Copy.
Go back toyour work and go to Edit>Paste as new layer.
Image>Resize, to 75%, resize all layers not checked.
Adjust>Sharpness>Sharpen.
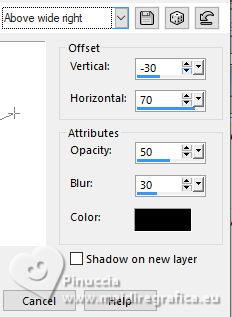
18. Effects>3D Effects>Drop Shadow, preset Above wide right.
19. Open the tube Riet Tekst Spring_1110-190224 
Erase the watermark and go to Edit>Copy.
Go back toyour work and go to Edit>Paste as new layer.
Image>Resize, to 70%, resize all layers not checked.
Move  the text at the bottom right, or to your liking. the text at the bottom right, or to your liking.
Layers>Duplicate.
Layers>Merge>Merge Down.
Effects>3D Effects>Drop Shadow, color black.
Repeat Effects>3D Effects>Drop Shadow, color white.

20. Apri il tube papillon 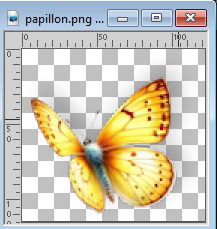
Edit>Copy.
Go back to your work and go to Edit>Paste as new layer.
Move the tube at the upper right.
The tube already has a slight drop shadow.
21. Open the tube fleurs déco 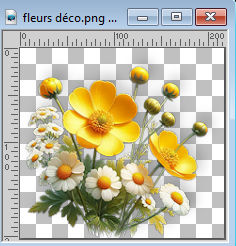
Edit>Copy.
Go back to your work and go to Edit>Paste as new layer.
Move the tube at the bottom left.
The tube already has a slight drop shadow.
22. Set your foreground color to the color 3 #6b1a0c
Layers>New Raster Layer.
Flood Fill the layer with your foreground color.
Selections>Select All.
Selections>Modify>Contract - 2 pixels.
Press CANC on the keyboard.
Selections>Select None.
23. Sign your work.
Layers>Merge>Merge All and save as jpg.
Version with scrap elements fpds. Thanks.


If you have problems or doubts, or you find a not worked link, or only for tell me that you enjoyed this tutorial, write to me.
19 March 2026

|