|
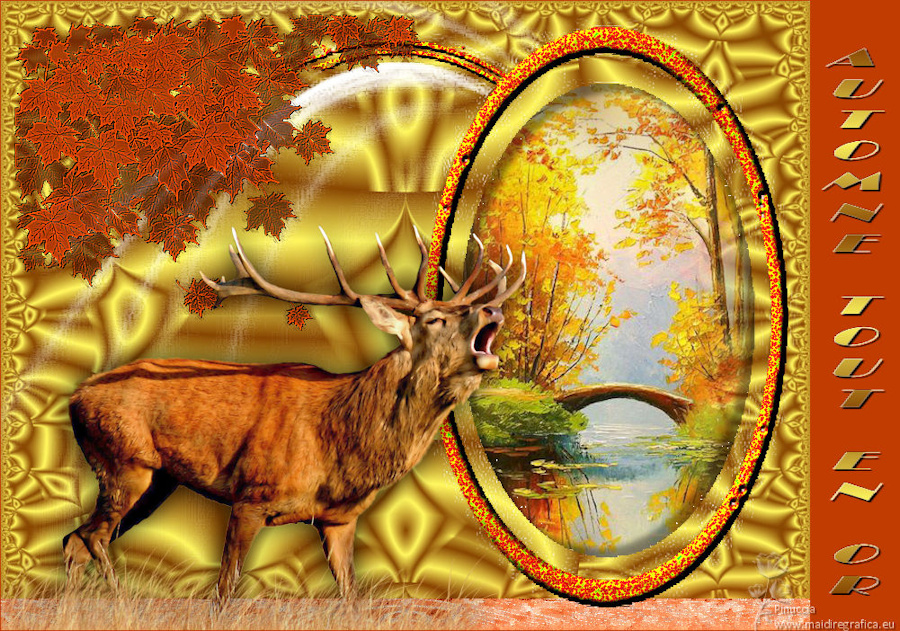
AUTOMNE TOUT EN OR


Thanks Evalynda for the invitation to translate your tutorials

This tutorial was translated with PSPX and PSPX3, but it can also be made using other versions of PSP.
Since version PSP X4, Image>Mirror was replaced with Image>Flip Horizontal,
and Image>Flip with Image>Flip Vertical, there are some variables.
In versions X5 and X6, the functions have been improved by making available the Objects menu.
In the latest version X7 command Image>Mirror and Image>Flip returned, but with new differences.
See my schedule here
 italian translation here italian translation here
For this tutorial, you will need:

Thanks for the tubes Colybrix and Nikita, for the mask Narah and ValyScrapPassion
(The links of material creators here).

consult, if necessary, my filter section here
Flaming Pear - Hyperbolic Square - in the material.
Mura's Meister - Perspective Tiling here
Alien Skin Eye Candy 5 Textures - Texture Noise here

You can change Blend Modes according to your colors.
In the newest versions of PSP, you don't find the foreground/background gradient (Corel_06_029).
You can use the gradients of the older versions.
The Gradient of CorelX here

(Don't forget to erase the watermarks of the tubes and don't save the modifications when you'll close them)
Open the masks in PSP and minimize them with the rest of the material.
Set your foreground color to #884702,
and your background color to #fff760.
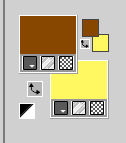
Set your foreground color to a Foreground/Background Gradient, style Sunburst.
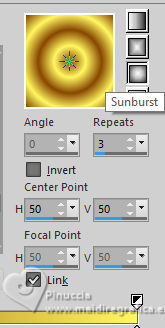
1. Open a new transparent image 900 x 700 pixels.
Flood Fill  the transparent image with your Gradient. the transparent image with your Gradient.
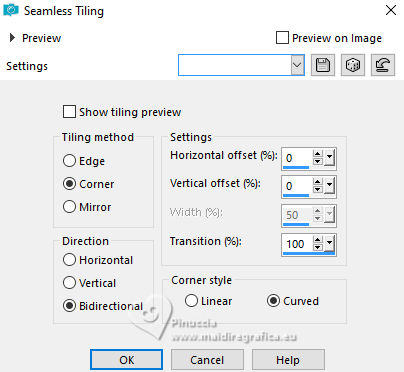
Effects>Image Effects>Seamless Tiling.
2. Effects>Geometric Effects>Pentagone.
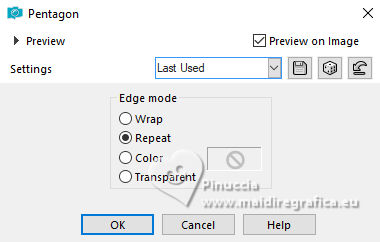
Edit>Repeat Pentagone.
3. Effects>Plugins>Flaming Pear - Hyperbolic Square.
This effect works without window; result
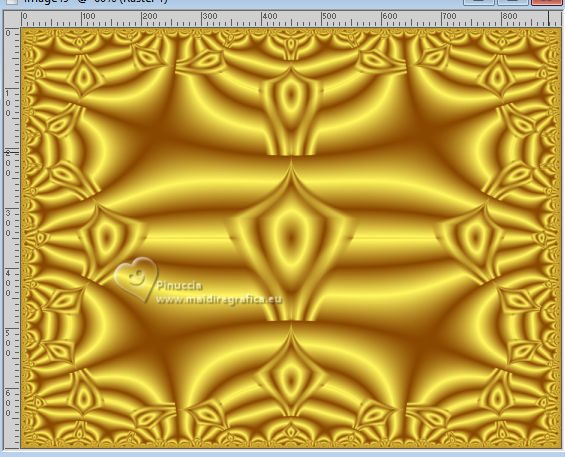
4. Set your foreground color to white.
Layers>New Raster Layer.
Flood Fill  the layer with color white. the layer with color white.
Layers>New Mask layer>From image
Open the menu under the source window and you'll see all the files open.
Select the mask NarahsMasks_1800
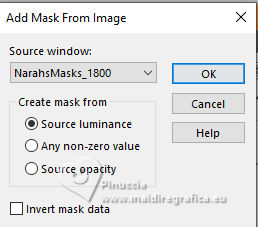
Image>Resize, to 140%, resize all layers not checked.
Effects>Edge Effects>Enhance More.
Layers>Merge>Merge Group.
5. Layers>Duplicate - 2 times.
Layers>Merge>Merge Down - 2 times.
6. K key to activate your Pick Tool 
and set Scale X(%) to 110,00.
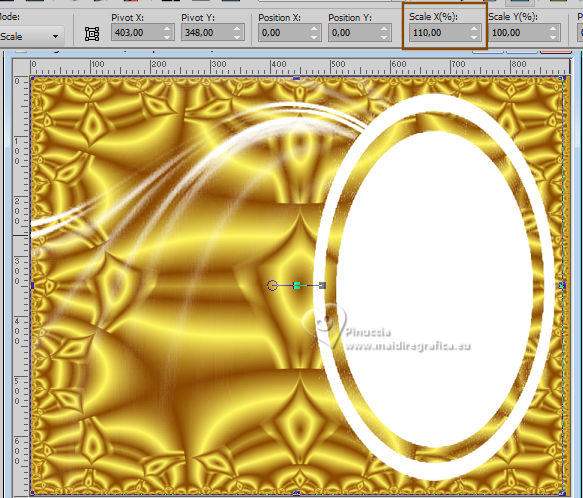
7. Adjust>Sharpness>Sharpen More.
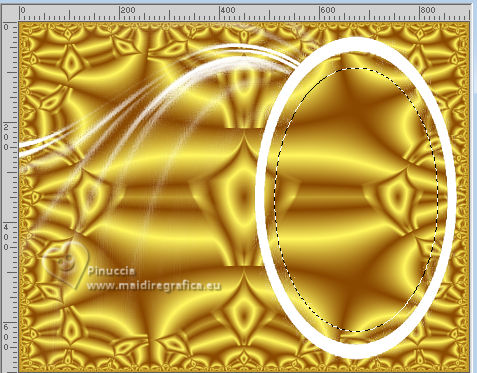
Activate your Magic Wand Tool  , with these settings. , with these settings.

Click in the ellipse to select it.
Press CANC on the keyboard  . .
Keep selected.
8. Open the misted mist-autumn28-coly 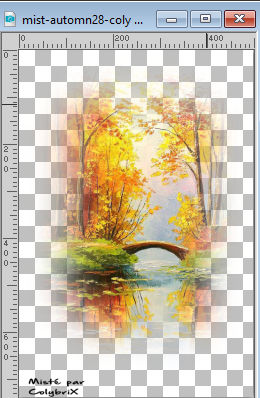
Erase the watermark and go to Edit>Copy.
Go back to your work and go to Edit>Paste as new layer.
Image>Resize, to 110%, resize all layers not checked.
Place  the tube on the selection. the tube on the selection.
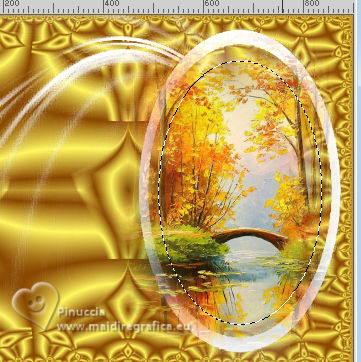
Selections>Invert.
Press CANC on the keyboard 
Selections>Invert.
9. Layers>New Raster Layer.
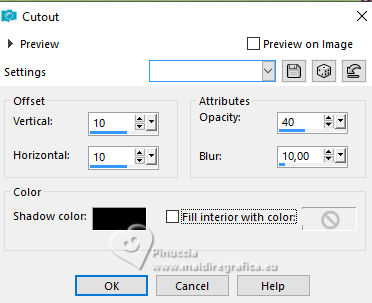
Effects>3D Effects>Cutout, color black.
10. Layers>New Raster Layer.
Repeat Effects>3D Effects>Cutout, vertical and horizontal -10.
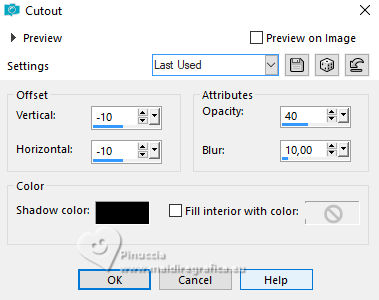
11. Selections>Select None.
Layers>Merge>Merge Down.
12. Activate the layer of the mask, Group-Raster 2.
Activate your Magic Wand Tool  , with these settings. , with these settings.

Click in the white border to select it.
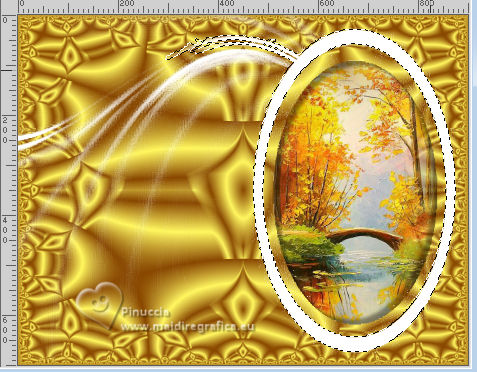
13. Set your foreground color to color 3 #c03c01  . .
Layers>New Raster Layer.
Flood Fill  the layer with your foreground color. the layer with your foreground color.
Effects>Plugins>Alien Skin Eye Candy 5 Texture - Texture Noise.
Select the preset Diamond Noise and ok.
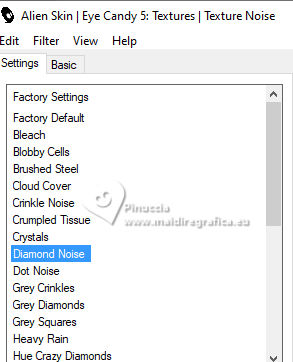
14. Effects>3D Effects>Inner Bevel, background color.
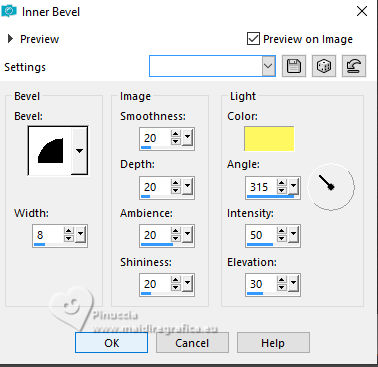
Adjust>Sharpness>Sharpen.
Selections>Select None.
Optional activate the layer of the mask and erase, if you want, the white parts remained visible.
Personally I deleted only a small part.

15. Activate your top layer.
Layers>Merge>Merge Down.
16. Layers>New Raster Layer.
Flood Fill  the layer with your foreground color (color 3 the layer with your foreground color (color 3  ). ).
Layers>New Mask layer>From image
Open the menu under the source window
and select the mask vsp081
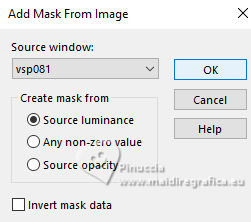
Image>Resize, to 50%, resize all layers not checked.
Effects>Edge Effects>Enhance More.
Image>Mirror.
Layers>Merge>Merge Group.
17. Layers>Duplicate.
Layers>Merge>Merge Down.
Adjust>Sharpness>Sharpen More.
Pick Tool 
set Position X and Y: 16,00

Effects>3D Effects>Drop Shadow, color black.
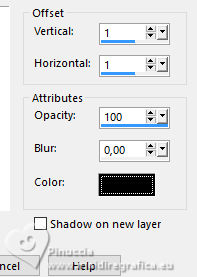
Repeat Drop Shadow, vertical and horizontal -1.
18. Activate your bottom layer.
Layers>Duplicate.
Effects>Plugins>Mura's Meister - Perspective Tiling.
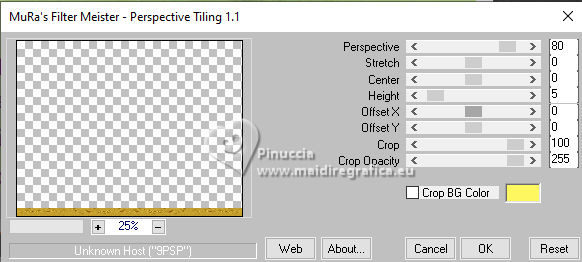
19. Activate your Magic Wand Tool  , same settings, , same settings,
and click in the transparent part of the layer.
Selections>Invert.
Layers>New Raster Layer.
Flood Fill  the selection with your foreground color, (color 3 the selection with your foreground color, (color 3  ). ).
Selections>Select None.
20. Layers>Arrange>Move Down.
Activate the layer above, copy of Raster 1.
Change the Blend Mode of this layer to Luminance (legacy).
Layers>Merge>Merge Down.
Adjust>Add/Remove Noise>Add Noise.
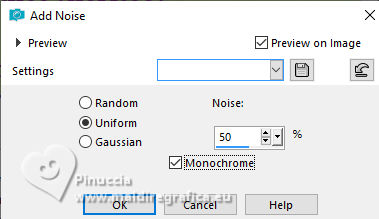
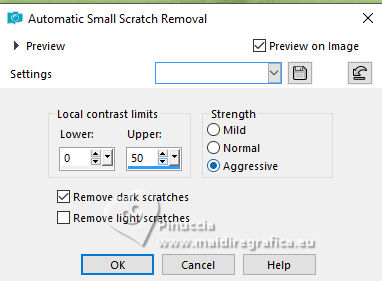
21. Adjust>Add/Remove Noise>Automatic Small Scratch Removal.
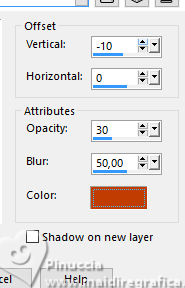
Effects>3D Effects>Drop Shadow, foreground color (color 3  ) )
22. Activate your top layer.
Open your main tube 15698543516_animaux_nikita 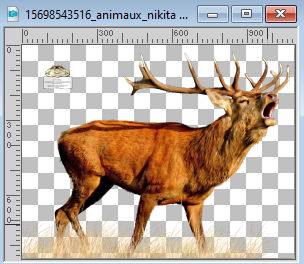
Erase the watermark and go to Edit>Copy.
Go back to your work and go to Edit>Paste as new layer.
Image>Resize, to your liking, for me to 55%, resize all layers not checked.
Move  the tube at the bottom left, or to your liking. the tube at the bottom left, or to your liking.
Effects>3D Effects>Drop Shadow, at your choice.
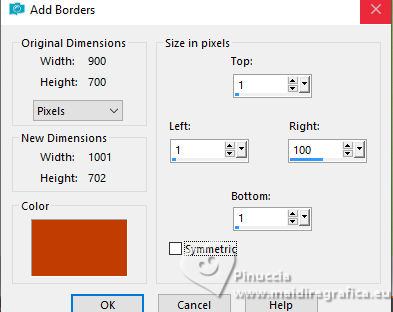
23. Image>Add borders, symmetric not checked, foreground color (color 3).
Set again your foreground color to the first #884702.

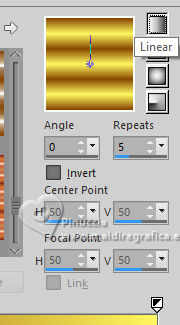
Set your foreground color to a Foreground/Background Gradient, style Linear.
Open the tube titre 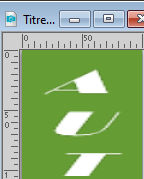
Edit>Copy.
Go back to your work and go to Edit>Paste as new layer.
Move  the text on the right border. the text on the right border.
Selections>Select All.
Selections>Float.
Selections>Defloat.
Flood Fill  the selection with your Gradient. the selection with your Gradient.
Effects>3D Effects>Drop Shadow, color black.

Selections>Select None.
Of course, if you want, you can change the text.
24. Sign your work on a new layer.
Layers>Merge>Merge All.
Image>Resize, 900 pixels width, resize all layers not checked.
Save as jpg.
For the tube of this version thanks Cal; the misted is mine.


Your versions. Thanks

Tosca dei gatti

Kika

If you have problems or doubts, or you find a not worked link,
or only for tell me that you enjoyed this tutorial, write to me.
26 September 2023

|

