|
EN MAI... FAIS CE QU'IL TE PLAÎT.
 IN MAY, DO WHAT YOU LIKE! IN MAY, DO WHAT YOU LIKE!

Thanks Evalynda for the invitation to translate your tutorials

This tutorial was translated with PSPX and PSPX3, but it can also be made using other versions of PSP.
Since version PSP X4, Image>Mirror was replaced with Image>Flip Horizontal,
and Image>Flip with Image>Flip Vertical, there are some variables.
In versions X5 and X6, the functions have been improved by making available the Objects menu.
In the latest version X7 command Image>Mirror and Image>Flip returned, but with new differences.
See my schedule here
 italian translation here italian translation here
For this tutorial, you will need:

Thanks for the tubes Moi-Même
(The links of material creators here).

consult, if necessary, my filter section here
Flaming Pear - Hyperbolic Square - in the material
Mura's Meister - Perspective Tiling here

You can change Blend Modes according to your colors.
In the newest versions of PSP, you don't find the foreground/background gradient (Corel_06_029).
You can use the gradients of the older versions.
The Gradient of CorelX here

Colors

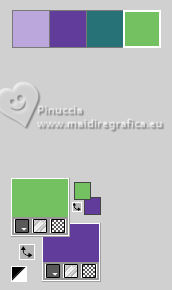
Set your foreground color to the color 1 #bca7dd,
and your background color to the color 2 #613c9b.

color 3 #277276
color 4 #73c161
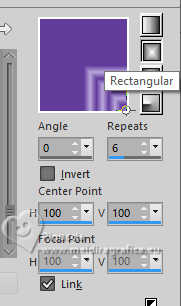
Set your foreground color to a Foreground/Background Gradient, style Rectangular.
Note of the author:
You might think this is weird:
I'm not going to start this tutorial by "making" the background,
but... by framing the final piece. LOL
Have fun!
1. Open a new transparent image 900 x 700 pixels.
Flood Fill  the transparent image with your Gradient. the transparent image with your Gradient.
2. Layers>Duplicate.
Image>Mirror>Mirror horizontal.
Reduce the opacity of this layer to 50%.
Layers>Merge>Merge Down.
3. Layers>Duplicate.
Image>Mirror>Mirror Vertical (Image>Flip).
Layers>Merge>Merge Down.
4. Selections>Select All.
Open the misted Paysage muguet 5_AigenMM 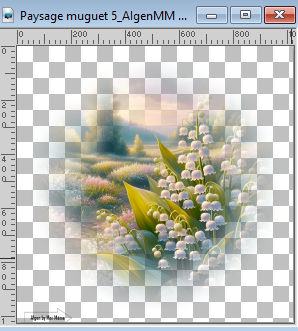
Erase the watermark and go to Edit>Copy.
Go back to your work and go to Edit>Paste into Selection.
Selections>Select None.
5. Effects>Image Effects>Seamless Tiling, default settings.

6. Effects>Plugins>Flaming Pear - Hyperbolic Square
This effect works without window; result
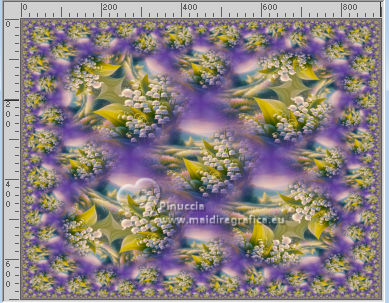
Effects>Edge Effects>Enhance.
7. Layers>Duplicate.
Close the layer Raster 1.
Stay on the layer of the copy.
8. Image>Resize, to 90%, resize all layers not checked.
Activate your Magic Wand Tool  , with these settings: , with these settings:

Click in the transparent bord to select it.
Selections>Invert.
Adjust>Blur>Radial Blur.
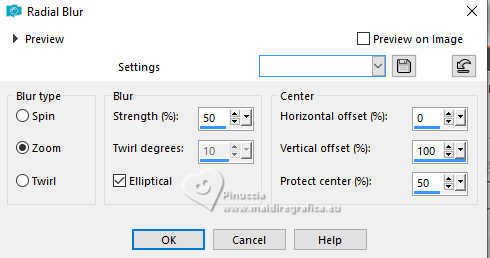
9. Selections>Select None.
Layers>Duplicate.
Image>Mirror>Mirror Vertical (Image>Flip).
Reduce the opacity of this layer to 50%.
Layers>Merge>Merge Down.
Effects>Edge Effects>Enhance More.
10. Activate again your Magic Wand Tool  , last settings. , last settings.
Click in the transparent border to select it.
Selections>Invert.
Selections>Modify>Contract - 40 pixels.
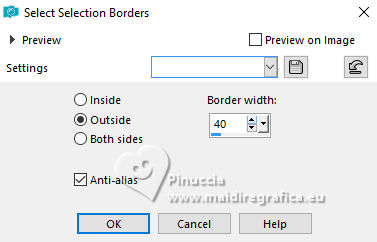
11. Selections>Modify>Select Selection Borders.
12. Selections>Promote Selection to Layer.
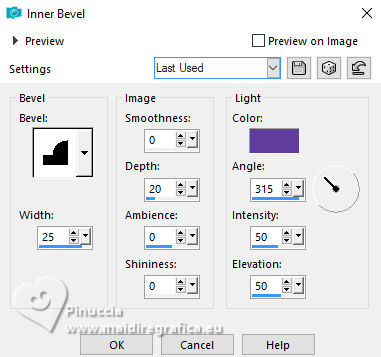
Effects>3D Effects>Inner Bevel, background color.
13. Activate again your Magic Wand Tool  , last settings. , last settings.
Click in the empty center to select it
(the new selection will replace the previous one)
Layers>New Raster Layer.
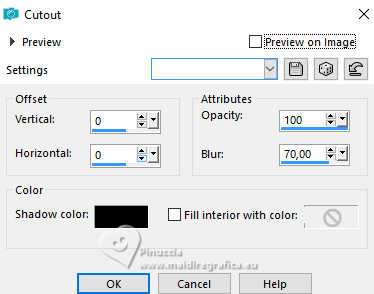
Effects>3D Effects>Cutout, color black.
Keep selected.
14. Activate the layer Copy of Raster 1.
Layers>New Raster Layer.
Set your foreground color to the color 4 #73c161
Flood Fill  the selection with the color 4 #73c161. the selection with the color 4 #73c161.
Layers>Duplicate.
Edit>Paste into Selection - your misted is still in memory.
Keep selected.
15. Effects>Plugins>Mura's Meister - Perspective Tiling.
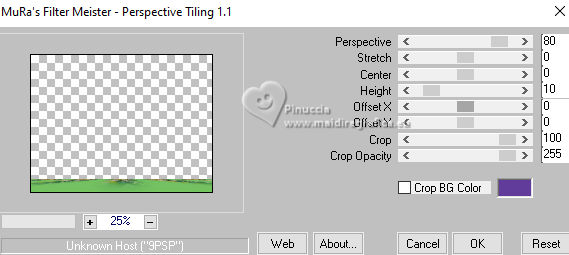
Selections>Select None.
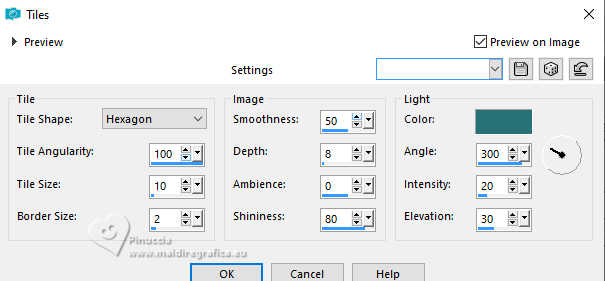
16. Effects>Texture Effects>Tiles - preset Skin and ok
(you can change the color, if you prefer)
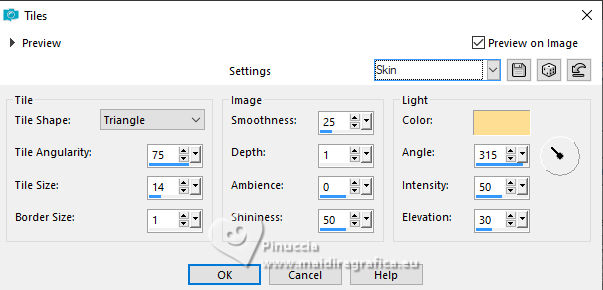
17. Effects>Distortion Effects>Polar Coordinates.
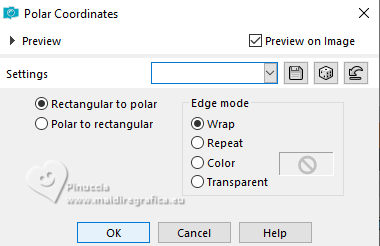
18. Image>Resize, to 85%, resize all layers not checked.
Layers>Duplicate.
Image>Mirror>Mirror Vertical (Image>Flip).
Layers>Merge>Merge Down.
19. Activate your Magic Wand Tool 
Click in the empty center to select it.
Layers>New Raster Layer.
Selections>Invert.
Effects>3D Effects>Drop Shadow, color black.
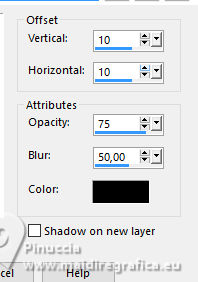
Repeat Drop Shadow, vertical and horizontal -10.
Selections>Select None.
Edit>Paste as new layer - the misted is always in memory.
Image>Resize, at your choice.
Place  the tube to your liking. the tube to your liking.
Adjust>Sharpness>Sharpen.
Layers>Merge>Merge Down - 3 times.
20. Activate your Magic Wand Tool  with these settings with these settings

click outside the ellipse to select it.
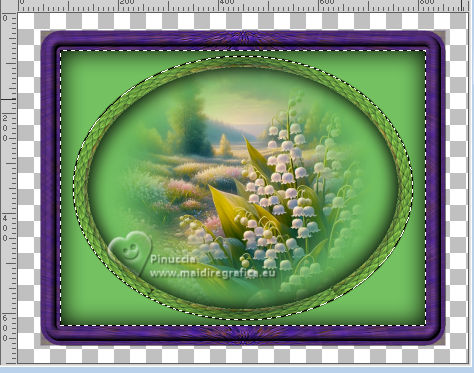
21. Effects>Texture Effects>Tiles - color 3 #277276
Selections>Select None.
22. Activate the layer Copy of Raster 1.
Levels>Delete and answer yes to the window that opens
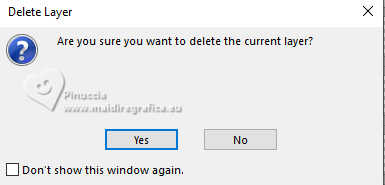
Reopen the bottom layers, still closed (Raster 1).
Layers>Merge>Merge visible.
23. Copy/Paste as new layer the tube of the person and the decos tubes.
Place them  to your liking. to your liking.
Effects>3D Effects>Drop Shadow, at your choice.
24. Open the text Titre 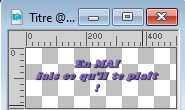
Edit>Copy.
Go back to your work and go to Edit>Paste as new layer.
(You can colorize and/or resize it),
or write your text (or simply a title) at your choice.
Do you like your result?
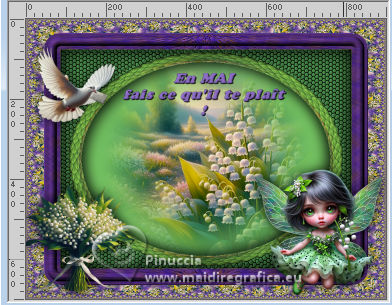
Then you're done.
Don't forget to sign your work.
Layers>Merge>Merge All and save as jpg.
For the tubes of this version thanks Virginia.


Your versions . Thanks

Irene
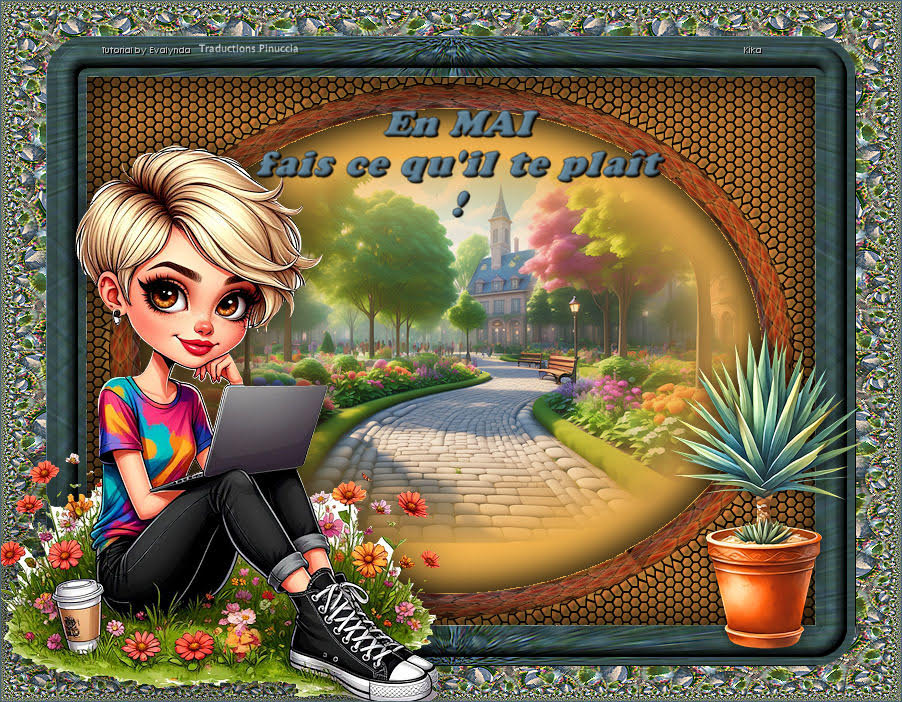
Kika

If you have problems or doubts, or you find a not worked link,
or only for tell me that you enjoyed this tutorial, write to me.
10 May 2025

|
 IN MAY, DO WHAT YOU LIKE!

 IN MAY, DO WHAT YOU LIKE!