|
ADVENTSKALENDER
 ADVENT CALENDAR ADVENT CALENDAR
Thanks Ingelore for your invitation to translate your tutorials.

This tutorial was translated with PSPX, PSPX2, PSPX3, but it can also be made using other versions of PSP.
Since version PSP X4, Image>Mirror was replaced with Image>Flip Horizontal,
and Image>Flip with Image>Flip Vertical, there are some variables.
In versions X5 and X6, the functions have been improved by making available the Objects menu.
In the latest version X7 command Image>Mirror and Image>Flip returned, but with new differences.
See my schedule here
 Italian translation here Italian translation here
 French translation here French translation here
 Your versions here Your versions here
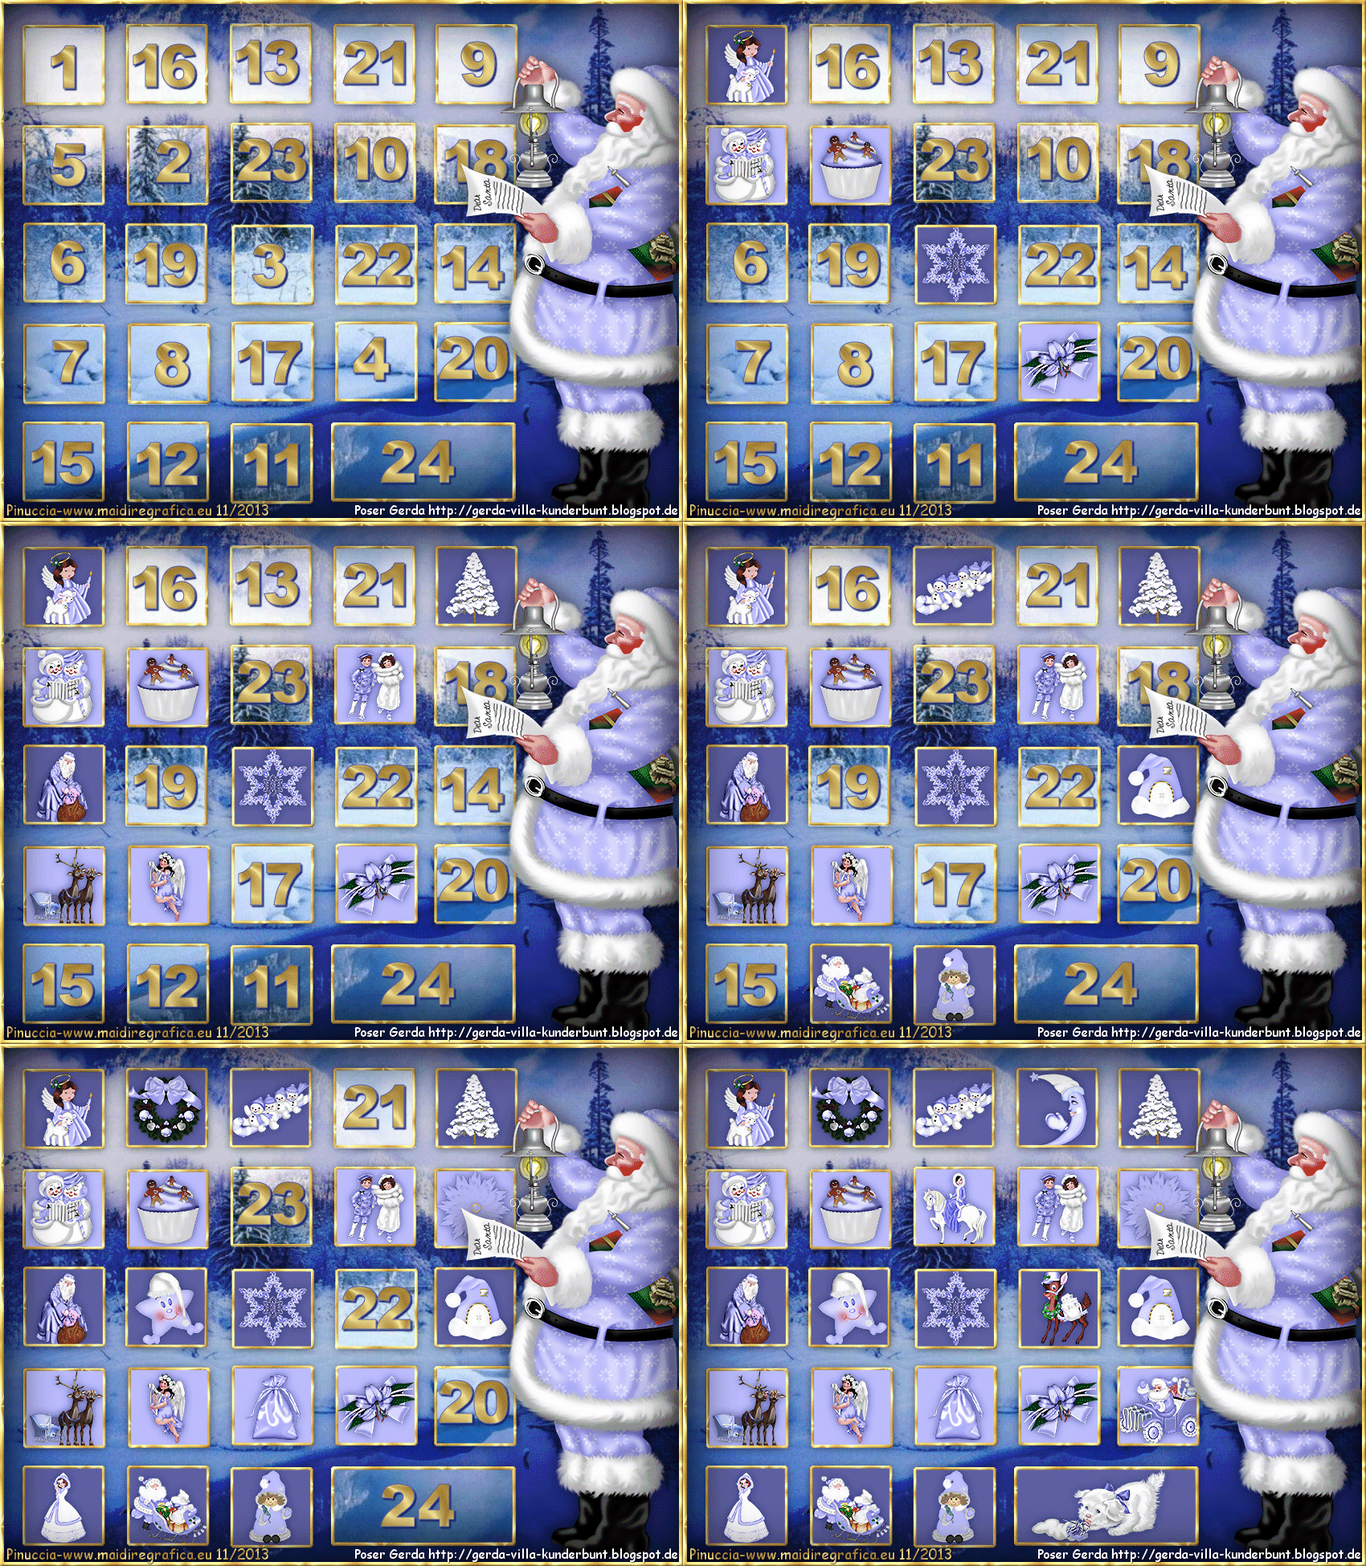
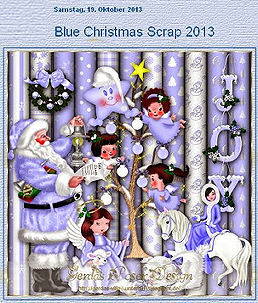
For the first version of this tutorial I used the scrapkit by Gerda Blue Christmas Scrap 2013 (19, Oktober 2013)
For this tutorial, you will need:
Tubes at your choice.

For the tube of my second version thanks Luz Cristina.
(you find here the links to the material authors' sites)

consult, if necessary, my filter section here
Xero - Improver here
Animation Shop here

Open the golden pattern in PSP and minimize it with the rest of the material.
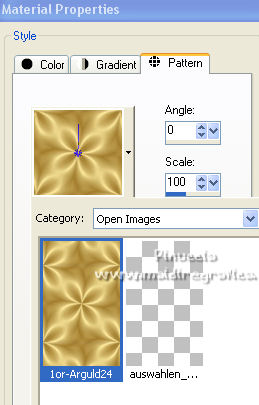
1. Set your foreground color to Pattern, open the menu and under the Open Images Category,
select the pattern 1or-Arguld24 with these settings.
Choose for your background color a medium color of your tube.

Open Auswahl-Datei
Window>Duplicate or, on the keyboard, shift+D to make a copy.

Close the original.
The copy, that will be the basis of your work, is not empty,
but contains the selections saved to alpha channel.
Flood Fill  the transparent image with your background color. the transparent image with your background color.
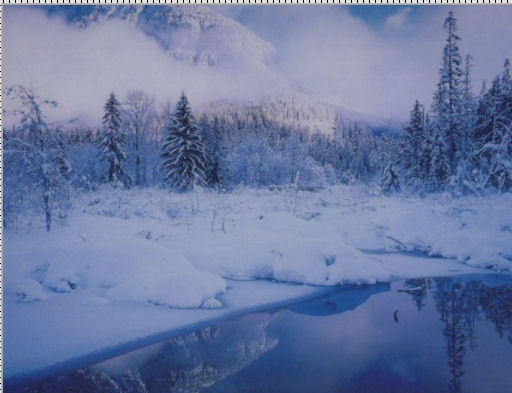
Open your landscape and go to Edit>Copy.
Go back to your work and go to Edit>Paste as new layer.
Image>Resize, if necessary, resize all layers not checked.
Place  the image so that it fills the entire area of the canvas. the image so that it fills the entire area of the canvas.
2. Layers>Merge>Merge visible.
Layers>Duplicate, and close this layer.
Activate the layer below of the original.
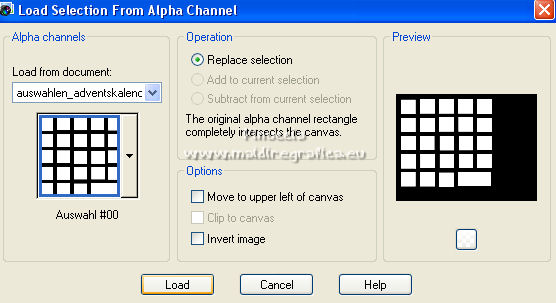
Selections>Load/Save Selection>Load Selection from Alpha Channel.
Open the selections menu and load the selection Auswahl#00.
Layers>New Raster Layer.
Flood Fill  the selection with your background color. the selection with your background color.
to fill your selections with a single click, set the match mode of your Flood Fill Tool to None.

If you want to alternate the lines with a lighter color and/or fill each box individually,
set the match mode to RGB value
Selections>Select None.
***
3. Open one of the tubes you intend to use for the calendar boxes,
and go to Edit>Copy
Go back to your work and go to Edit>Paste as new layer.
Image>Resize, if necessary, resize all layers not checked.
Place  rightly the tube in one of the boxes. rightly the tube in one of the boxes.
if you have problems seeing the box, you can temporarily reduce the opacity of the background layer.
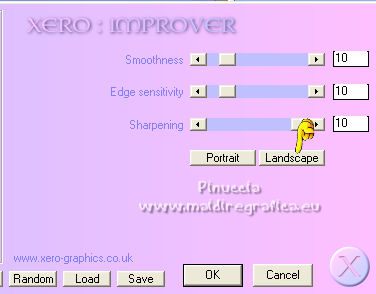
Effects>Plugins>Xero - Improver, click on Landscape and ok.
Effects>3D Effects>Drop Shadow, with a darker color of your background color.
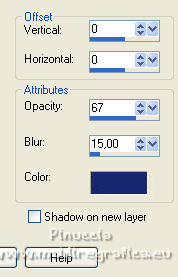
****
Repeat 23 times from **** to **** with the other tubes needed to fill all the boxes.
4. When you have placed the 24 small images in the boxes:
Layers>Merge>Merge visible.
Open and activate the top layer.
Rename this layer "background 2".
5. Selections>Load/Save Selection>Load Selection from Alpha Channel.
The selection Auswahl #1 is immediately available. You just have to click Load.
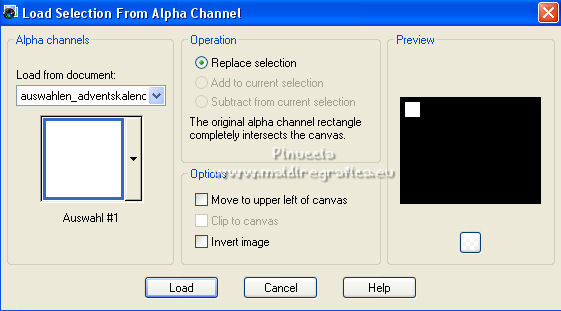
Selections>Promote Selection to layer.
Selections>Select None.
Activate your Text Tool  and choose a font. and choose a font.
Close your foreground color and set your background color to the golden pattern.
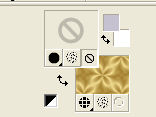
Write the number 1 in the small rectangle.
Layers>Convert in Raster Layer.
Effects>3D Effects>Drop Shadow, color black.
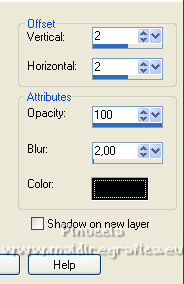
Place  correctly the number. correctly the number.
Layers>Merge>Merge Down.
Rename this layer "1".
6. Activate again the layer "background 2".
Selections>Load/Save Selection>Load Selection from Alpha Channel.
Open the selections menu and load the selection Auswahl #2
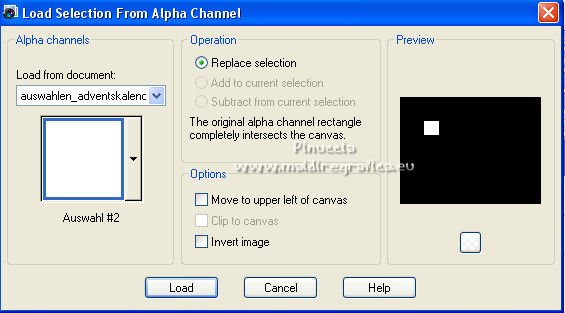
Selections>Promote Selection to Layer.
Selections>Select None.
Write  the number 2. the number 2.
Layers>Convert in Raster Layer.
Effects>3D Effects>Drop Shadow, same settings.

Place  correctly the number. correctly the number.
Layers>Merge>Merge Down.
Rename this layer "2".
7. Repeat the step 6 again 22 times, loading the next selection.
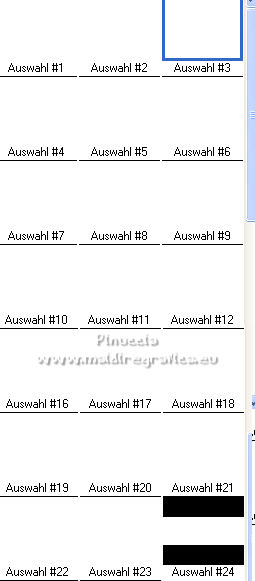
Don't forget every time to activate the layer "background 2".
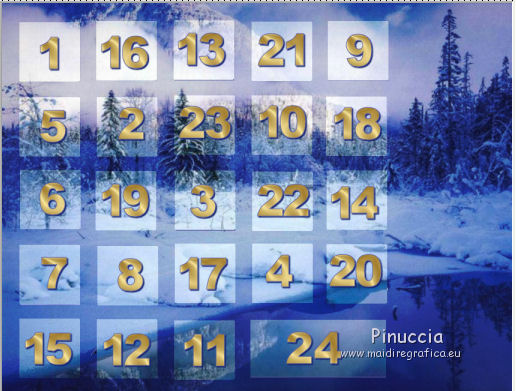
8. When you are done, you can delete the layer "background 2".
You should have this
9. Activate the top layer.
Layers>New Raster Layer.
Selections>Load/Save Selection>Load Selection from Alpha Channel.
Open the selections menu and load the selection Auswahl#25.
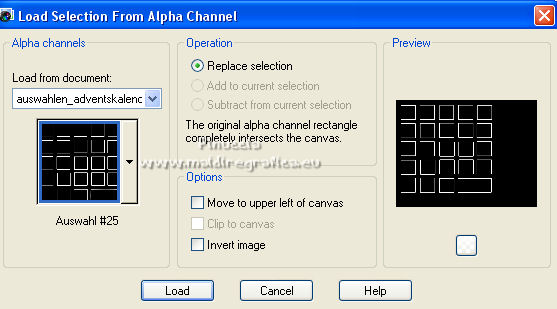
Flood Fill  the selection with your golden pattern. the selection with your golden pattern.
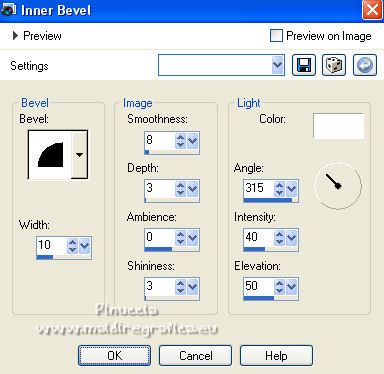
Effects>3D Effects>Inner Bevel.
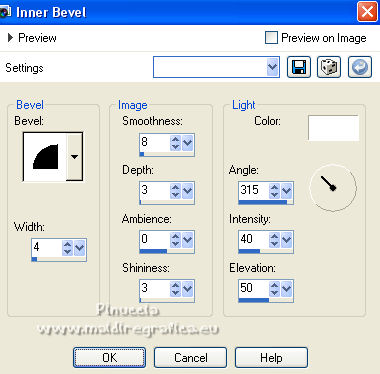
Selections>Select None.
10. Activate the bottom layer.
Layers>New Raster Layer.
Selections>Load/Save Selection>Load Selection from Alpha Channel.
Open the selections menu and load again the selection Auswahl#00.

Effects>3D Effects>Drop Shadow, color black.
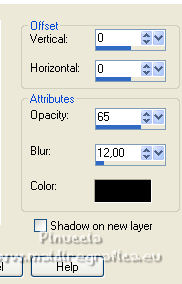
Selections>Select None.
Layers>Merge>Merge Down.
11. Activate again your top layer.
Open your tube and go to Edit>Copy.
Go back to your work and go to Edit>Paste as new layer.
Image>Resize, if necessary, resize all layers not checked.
Effects>Plugins>Xero - Improver, same settings.
Effects>3D Effects>Drop Shadow, color black.

Move  the tube to the right side, against the border. the tube to the right side, against the border.
12. Layers>New Raster Layer.
Selections>Select All.
Flood Fill  the layer with your golden pattern. the layer with your golden pattern.
Selections>Modify>Contract - 5 pixels.
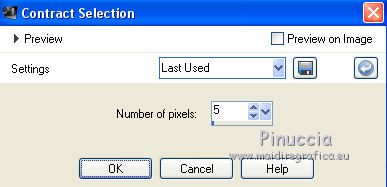
Effects>3D Effects>Cutout.
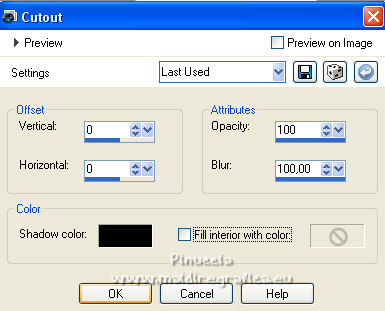
Selections>Invert.
Effects>3D Effects>Inner Bevel.
Selections>Select None.
13. Sign your work on a new layer.
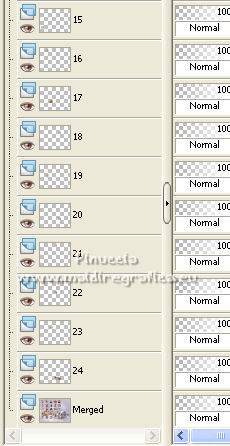
This should be your level palette.
I left the numbered levels from top to bottom, for convenience,
but without problems for the result of the animation

14.Animation
Stay always positioned on the background layer.
Edit>Copy Special>Copy Merged.
Open Animation Shop and go to Edit>Paste>Paste as new image.
Go back to PSP.
Close the layer "1".
Edit>Copy Special>Copy Merged.
Go back to Animation Shop and go to Edit>Paste>Paste after the current frame.
***
Go back to PSP.
Close the layer "2".
Edit>Copy Special>Copy Merged.
Go back to Animation Shop and go to Edit>Paste>Paste after the current frame.***
And so on, repeat the step until you have closed the layer "24".
And you will have an animation consisting of 25 frames.
Edit>Select All.
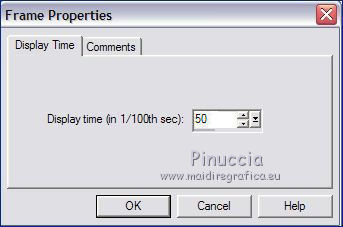
Animation>Frame Properties and set to 50.
Click on the frames 1 and 25.
Animation>Frame Properties, and set to 200.
Check your result clicking on View  and save as gif. and save as gif.
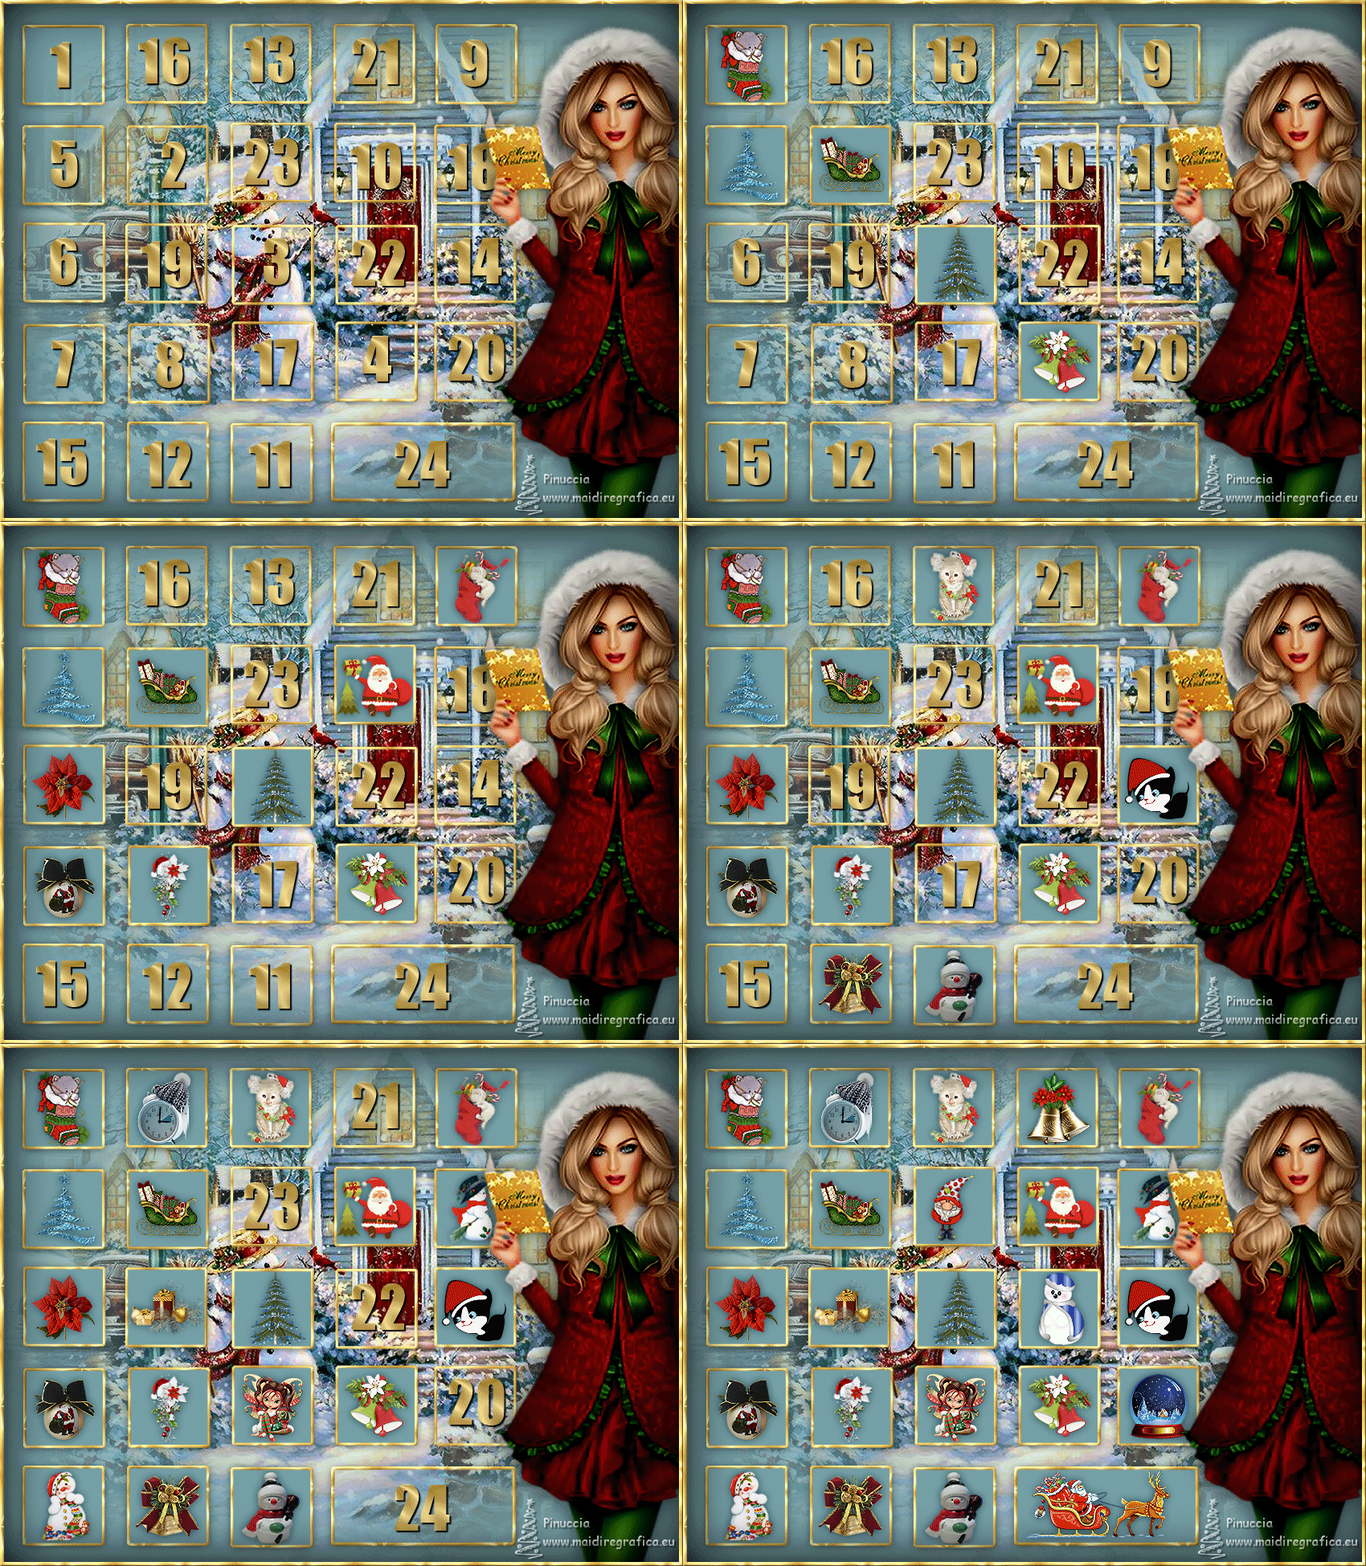
For the tubes of this version thanks Luz Cristina and Tine


 Your versions here Your versions here
If you have problems or doubts, or you find a not worked link, or only for tell me that you enjoyed this tutorial, write to me.
4 October 2022

|
 ADVENT CALENDAR

 ADVENT CALENDAR
