|
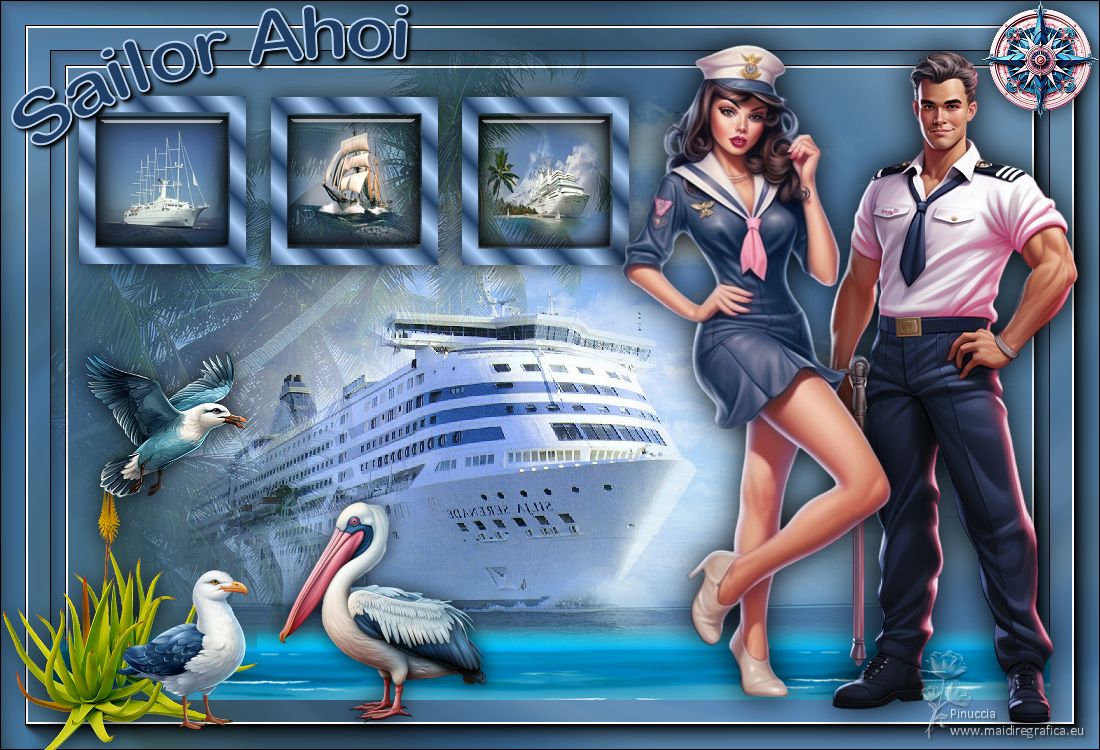
SAILOR AHOI

Thanks Inge-lore for your invitation to translate your tutorials.

This tutorial was translated with PSPX, PSPX2, PSPX3, but it can also be made using other versions of PSP.
Since version PSP X4, Image>Mirror was replaced with Image>Flip Horizontal,
and Image>Flip with Image>Flip Vertical, there are some variables.
In versions X5 and X6, the functions have been improved by making available the Objects menu.
In the latest version X7 command Image>Mirror and Image>Flip returned, but with new differences.
See my schedule here
 Italian translation qui Italian translation qui
 French translation here French translation here
 Your versions ici Your versions ici

For the persons tubes thanks Bella Caribena
For the mask thanks Tine.
(you find here the links to the material authors' sites)

consult, if necessary, my filter section here
Alien Skin Eye Candy 5 Impact - Glass here
AAA Frames - Foto Frame here

In the newest versions of PSP, you don't find the foreground/background gradient (Corel_06_029).
You can use the gradients of the older versions.
The Gradient of CorelX here

Copy the Selection in the Selections Folder.
Open the mask in PSP and minimize it with the rest of the material.
1. Choose 2 colors from your material;
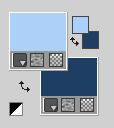
set your foreground color to the light color; for me #add0f8
and your background color to the dark color; for me #203e64
Open a new transparent image 1000 x 650 pixels.
Flood Fill  the transparent image with your dark color. the transparent image with your dark color.
Selections>Select All
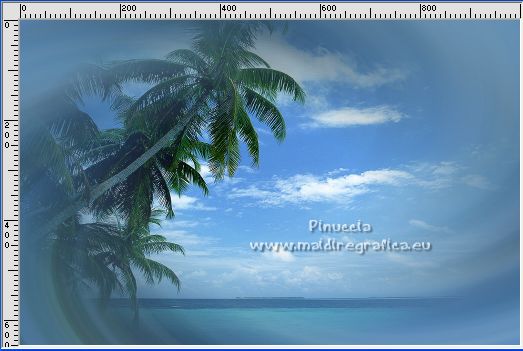
Open your background tube, for my example I choose luna222 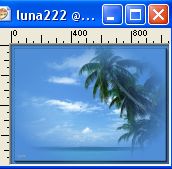
Edit>Copy.
Go back to your work and go to Edit>Paste into Selection.
Selections>Select None.
Effects>Image Effects>Seamless Tiling, default settings.

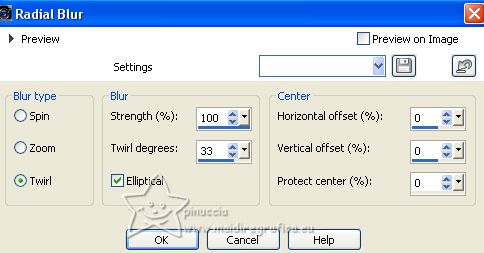
Adjust>Blur>Radial Blur.
2. Layers>New Raster Layer.
Selections>Select All.
Edit>Paste into Selection (your tube is still in memory).
Selections>Select None.
Adjust>Sharpness>Sharpen.
For my example I made: Image>Mirror.
Open your ship tube, for me navio-misted-SIL_TAN 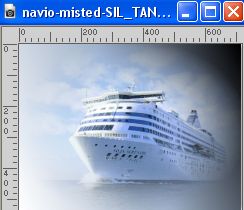
Edit>Copy.
Go back to your work and go to Edit>Paste as new layer.
For my example: ImageMirror.
Image>Resize, if necessary.
Adjust>Sharpness>Sharpen.
Place  correctly the tube. correctly the tube.
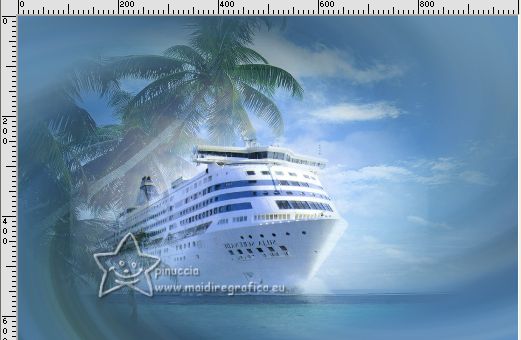
3. Layers>New Raster Layer.
Flood Fill  the layer with your light color. the layer with your light color.
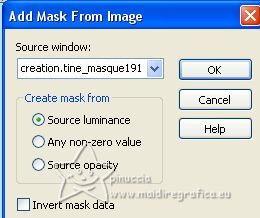
Layers>New Mask layer>From image
Open the menu under the source window and you'll see all the files open.
Select the mask creation.tine_masque191
Effects>Edge Effects>Enhance.
Layers>Merge>Merge Group.
Image>Mirror.
Selection Tool 
(no matter the type of selection, because with the custom selection your always get a rectangle)
clic on the Custom Selection 
and set the following settings.
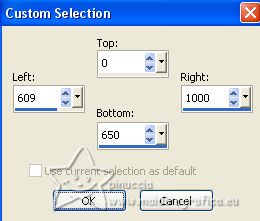
Press CANC on the keyboard 
Selections>Select None.
K key to activate your Pick Tool 
and set Position X and Y: 0,00

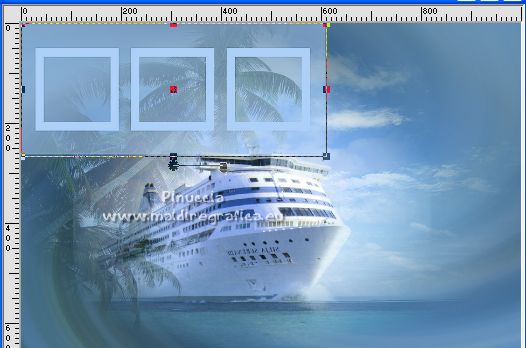
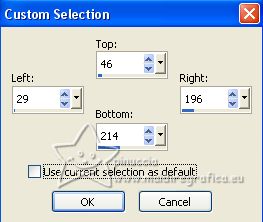
4. Custom Selection 
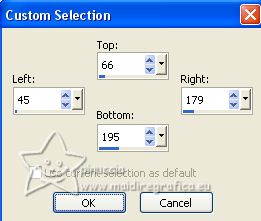
Layers>New Raster Layer.
Open the ship tube, for me fotomarion2810-misted-bd-10.2.09 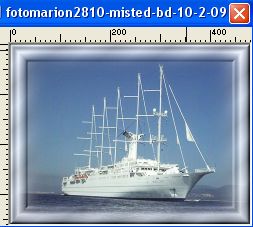
Edit>Copy.
Go back to your work and go to Edit>Paste into Selection.
Selections>Select None.
Custom Selection 
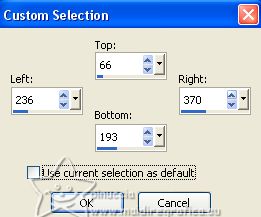
Open the tube of another ship, for me August Serie Ships 1-2 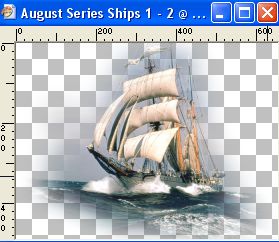
Edit>Copy.
Go back to your work and on the same layer go to Edit>Paste into Selection.
Selections>Select None.
5. Custom Selection 
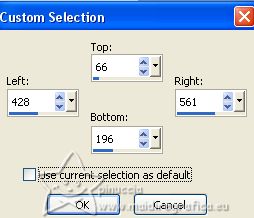
Open a third ship tube, for me MALVI 2301 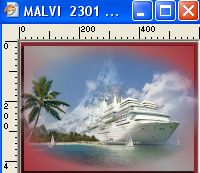
Edit>Copy.
Go back to your work and on the same layer go to Edit>Paste into Selection.
Selections>Select None.
Adjust>Sharpness>Sharpen.
Selections>Load/Save Selection>Load Selection from Disk.
Look for and load the selection Sailor#1
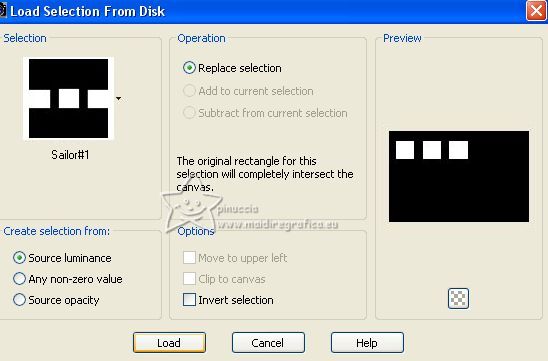
Layers>New Raster Layer.
Effects>3D Effects>Cutout.
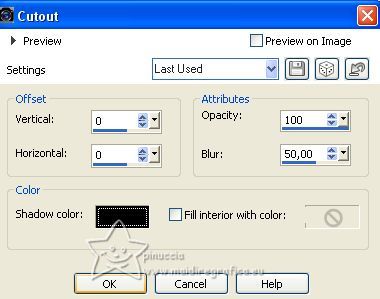
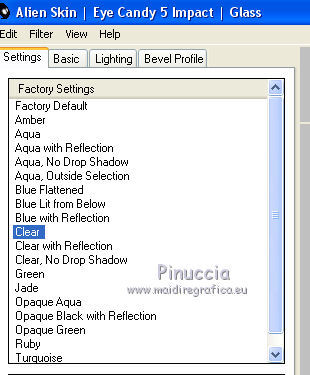
6. Effects>Plugins>Alien Skin Eye Candy 5 Impact - Glass.
Select the preset Clear and ok.
Selections>Select None.
Activate the mask's layer and delete the layer.
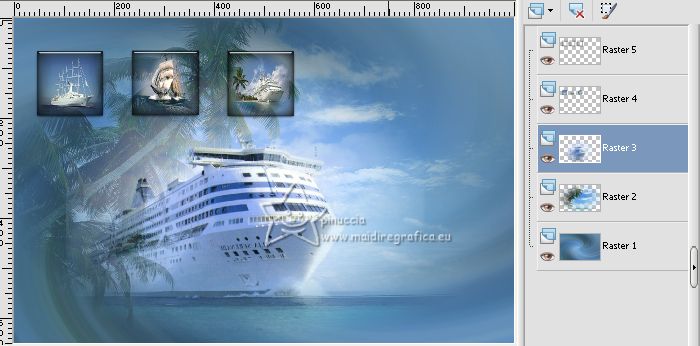
Activate your top layer.
Custom Selection 
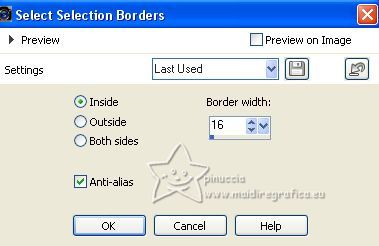
Selections>Modify>Select Selection Borders.
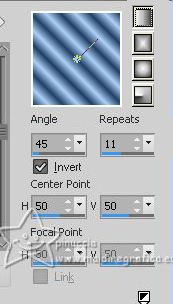
Set your foreground color to a Foreground/Background Gradient, style Linear.
Layers>New Raster Layer.
Flood Fill  the selection with your Gradient. the selection with your Gradient.
Selections>Select None.
7. Layers>Duplicate.
K key to activate your Pick Tool 
and set Position X: 220,00 and Position Y: 46,00.

Layers>Duplicate.
Set Position X: 411,00 and keep Position Y: 46,00.

Layers>Merge>Merge Down - 2 times.
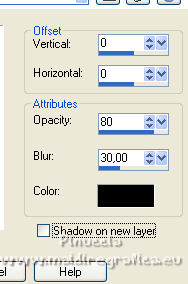
Effects>3D Effects>Drop Shadow.
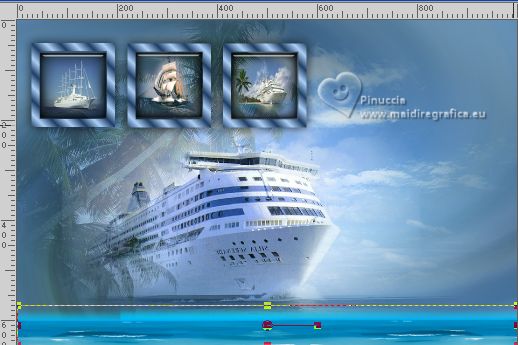
8. Open Deko-1 
Edit>Copy.
Go back to your work and go to Edit>Paste as new layer.
Objects>Align>Bottom.
Activate your bottom layer.
Edit>Copy
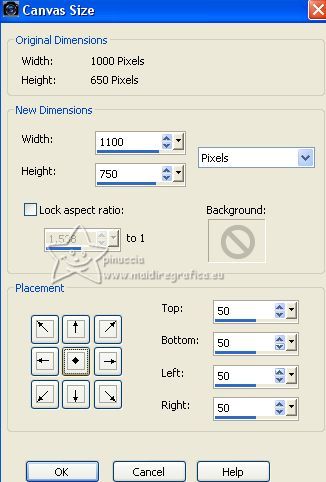
Image>Canvas Size - 1100 x 750 pixels
Layers>New Raster Layer.
Layers>Arrange>Move Down.
Selections>Select All.
Edit>Paste into Selection.
Selections>Select None.
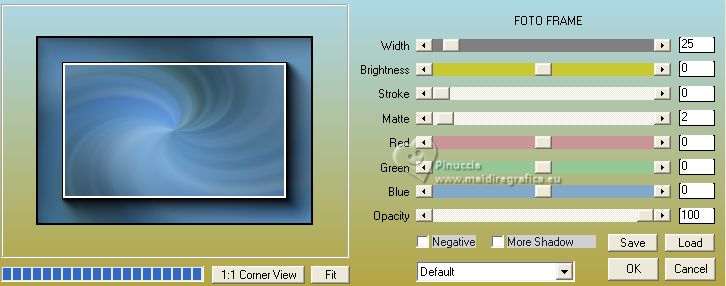
9. Effects>Plugins>AAA Frames - Foto Frame.
Activate the layer Raster 1.
Activate your Magic Wand Tool 
and click in the transparent bord to select it.
Selections>Invert.
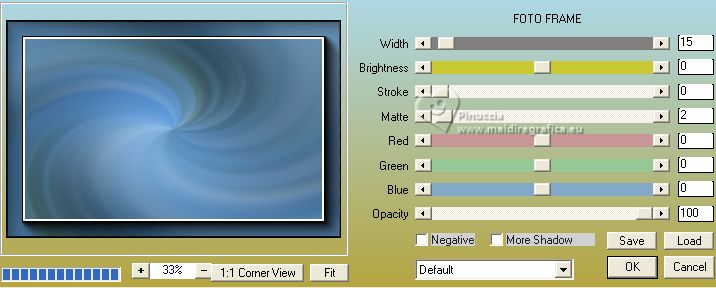
Effects>Plugins>AAA Frames - Foto Frame.
Selections>Select None.
10. Activate your top layer.
Open your tube, for me 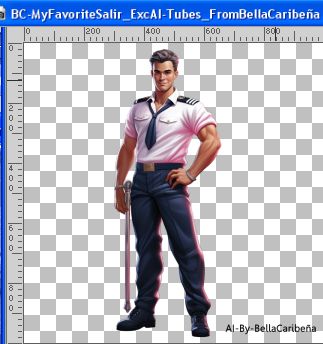
Erase the watermark and go to Edit>Copy.
Go back to your work and go to Edit>Paste as new layer.
Image>Resize, to 70%, resize all layers not checked.
Adjust>Sharpness>Sharpen.
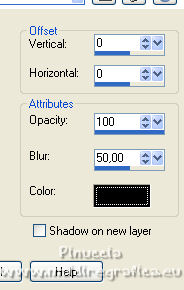
Effects>3D Effects>Drop Shadow.
Open the second tube, for me 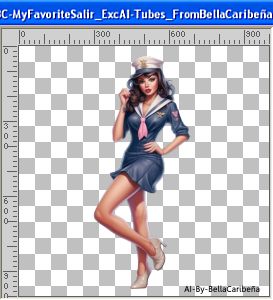
Erase the watermark and go to Edit>Copy.
Go back to your work and go to Edit>Paste as new layer.
Image>Mirror.
Image>Resize, to 70%, resize all layers not checked.
Adjust>Sharpness>Sharpen.
Effects>3D Effects>Drop Shadow.

Add the accessory tubes; for me:
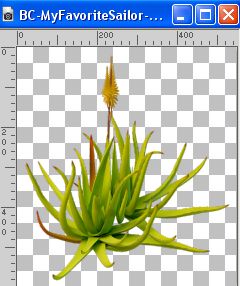
Image>Resize, to 50%, resize all layers not checked.
Move  the tube at the bottom left. the tube at the bottom left.
Adjust>Sharpness>Sharpen.
Effects>3D Effects>Drop Shadow.

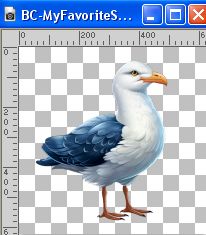
Image>Resize, to 40%, resize all layers not checked.
Move  also this tube at the bottom left. also this tube at the bottom left.
Adjust>Sharpness>Sharpen.
Effects>3D Effects>Drop Shadow, same settings.
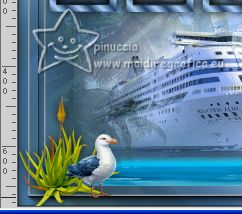
Image>Resize, to 40%, resize al layers not checked.
Move  the tube at the bottom left. the tube at the bottom left.
Adjust>Sharpness>Sharpen.
Effects>3D Effects>Drop Shadow, same settings.
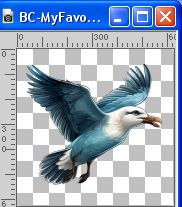
Image>Resize, to 30%, resize all layers not checked.
Move  the tube to the left side. the tube to the left side.
Adjust>Sharpness>Sharpen.
Effects>3D Effects>Drop Shadow, same settings.
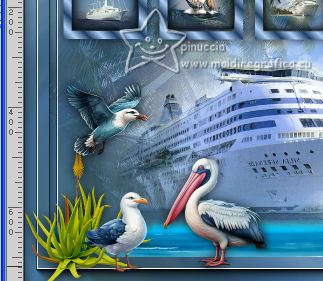
11. Open the text 
Edit>Copy.
Go back to your work and go to Edit>Paste as new layer.
K key to activate your Pick Tool 
and set Position X: 11,00 and Position Y: 4,00.

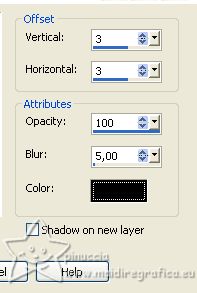
Effects>3D Effects>Drop Shadow.
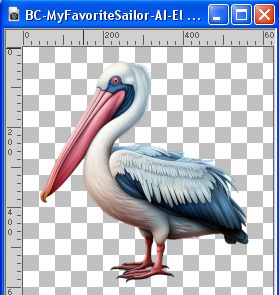
Open BC-MyFavoriteSailor-AI-El (19) 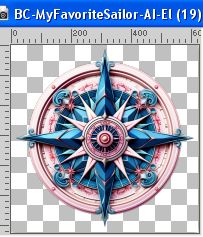
Edit>Copy.
Go back to your work and go to Edit>Paste as new layer.
Image>Resize, to 20%, resize all layers not checked.
Adjust>Sharpness>Sharpen.
Move  the tube at the upper right corner. the tube at the upper right corner.
Effects>3D Effects>Drop Shadow.

Possibly, if necessary, move the tube a little lower.

If you have problems or doubts, or you find a not worked link, or only for tell me that you enjoyed this tutorial, write to me.
4 Luglio 2023

|


