|
BIRD

Thanks Ligia for your invitation to translate your tutorial

This tutorial was translated with PSPX7, but it can also be made using other versions of PSP.
Since version PSP X4, Image>Mirror was replaced with Image>Flip Horizontal,
and Image>Flip with Image>Flip Vertical, there are some variables.
In versions X5 and X6, the functions have been improved by making available the Objects menu.
In the latest version X7 command Image>Mirror and Image>Flip returned, but with new differences.
See my schedule here
 French translation here French translation here
 your versions ici your versions ici
For this tutorial, you will need:
Material here
For a mask thanks Cameron.
The rest of the material is by Ligia
(you find here the links to the material authors' sites)
Plugins
consult, if necessary, my filter section here
Filters Unlimited 2.0 here
Mehdi - Wavy Lab 1.1. here
Graphics Plus - Emboss, Quick Tile II here
Scribe - 4way Mirrorhere
Toadies - Sucking Toad Bevel II.2 here
Adjust - Variations here
Nik Software - Color Efex 3 here
Filters Graphics Plus, Scribe and Toadies can be used alone or imported into Filters Unlimited.
(How do, you see here)
If a plugin supplied appears with this icon  it must necessarily be imported into Unlimited it must necessarily be imported into Unlimited

You can change Blend Modes according to your colors.

Copy the Selection in the Selection Folder.
1. Open a new transparent image 750 x 500 pixels.
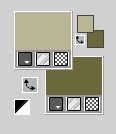
2. Set your foreground color to #bab597,
and your background color to #6b683c.
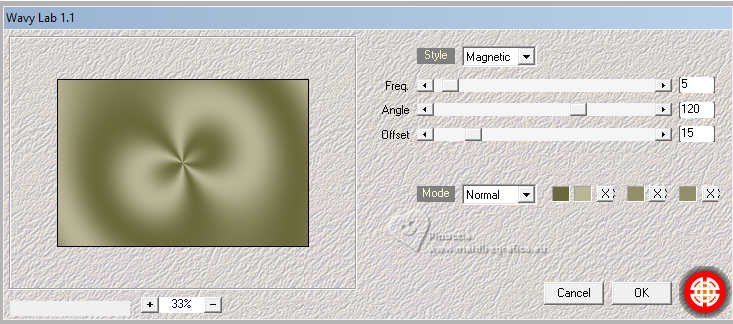
3. Effcts>Plugins>Mehdi - Wavy Lab 1.1.
This filter creates gradients with the colors of your Materials palette.
The first is your background color, the second is your foreground color.
Keep the last two colors created by the filtre:
4. Layers>New Raster Layer.
Selections>Select All.
5. Open the tube moca2 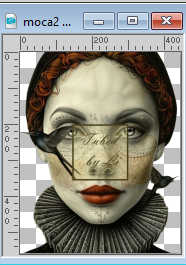
Edit>Copy.
Go back to your work and go to Edit>Paste into Selection.
Selections>Select None.
6. Effects>Image Effects>Seamless Tiling, Side by side.

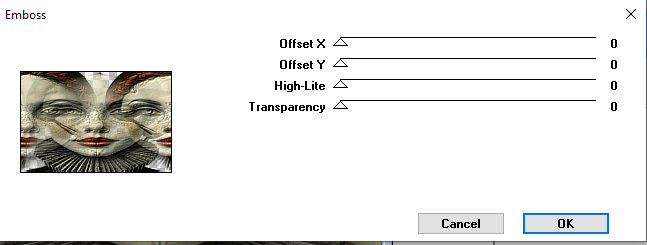
7. Effects>Plugins>Graphics Plus - Emboss
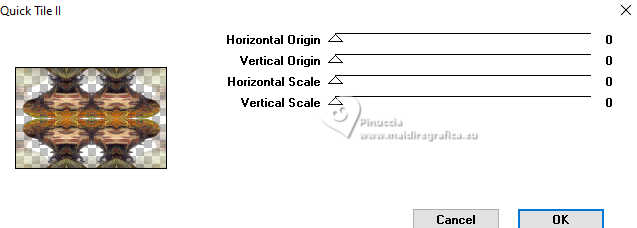
Effects>Plugins>Graphics Plus - Quick Tile II
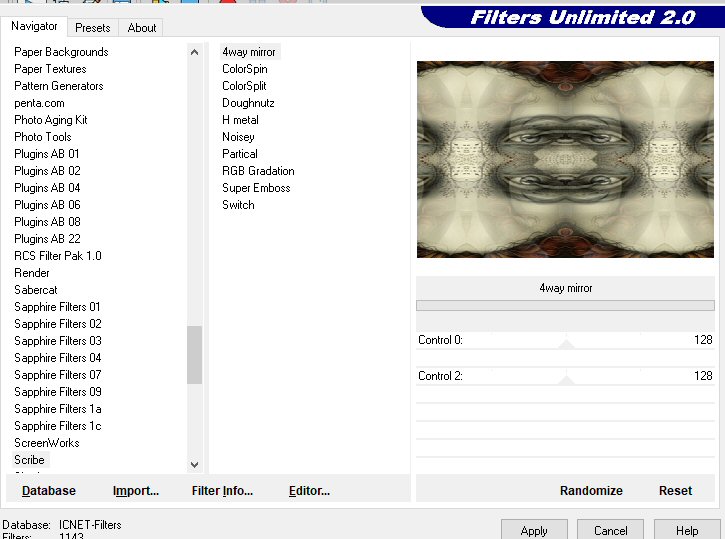
8. Effects>Plugins>Scribe - Way Mirror
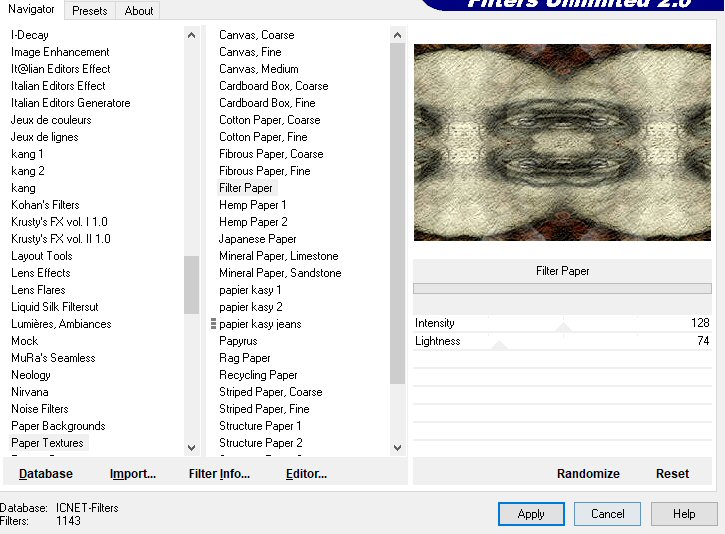
9. Effects>Plugins>Filters Unlimited 2.0 - Paper Texture - Filter Paper
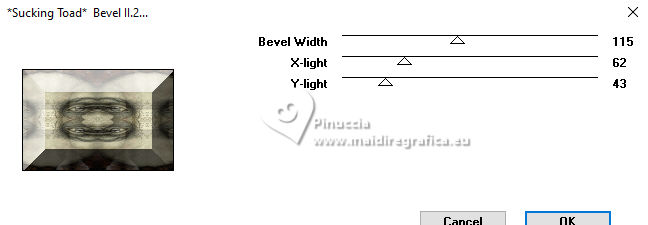
10. Effects>Plugins>Toadies - Sucking Toad Bevel II.2
11. Selections>Load/Save Selection>Load Selection from Disk.
Look for and load the selection moca_li1
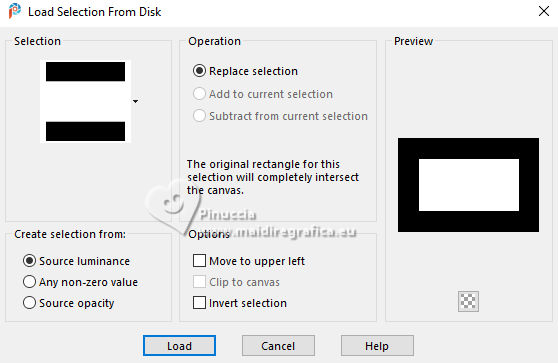
Selections>Invert.
12. Effects>Plugins>Filters Unlimited 2.0 - Paper Texture - Structure paper 1 - 2 times, according to your images.

13- Selections>Invert.
Effects>3D Effects>Drop Shadow.

Edit>Repeat Drop Shadow.
Keep selected.
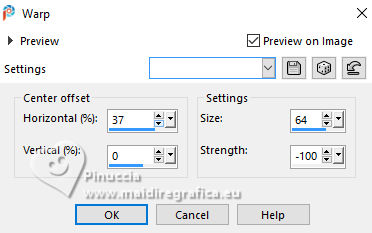
14. Effects>Distortion Effects>Warp.
15. Effects>Geometric Effects>Skew.
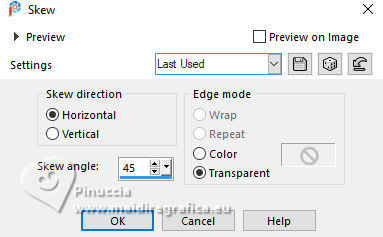
16. Effects>3D Effects>Drop Shadow - 3 times (according to your images).

17. Selections>Select None.
18. Activate again the tube moça2 and go to Edit>Copy.
Go back to your work and go to Edit>Paste as new layer.
Move  the tube at the bottom left. the tube at the bottom left.
19. Effects>3D Effects>Drop Shadow, same settings - 2 times (always if it is necessary).
20. Open the tube moca1 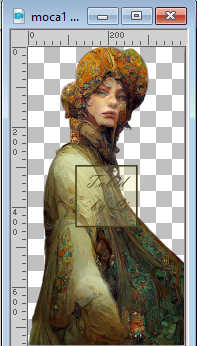
Edit>Copy.
Go back to your work and go to Edit>Paste as new layer.
Image>Resize, to 80%, resize all layers not checked.
Image>Mirror>Mirror horizontal.
Move  the tube to the right side. the tube to the right side.
21. Effects>Plugins>Adjust - Variations
1 click on Original, 1 click on Darken and ok.
Activate your Selection Tool 
and draw a selection of the head of the tube
Effets>Modules Externes>Adjust - Variations
un clic sur Original et 2 clic sur Darken et ok (necessaire if the head is too light).
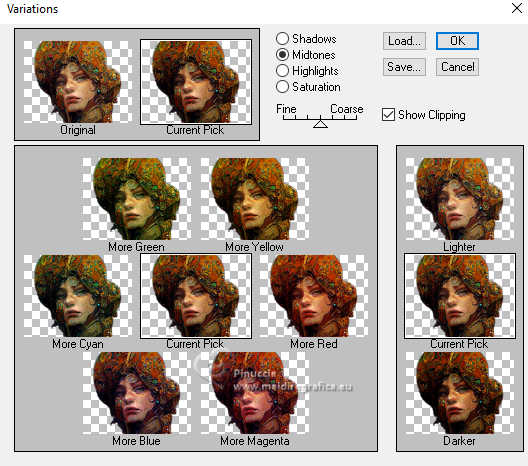
Selections>Select None.
22. Activate your Lighten/Darken Brush Tool 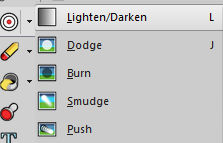

double-click only on the face of the image (this part will depend on the tube you use).
23. Activate your Erase Tool 

You should fade the edge of the cover as shown in the figure below
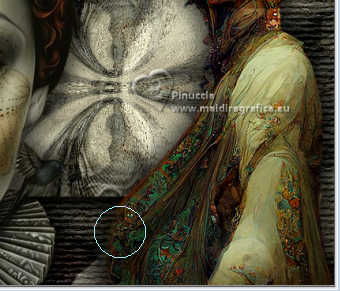
(it depends on whether it is necessary in the tube you use;
in the second example I made it was not necessary).
if you use the supplied tubes and if you like better,
use the image maca3, that is ready.
24. Effects>3D Effects>Drop Shadow, same settings - 2 times.
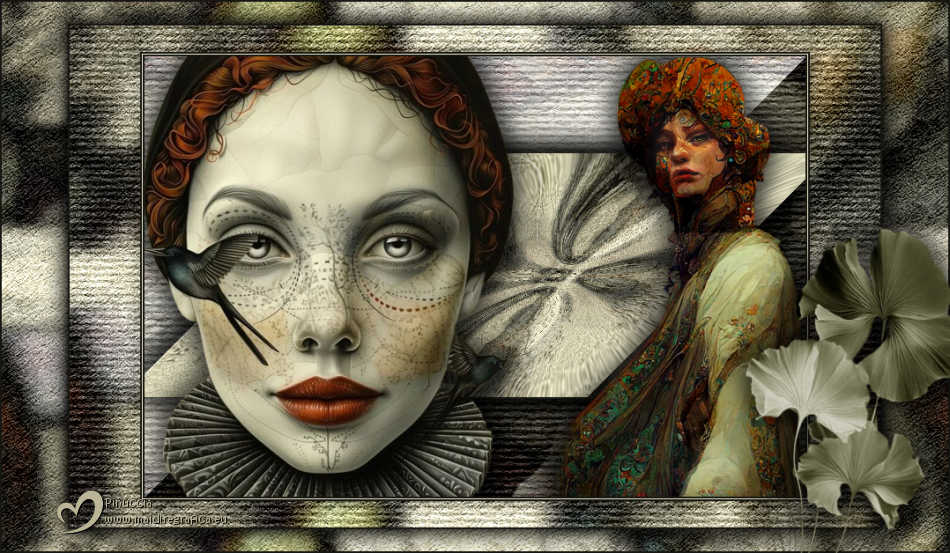
25. You should have this
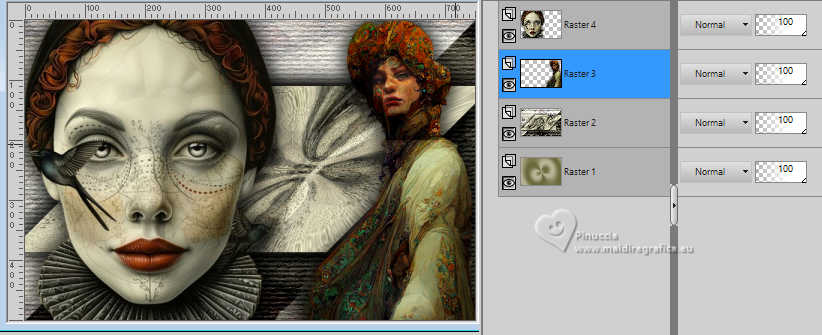
26. Layers>Merge>Merge visible.
BORDERS
Set your foreground color to #161712,
and your background color to #f2edcf.
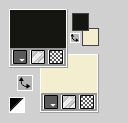
1. Image>Add Borders, 2 pixels, symmetric, color #161712.
Image>Add Borders, 1 pixel, symmetric, color #f2edcf.
Image>Add Borders, 2 pixels, symmetric, color #161712.
2. Selections>Select All.
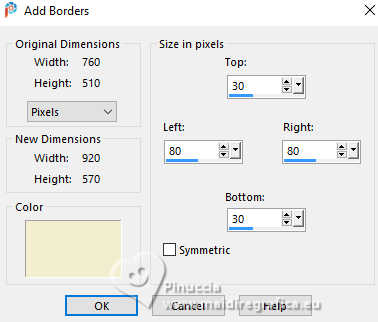
Image>Add Borders, symmetric not checked, color #f2edcf.
3. Effects>Image Effects>Seamless Tiling, default settings.

4. Selections>Invert.
Effects>Plugins>Graphics Plus - Emboss
5. Adjust>Blur>Gaussian Blur - radius 10.

6. Effects>Plugins>Filters Unlimited 2.0 - Paper Texture - Filter Paper - 2 times.
7. Effects>Plugins>Filters Unlimited 2.0 - Paper Texture - Structure Paper 1 - 2 times.
8. Selections>Invert.
Effects>3D Effects>Drop Shadow - last settings - 2 times.
Selections>Select None.
9. Image>Add Borders, 2 pixels, symmetric, color #161712.
10. Selections>Select all.
Image>Add Borders, symmetric not checked, light color.
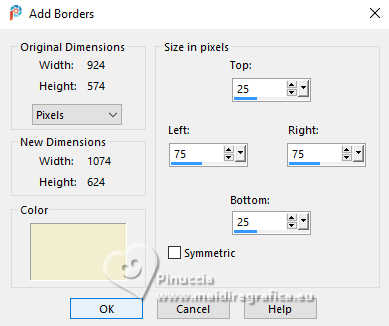
11. Effects>Image Effects>Seamless Tiling, default settings.

12. Selections>Invert.
Adjust>Blur>Gaussian Blur - radius 5.
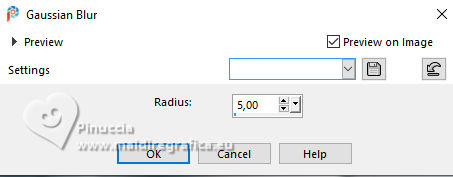
13. Effects>Plugins>Filters Unlimited 2.0 - Paper Texture - Filter Paper - 2 times.
14. Selections>Invert.
Effects>3D Effects>Drop Shadow, last settings - 2 times.
Selections>Select None.
15. Image>Add Borders, 2 pixels, symmetric, color #161712.
16. Open the tube flor_li 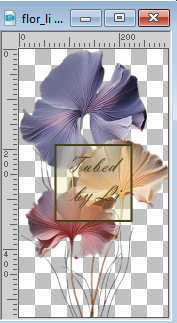
Edit>Copy.
Go back to your work and go to Edit>Paste as new layer.
(if you use your tube, color it however you think it looks best).
I proceeded as follows:
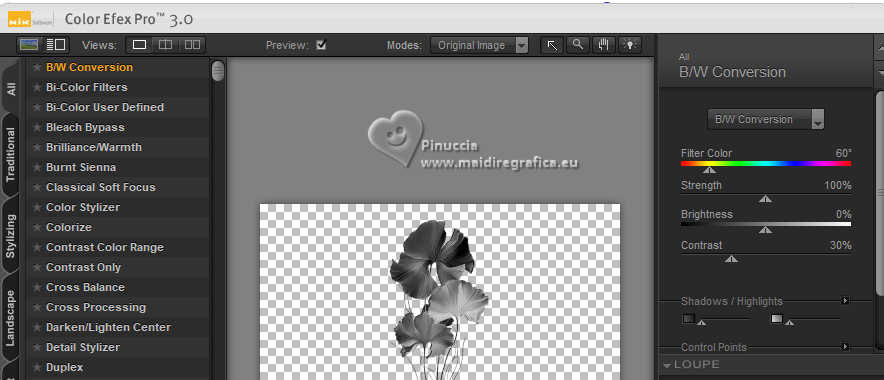
a. Effects>Plugins>Nick Software - Color Efex - BW Convention, default settings.
b. Effects>Plugins>Adjust - Variations - 1 click on Original, 1 click on More Yellow (or according to your work).
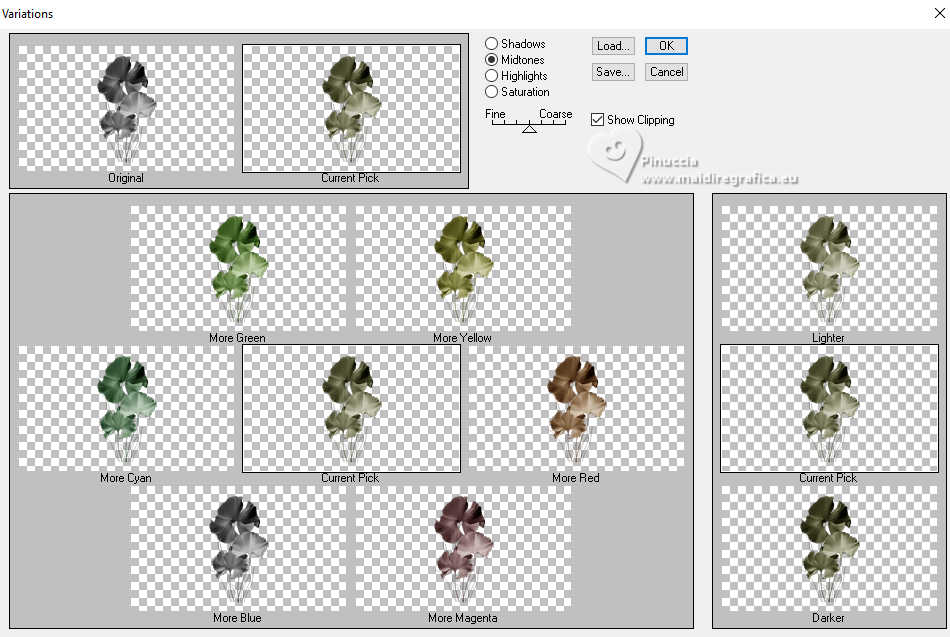
29. Move  the image at the bottom right the image at the bottom right
(adapt the color and the transparency according to your image).
30. Effects>3D Effects>Drop Shadow, last settings - 2 times.
31. Image>Resize, 800 pixels width, resize all layers checked.
Sign your work adn save as jpg.
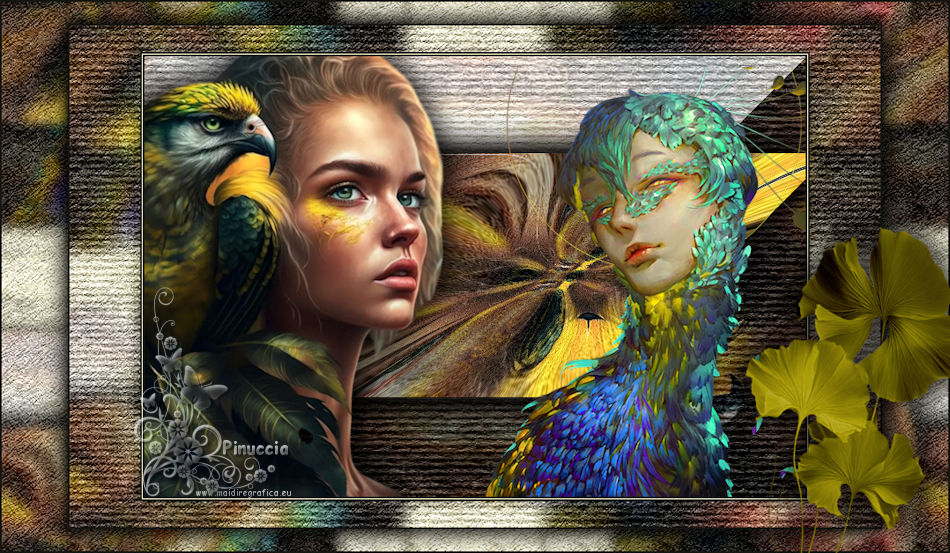
 Your versions here Your versions here

If you have problems or doubts, or you find a not worked link, or only for tell me that you enjoyed this tutorial, write to me.
10 June 2025

|

