|
TOP LU


Thanks Luz Cristina for your invitation to translate your tutorials into english

This tutorial was translated with PSPX9 but it can also be made using other versions of PSP.
Since version PSP X4, Image>Mirror was replaced with Image>Flip Horizontal,
and Image>Flip with Image>Flip Vertical, there are some variables.
In versions X5 and X6, the functions have been improved by making available the Objects menu.
In the latest version X7 command Image>Mirror and Image>Flip returned, but with new differences.
See my schedule here
 French Translation here French Translation here
 Your versions here Your versions here

For this tutorial, you will need:

For the tube thanks Luz Cristina, Grisi and Gerry
(The links of the tubemakers here).

consult, if necessary, my filter section here
Filters Unlimited 2.0 here
Toadies - Sucking Toad Bevel II.2 here
Mura's Meister - Copies, Perspective Tiling here
Filters Toadies can be used alone or imported into Filters Unlimited.
(How do, you see here)
If a plugin supplied appears with this icon  it must necessarily be imported into Unlimited it must necessarily be imported into Unlimited

You can change Blend Modes according to your colors.
In the newest versions of PSP, you don't find the foreground/background gradient (Corel_06_029).
You can use the gradients of the older versions.
The Gradient of CorelX here
This tutorial, created with PSP9 and translated with PSPX2,
misses some features in newer versions of PSP.
For this reason, I've update my french translation
and made some changes to solve the problem.

Copy the texture Broquel in the Textures Folder.
Copy the preset Emboss 3 in the Presets Folder.
Open the mask in PSP and minimize it with the rest of the material.
1. Open a new transparent image 1000 x 600 pixels.
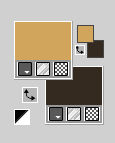
2. Set your foreground color to #d2a55c,
and your background color to #362c22.
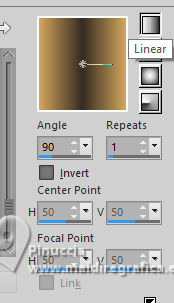
Set your foreground color to a Foreground/Background Gradient, style Linear
(the dark color in the center).
Flood fill  the transparent image with your Gradient. the transparent image with your Gradient.
3. Effects>Plugins>Toadies - Sucking Toad Bevel II.2.
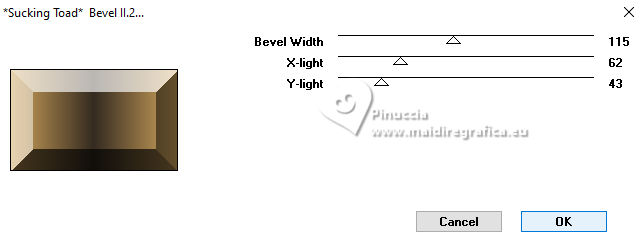
4. Image>Resize, to 50%, resize all layers not checked.
5. Effects>geometric Effects>Skew.
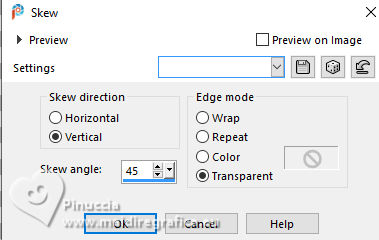
6. Effects>Distortion Effects>Pinch.

7. Effects>Distortion Effects>Warp.
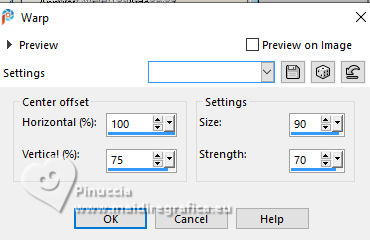
8. Effects>Plugins>Mura's Meister - Copies.
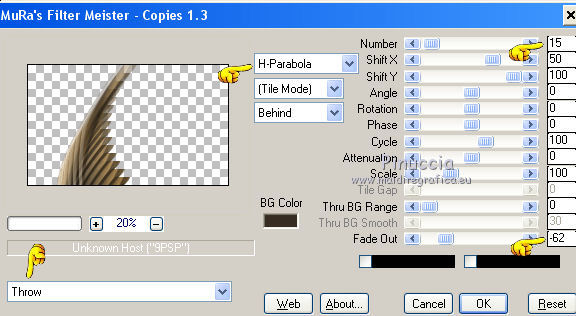
9. Image>Mirror>Mirror Vertical (Image>Flip).
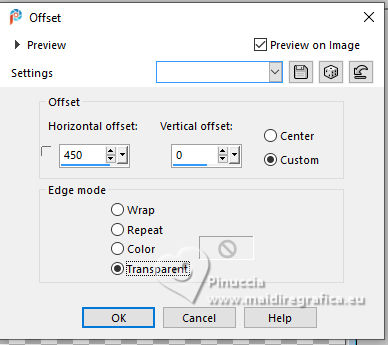
Effects>Image Effects>Offset.
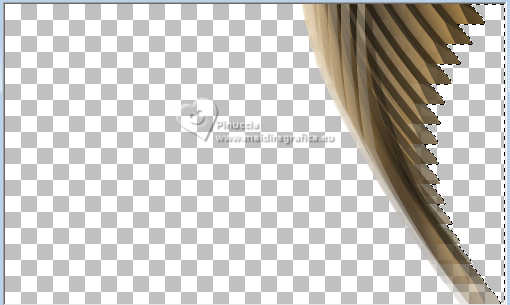
10. Activate your Magic Wand Tool 
and click in the right part of the forme, to select it.
11. Layers>New Raster Layer.
Selections>Modify>Expand - 5 pixels.
12. Change the settings of your Gradient.
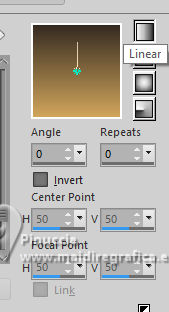
Flood Fill  the layer of your Gradient. the layer of your Gradient.
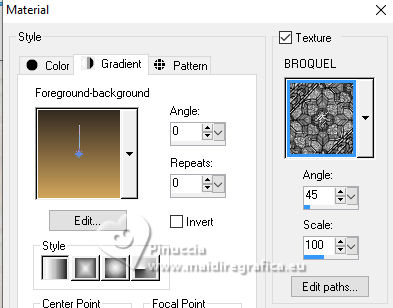
13. Open the gradient's palette and select Texture:
look for and select the texture Broquel, with these settings.
14. Activate your Aerographe Tool  , with these settings. , with these settings.

Hover your mouse over the entire selected part.
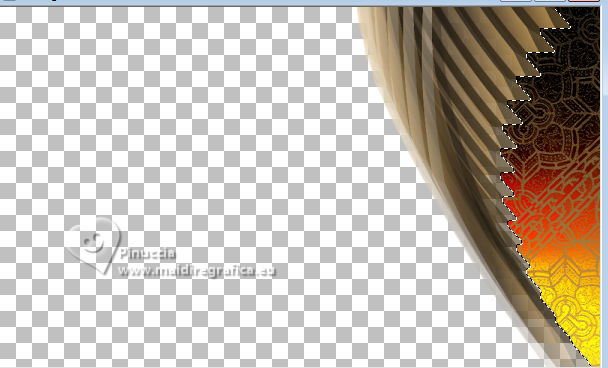
Unfortunately, after the PSPX7 version,
this important feature of merging a texture with a color or gradient was not retained by the developers.
There is no valid alternative in the latest PSP versions.
If you are using a newer version without this feature, skip step 14.
Open the file I added in the material file aerographe 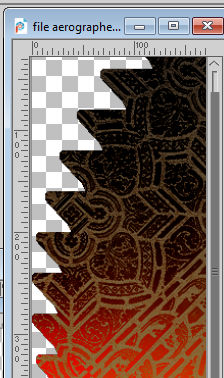
Edit>Copy.
Go back to your work and go to Edit>Paste into selection.
And here is the correct result
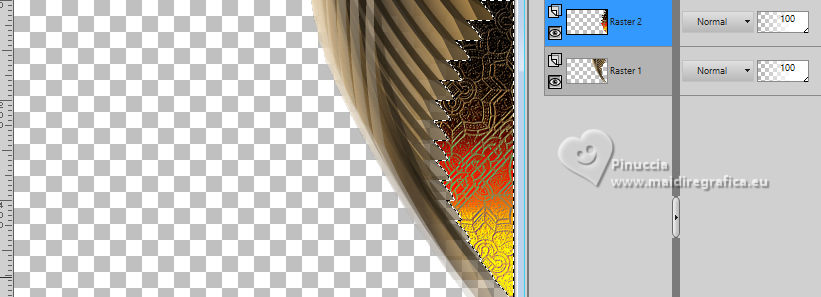
15. Effects>User Defined Filter, select the preset Emboss 3 and ok.

Selections>Select None.
Layers>Merge>Merge visible.
16. Layers>Duplicate.
Image>Mirror>Mirror Horizontal.
Layers>Merge>Merge visible.
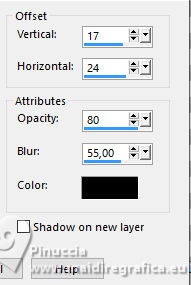
17. Effects>3D Effects>Drop Shadow.
18. Calques>Nouveau calque de masque>A partir d'une image.
Layers>New Mask layer>From image
Open the menu under the source window and you'll see all the files open.
Select the mask mask fadesuave.
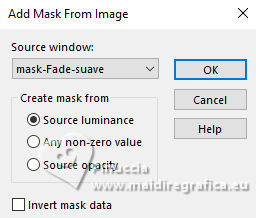
Layers>Merge>Merge Group.
Again Layers>New Mask layer>From image
Open the menu under the source window
and select the mask maskfadesuave.
Layers>Merge>Merge Group.
if you want, to apply the mask 2 times, you can also do:
Layers>Duplicate before Merge Group
19. Image>Canvas Size - 1000 x 850 pixels.
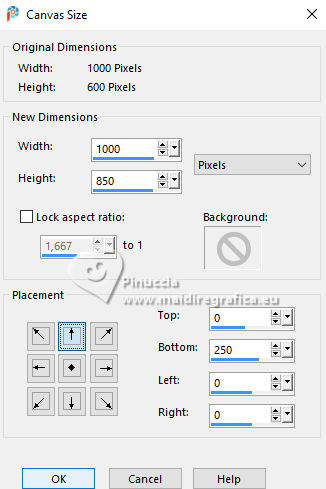
20. Layers>New Raster Layer.
Layers>Arrange>Send to Bottom.
21. Open the menu of your Materials palette,
and deselect the texture from the gradient.
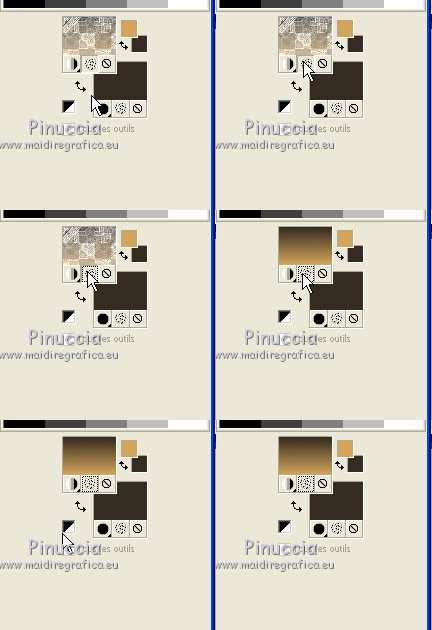
Flood Fill  the layer with your Gradient. the layer with your Gradient.
22. Close the layer above to work better.
Activate again your Aerographe Tool 
Open the Materials' palette,
and select the texture.
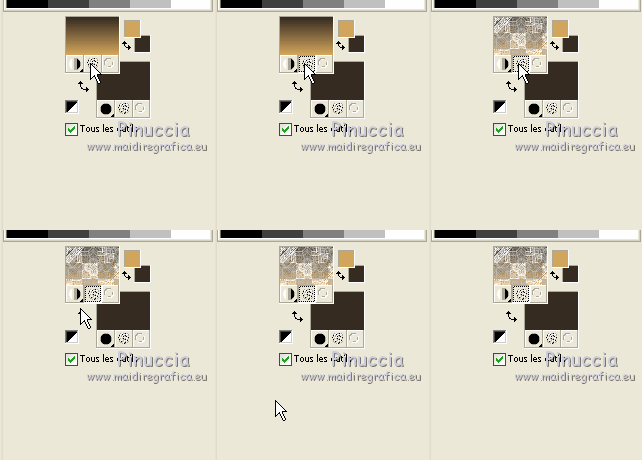
Hover over the entire layer to cover it with the texture.
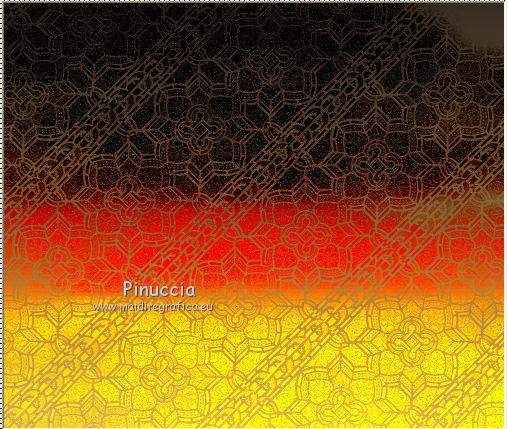
as before, if you are using a newer version without this feature, skip step 22.
Copy the file file aerographe2 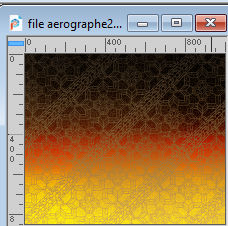
Go back toy our work and go to Edit>Paste as new layer
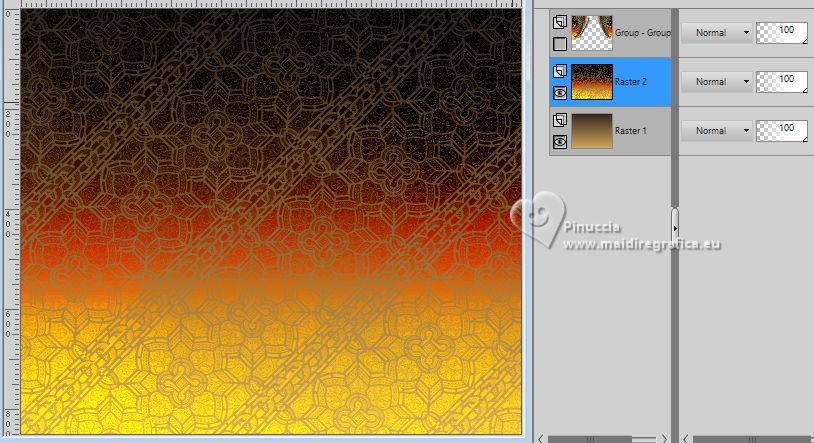
23. Effects>User Defined Filter - Emboss 3.
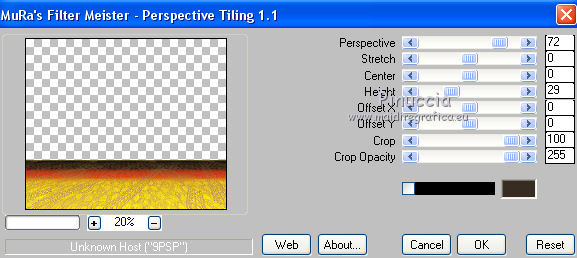
24. Effects>Plugins>Mura's Meister - Perspective Tiling.
25. Activate your Magic Wand Tool  , feather 20, , feather 20,
and click in the transparent part to select it.
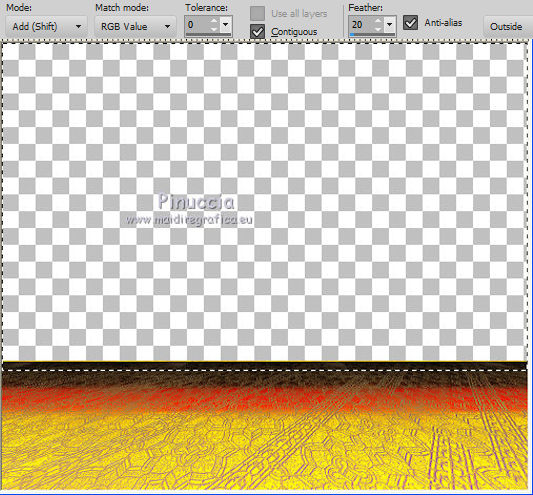
Press several times CANC on the keyboard 
Selections>Select None.
26. Calques>Nouveau calque de masque>A partir d'une image.
Layers>New Mask layer>From image
Open the menu under the source window
and select the mask mask fadesuave.

Layers>Merge>Merge Group.
Again Layers>New Mask layer>From image
Open the menu under the source window
and select the mask maskfadesuave.
Layers>Merge>Merge Group.
27. Layers>New Raster Layer.
Layers>Arrange>Send to Bottom.
28. Decheked the texture from the Gradient.

of course, this is not necessary if you are using a newer PSP version
Flood Fill  the layer with your Gradient. the layer with your Gradient.
29. Re-open the closed layer, and activate the Mura's layer.
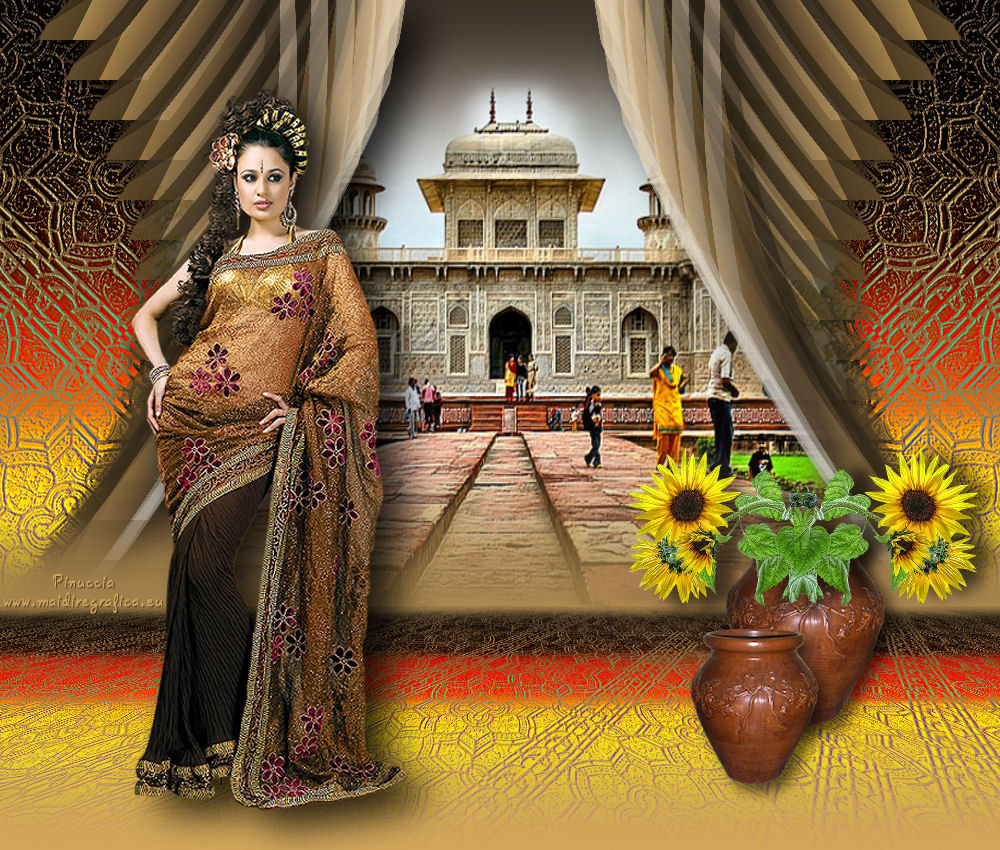
Activate the tube 1601-luzcristina 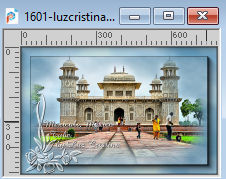
Edit>Copy.
Go back to your work and go to Edit>Paste as new layer.
Activate your Pick Tool and adjust the tube to the space.
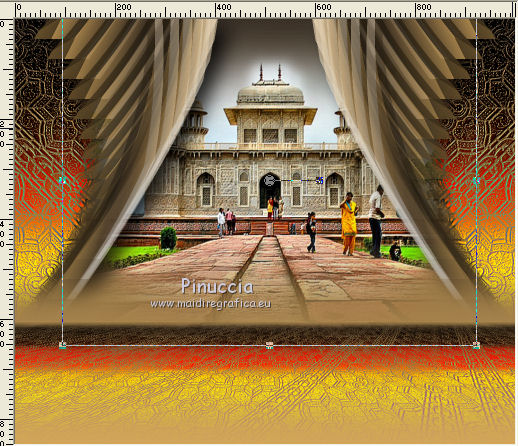
Change the Blend Mode of this layer to Overlay, or to your liking.
(for my example: Normal).
30. Activate your woman's tube Grisi_Tube_Sari_046 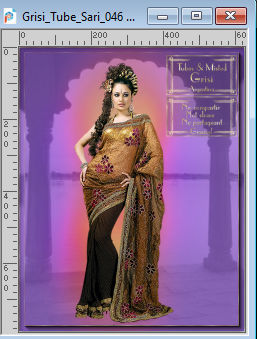
Edit>Copy.
Go back to your work and go to Edit>Paste as new layer.
Move  the tube to the left side. the tube to the left side.
Effects>3D Effects>Drop Shadow, at your choice.
31. Activate the tube Grisi_Tube_Decoration_363 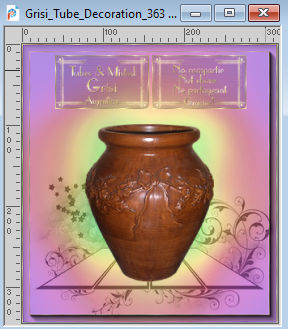
Edit>Copy.
Go back to your work and go to Edit>Paste as new layer.
Move  the tube to the right. the tube to the right.
Effects>3D Effects>Drop Shadow, at your choice.
32. Open the tube Gerry-Bloemen41-12 mei 2008 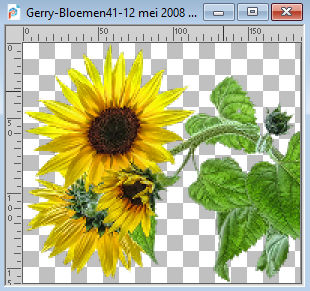
Edit>Copy.
Go back to your work and go to Edit>Paste as new layer.
Layers>Duplicate.
Image>Mirror>Mirror Horizontal.
Place  the flowers over the vase. the flowers over the vase.
Activate the top flower layer.
Layers>Merge>Merge Down.
Effects>3D Effects>Drop Shadow, at your choice.
33. Activate the layer of the vase.
Layers>Duplicate.
Image>Resize, to 80%, resize all layers not checked.
Place  this vase near the original one. this vase near the original one.
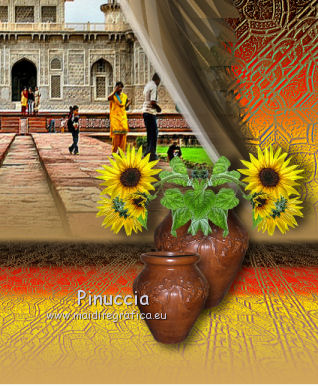
34. Sign your work.
Layers>Merge>Merge All and save as jpg.
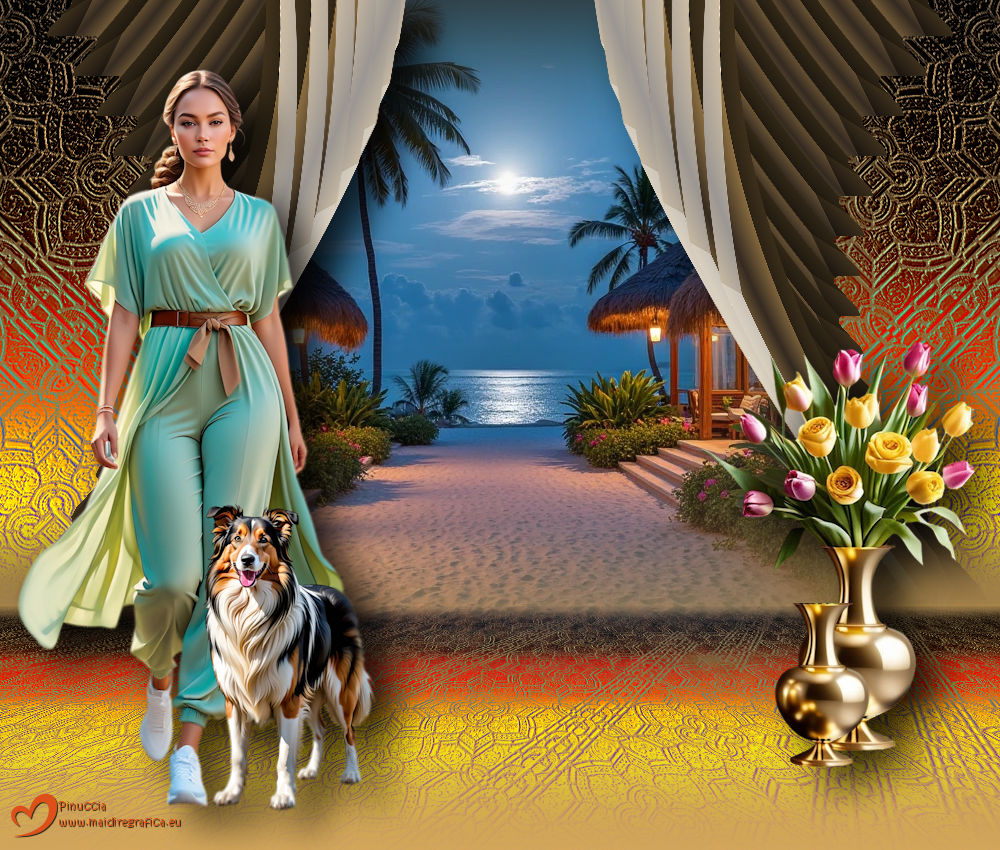
For the tubes of this version thanks Kamil and Lady Valella


If you have problems or doubts, or you find a not worked link,
or only for tell me that you enjoyed this tutorial, write to me.
20 August 2025
|

