|
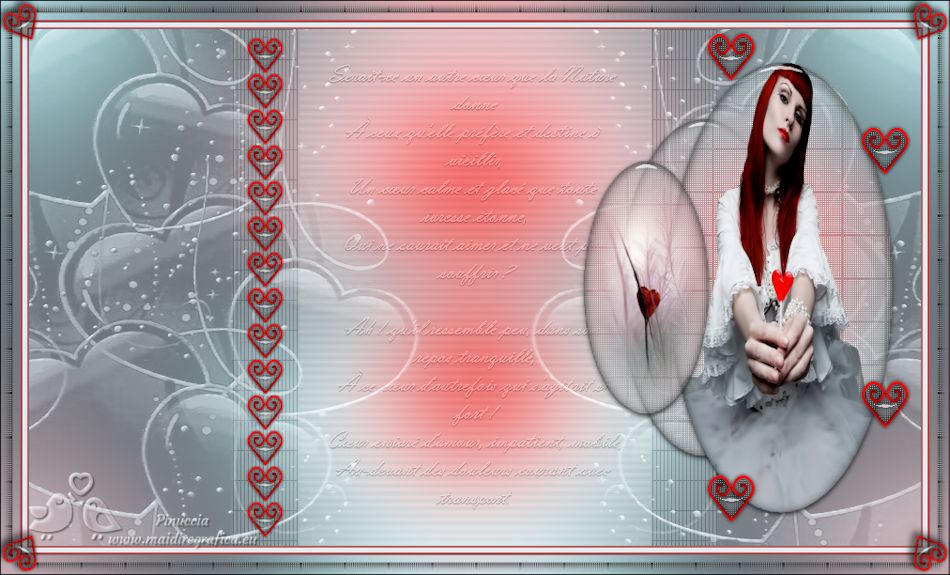
I HAVE SET MY HEART ON YOU


Thanks Irene for the invitation to translate your tutorials

This tutorial was written with PSPX8 and translated with PSPX7 and PSPX3, but it can also be made using other versions of PSP.
Since version PSP X4, Image>Mirror was replaced with Image>Flip Horizontal,
and Image>Flip with Image>Flip Vertical, there are some variables.
In versions X5 and X6, the functions have been improved by making available the Objects menu.
In the latest version X7 command Image>Mirror and Image>Flip returned, but with new differences.
See my schedule here
 italian translation here italian translation here

For this tutorial, you will need:

Deco created from mask by Narah.
Text based on a poem by Louise Ackerman.
The rest of the material is by Moi-Même.
(The links of material creators here).

consult, if necessary, my filter section here
Mehdi - Wavy Lab 1.1. here
Alien Skin Eye Candy 5 Impact - Glass here
Carolaine and Sensibility - CS_LDots here

You can change Blend Modes according to your colors.

If you have problems with alpha channel,
open a new transparent image 950 x 550 pixels,
and use the selections from disk.
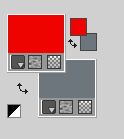
1. Set your foreground color to light color #ee0400,
and your background color to dark color #6d767c.
Open canal alpha_Heart of you
This image, that will be the basis of your work, is not empty,
but contains a selection saved to alpha channel.
This filter creates gradients with the colors of your Materials palette.
The first is your background color, the second is your foreground color.
Change the last two colors created by the filtre:
the third color with #ffb5ba and the forth color with #e8ebee.

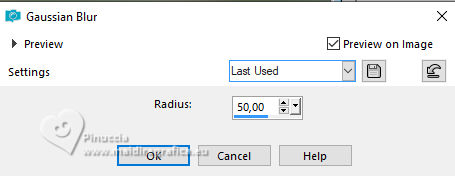
Adjust>Blur>Gaussian Blur - radius 50
2. Open déco masque_Narah 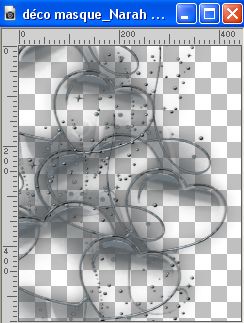
Edit>Copy.
Go back to your work and go to Edit>Paste as new layer.
Move  the tube to the left side: the tube to the left side:
Objects>Align>Left
or K key to activate your Pick Tool 
and set Position X and Y to 0,00.

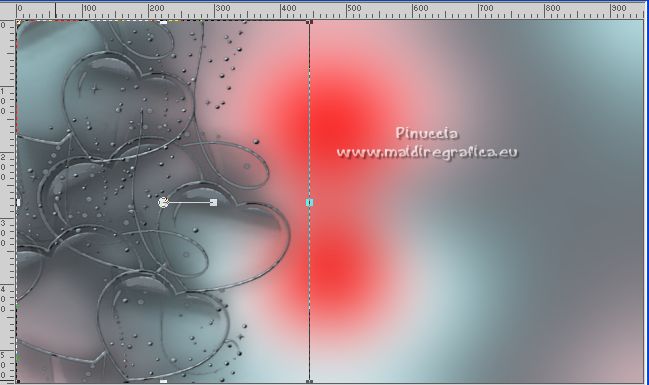
M key to deselect the Tool.
Change the Blend Mode of this layer to Screen.
Layers>Duplicate.
Image>Mirror.
Layers>Merge>Merge Down.
3. Activate the layer below, Raster 1.
Open fond texte 
Edit>Copy.
Go back to your work and go to Edit>Paste as new layer.
Don't move it.
4. Open texte_auteur_Louise Ackermann 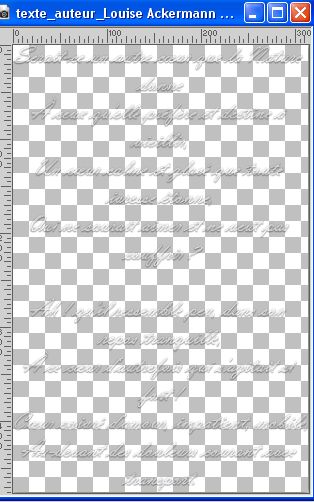
Edit>Copy.
Go back to your work and go to Edit>Paste as new layer.
Don't move it
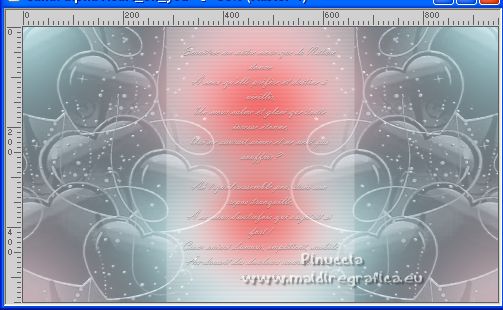
Change the Blend Mode of this layer to Luminance (legacy) and reduce the opacity to 70%.
5. Open déco 2 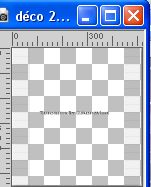
Erase the watermark and go to Edit>Copy.
Go back to your work and go to Edit>Paste as new layer.
K key to activate your Pick Tool 
and set Position X: 214,00 and Position Y: 0,00.

6. Activate your top layer.
Open déco 3 
Edit>Copy.
Go back to your work and go to Edit>Paste as new layer.
Set Position 230,00 and Position Y: 8,00.

M key to deselect the Tool.
7. Layers>New Raster Layer.
Selections>Load/Save Selection>Load Selection from Alpha Channel.
The selection #1 is immediately available. You just have to click Load.
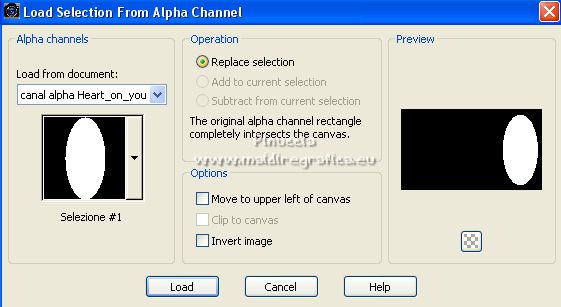
Effects>Plugins>Mehdi - Wavy Lab 1.1., same settings.
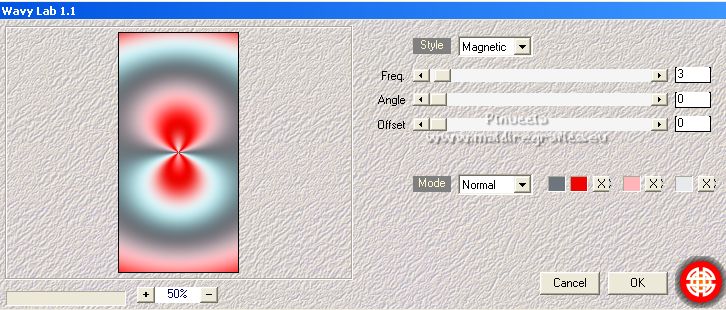
Adjust>Blur>Gaussian Blur, same settings.
Effects>Plugins>Carolaine and Sensibility - CS-LDots.
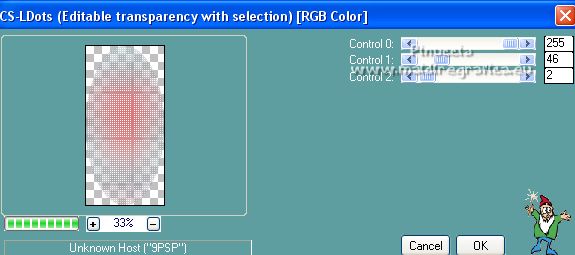
8. Layers>New Raster Layer.
Open the woman tube 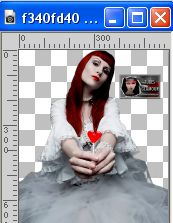
Erase the watermark and go to Edit>Copy.
Go back to your work and go to Edit>Paste into Selection.
Layers>New Raster Layer.
Effects>Plugins>Alien Skin Eye Candy 5 Impact - Glass.
Seleziona il preset Clear e ok.
(if you cannot use this plugin:
copy/paste into selection déco glass that you'll find in the material.
The same for the next 2 steps)
Layers>Merge>Merge Down - 2 times.
Note: the next selection will replace the previous one:
if necessary, you can deselect every time.
Optional, according to your tube:
Load the selection #4,
et press 2 times CANC on the keyboard 
Keep selected.
9. Activate the layer below.
Again, press 2 times CANC on the keyboard.
Selections>Select None.
Layers>New Raster Layer.
Layers>Arrange>Move Down.
Selections>Load/Save Selection>Load Selection from Alpha Channel.
Open the selection menu and load the selection #2
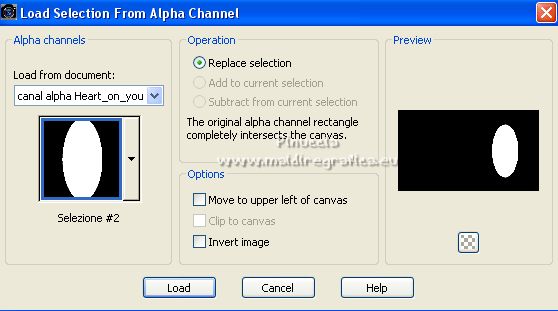
Effects>Plugins>Mehdi - Wavy Lab 1.1., same settings.
Adjust>Blur>Gaussian Blur, same settings.
Effects>Plugins>Carolaine and Sensibility - CS-LDots.
Effects>Plugins>Alien Skin Eye Candy 5 Impact - Glass - Clear.
(or paste into selection déco glass).
10. Layers>New Raster Layer.
Selections>Load/Save Selection>Load Selection from Alpha Channel.
Open the selection menu and load the selection #3
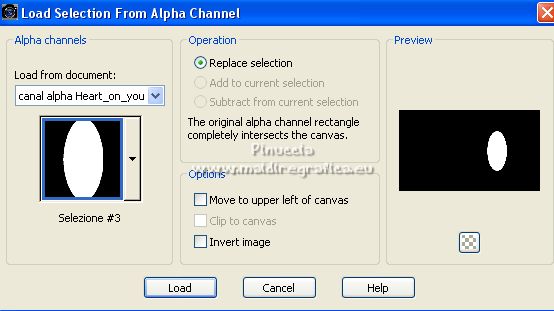
Effects>Plugins>Mehdi - Wavy Lab 1.1., same settings.
Adjust>Blur>Gaussian Blur, same settings.
Effects>Plugins>Carolaine and Sensibility - CS-LDots.
Keep selected.
11. Open il misted 77110e07 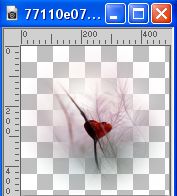
Edit>Copy.
Go back to your work and go to Edit>Paste into Selection.
Effects>Plugins>Alien Skin Eye Candy 5 Impact - Glass - Clear.
(or paste into selection déco glass).
Selections>Select None.
Layers>Arrange>Move up.
12. Stay on your top layer.
Open déco 1 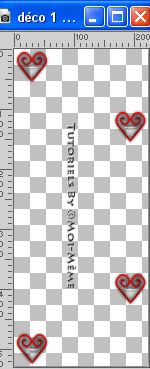
Erase the watermark and go to Edit>Copy.
Go back to your work and go to Edit>Paste as new layer.
K key to activate your Pick Tool 
and set Position X: 718,00 and Position Y: 0,00.

M key to deselect the Tool.
13. Activate your bottom layer, Raster 1.
Edit>Copy
14. Image>Add borders, 1 pixel, symmetric, background color.
Image>Add borders, 1 pixel, symmetric, foreground color.
Image>Add borders, 5 pixels, symmetric, color 4 #e8ebee.
Image>Add borders, 1 pixel, symmetric, background color.
Image>Add borders, 1 pixel, symmetric, foreground color.
Image>Add borders, 5 pixels, symmetric, background color.
15. Selections>Select All.
Image>Add borders, 20 pixels, symmetric, color 4 #e8ebee.
Selections>Invert.
Edit>Paste into Selection (in memory from step 13).
Keep selected.
16. Layers>New Raster Layer.
Open déco cadre 
Erase the watermark and go to Edit>Copy.
Go back to your work and go to Edit>Paste into Selection.
Selections>Select None.
If your colors are too dark: change the Blend Mode to Screen.
17. Open déco coins 
Erase the watermark and go to Edit>Copy.
Go back to your work and go to Edit>Paste as new layer.
It is at its place.
18. Sign your work on a new layer.
Add, if you want, the author and the translator's watermarks.
Image>Add borders, 1 pixel, symmetric, color black.
19. Image>Resize, 950 pixels width, resize all layers checked.
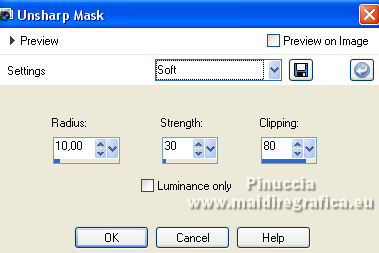
Adjust>Sharpness>Unsharp Mask, preset Soft.
Salva in formato jpg.
For the tube of this version thanks Beatriz and Tineke.
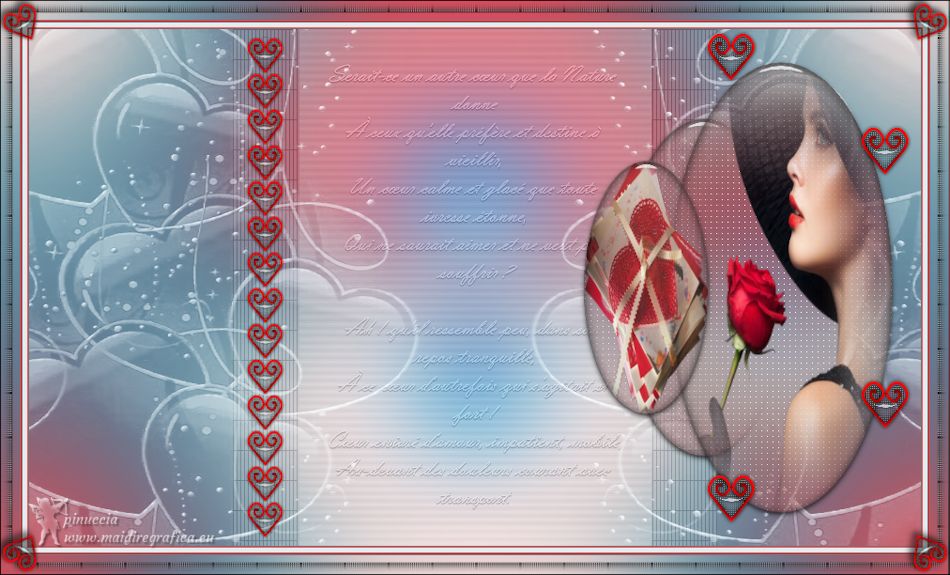

Your versions. Thanks
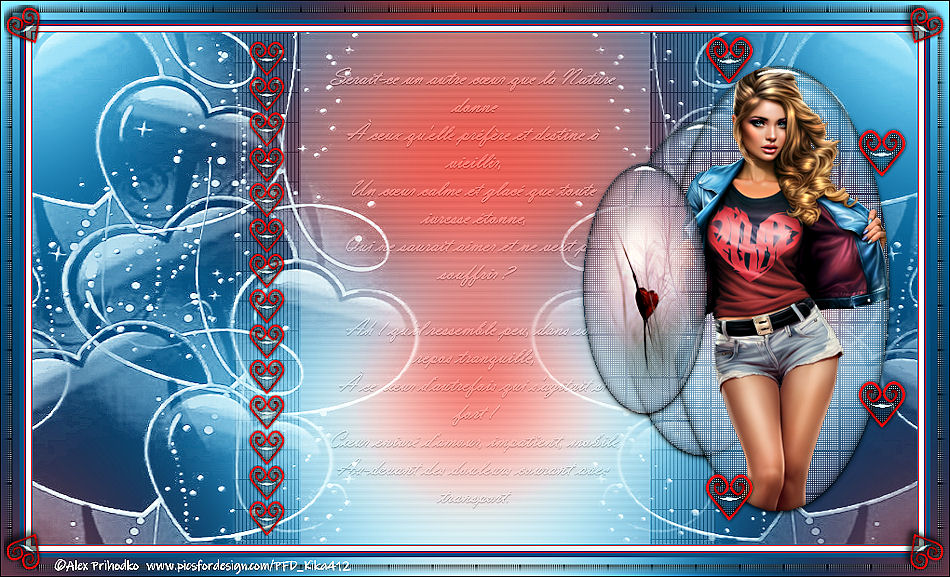
Kika

If you have problems or doubts, or you find a not worked link,
or only for tell me that you enjoyed this tutorial, write to me.
13 February 2023

|

