|
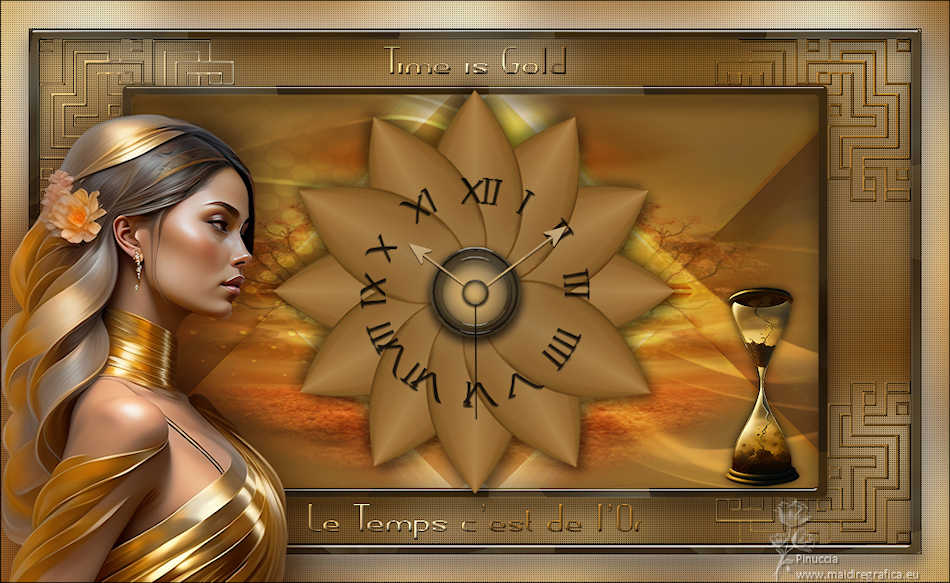
TIME IS GOLD


Thanks Irene for the invitation to translate your tutorials

This tutorial was written with PSPX8 and translated with PSPX9 and PSP2020, but it can also be made using other versions of PSP.
Since version PSP X4, Image>Mirror was replaced with Image>Flip Horizontal,
and Image>Flip with Image>Flip Vertical, there are some variables.
In versions X5 and X6, the functions have been improved by making available the Objects menu.
In the latest version X7 command Image>Mirror and Image>Flip returned, but with new differences.
See my schedule here
 italian translation here italian translation here

For this tutorial, you will need:

For the landscape tube thanks Kalan.
The rest of the material is by Moi-Méme.
(The links of material creators here).

consult, if necessary, my filter section here
Filters Unlimited 2.0 here
&> Bkg Designer sf10III> - Turbine Mirror (da importare in Unlimited) here
AP Distort - Distort-SlicedTurn here
Flaming Pear - Flexify 2 here
Alien Skin Eye Candy 5 Impact - Glass here

You can change Blend Modes according to your colors.

If you have problems with the canal alpha, open a new transparent image 950 x 550 pixels,
and use the selections from disk.
Open the pattern motif_gold_MM and the mask in PSP and minimize them with the rest of the material.
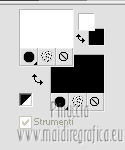
Set your foreground color to white #ffffff,
and your background color to black #000000.
1. Open canal_alpha_Gold
This image, that will be the basis of your work, is not empty,
but contains the selections saved to alpha channel.
Selections>Select All.
Activate the pattern motif_gold_MM 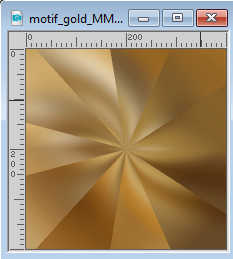
Edit>Copy.
Minimize the pattern, that you'll use as foreground pattern.
Go back to your work and go to Edit>Paste into Selection.
Selections>Select None.
to change the colors of your work, change directlyp
change the pattern color directly
(see other colors in the material)
Adjust>Blur>Gaussian Blur - radius 30.

2. Layers>Duplicate.
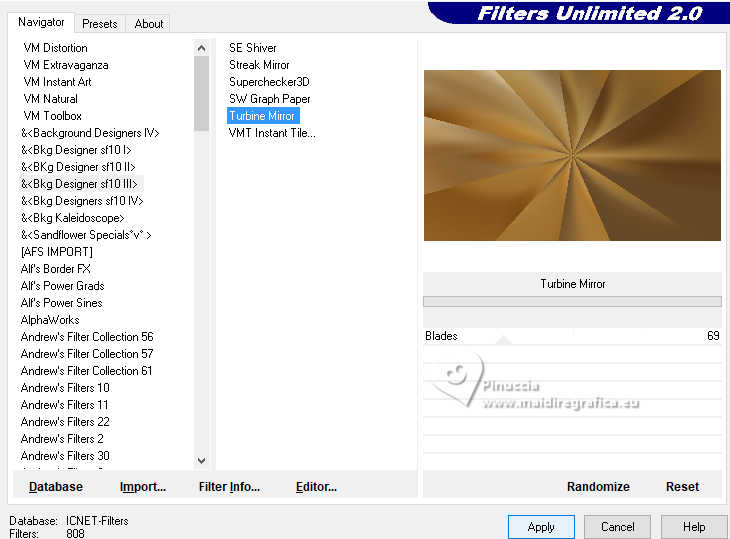
Effects>Plugins>Filters Unlimited 2.0 - &> Bkg Designer sf10III> - Turbine Mirror, default settings.
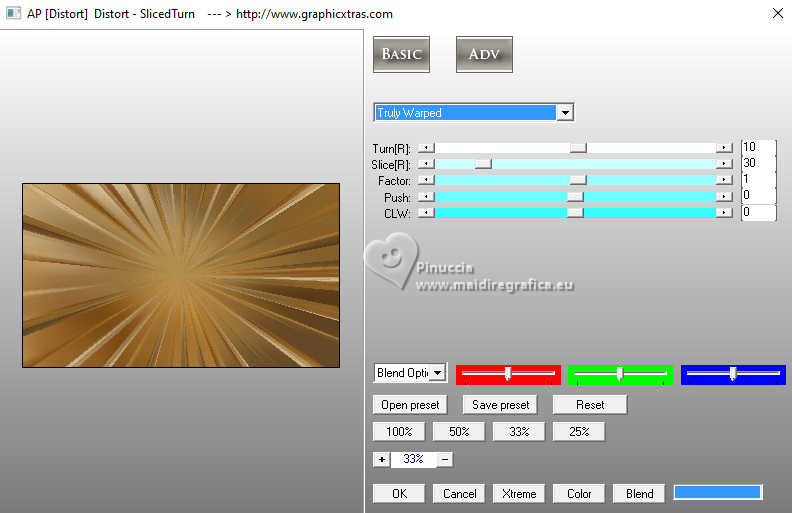
Effects>Plugins>AP Distort - SlicedTurn
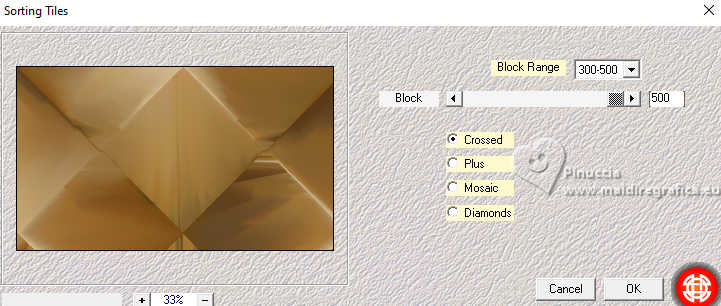
Effects>Plugins>Mehdi - Sorting Tiles.
3. Image>Rotate Right
Effects>Reflection Effects>Rotating Mirror, default settings.

Image>Rotate Left.
4. Selections>Load/Save Selection>Load Selection from Alpha Channel.
The selection sélection #1 is immediately available. You just have to click Load.
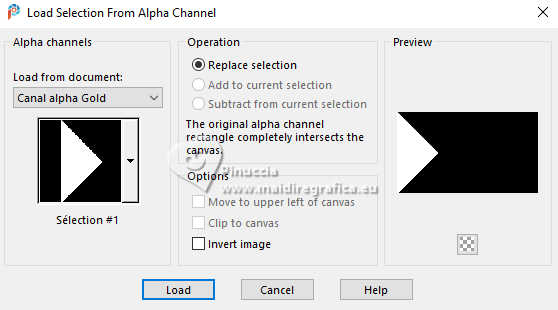
Selections>Promote Selection to layer.
Selections>Select None.
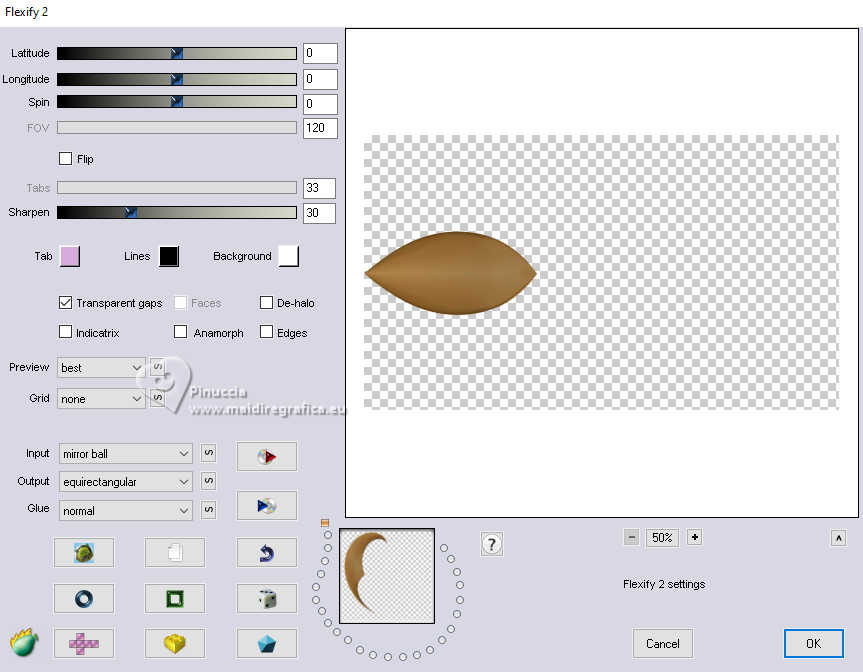
Effects>Plugins>Flaming Pear - Flexify 2
5. Image>Resize, to 80%, resize all layers not checked.
K key to activate your Pick Tool 
and set Position X: 225,00 and Position Y: 207,00.

6. Layers>Duplicate.
Image>Mirror>Mirror horizontal.
Set Position X: 497,00 and keep Position Y: 207,00.

M key to deselect the Tool.
Layers>Merge>Merge Down.
7. Attention, the following step must be carried out 5 times.
Layers>Duplicate.
Image>Free Rotate - 30 degrees to left.
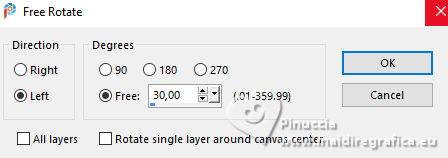
Layers>Duplicate.
Image>Free Rotate, same settings.
Layers>Duplicate.
Image>Free Rotate, same settings.
Layers>Duplicate.
Image>Free Rotate, same settings.
Layers>Duplicate.
Image>Free Rotate, same settings.
Layers>Duplicate.
Image>Free Rotate, same settings.
And now we have 6 copies of the same layer, for a total of 12 petals
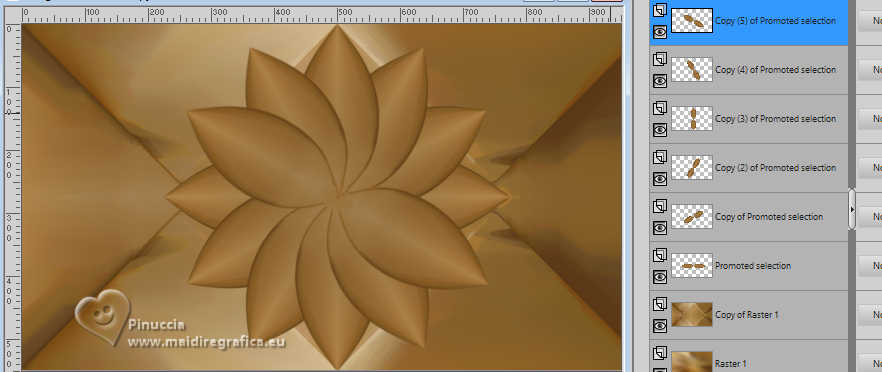
Close the two bottom layers.
Layers>Merge>Merge visible.
Stay on this layer.
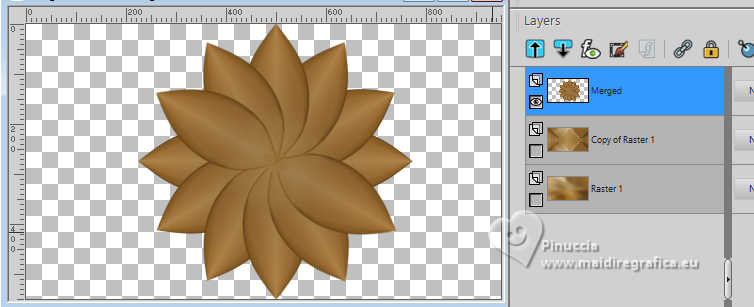
8. Image>Resize, to 80%, resize all layers not checked.
Adjust>Sharpness>sharpen.
K key to activate your Pick Tool 
and set Position X: 225,00 and keep Position Y: 55,00.

M key to deselect the Tool.
Effects>3D Effects>Drop Shadow, color black.
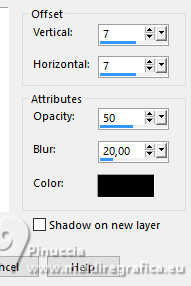
Repeat Drop Shadow, vertical and horizontal -7.
9. Open and activate the layer below, Copy of Raster 1.
Effects>Reflection Effects>Rotating Mirror, same settings.

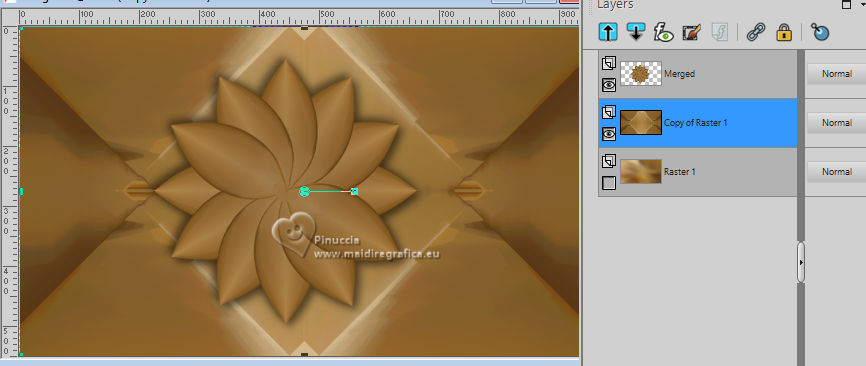
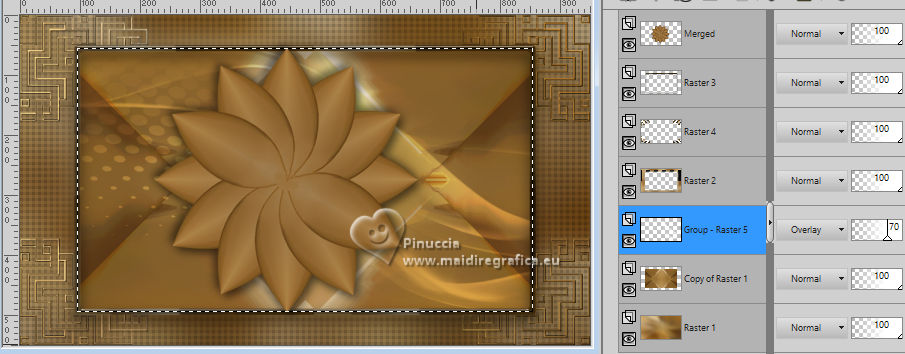
Your tag and the layers
Image>Resize, to 80%, resize all layers not checked.
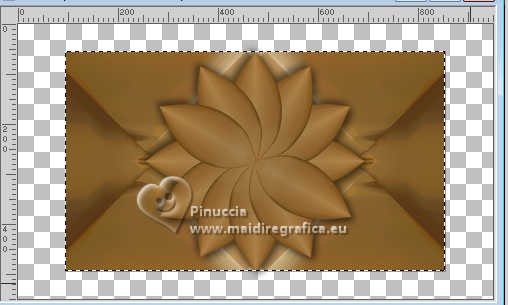
Activate your Selection Tool 
and click on Layer opaque

Layers>New Raster Layer.
Selections>Invert.
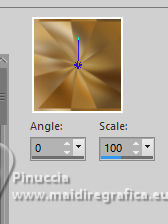
Set your foreground color to Pattern
look for and select the minimized pattern motif_gold_MM
Flood Fill  the selection with your foreground pattern. the selection with your foreground pattern.
Adjust>Blur>Gaussian Blur, same settings.
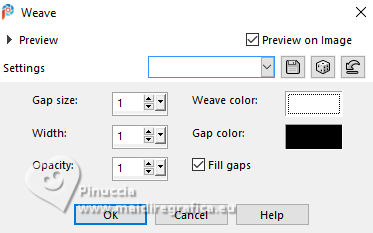
Effects>Texture Effects>Weave
weave color: white
gap color: black
10. Selections>Invert.
Layers>New Raster Layer.
Selections>Modify>Select Selection Borders.
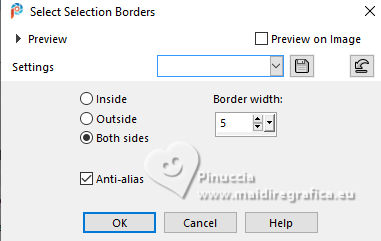
Flood Fill  the selection with your foreground pattern. the selection with your foreground pattern.
Effects>Plugins>Alien Skin eye Candy 5 Impact - Glass
Select the preset Clear with these settings
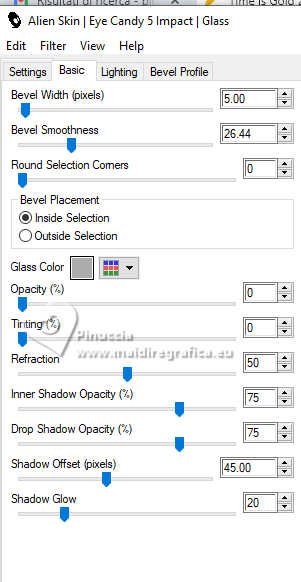
Selections>Select None.
11. Open déco coins 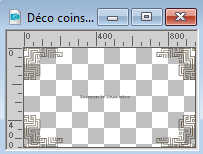
Erase the watermark and go to Edit>Copy.
Go back to your work and go to Edit>Paste as new layer.
Layers>Arrange>Move Down.
12. Open the background layer, Raster 1,
and activate the layer Copy of Raster 1.
Activate again your Selection Tool 
and click on Layer opaque

Set your foreground color to Color.

Layers>New Raster Layer.
Flood Fill  the layer with your white foreground color. the layer with your white foreground color.
Layers>New Mask layer>From image
Open the menu under the source window and you'll see all the files open.
Select the mask Deco72T7_PSP_BG
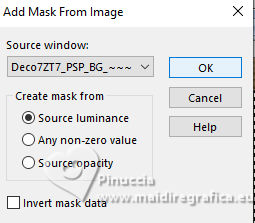
Layers>Duplicate.
Layers>Merge>Merge Group.
Change the Blend Mode of this layer to Overlay and reduce the opacity to 70%.
Keep selected.
13. Layers>New Raster Layer.
Open the landscape tube 8YLPi2PXm2... 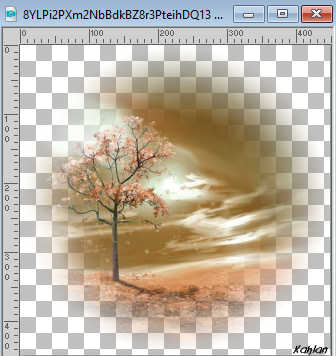
Erase the watermark and go to Edit>Copy.
Go back to your work and go to Edit>Paste into Selection.
Selections>Select None.
Optional, according your tube:
Layers>Duplicate.
Image>Mirror>Mirror horizontal.
Reduce the opacity of this layer to 50%.
Layers>Merge>Merge Down.
Change the Blend Mode of this layer to Overlay.
14. Set again your foreground color to Pattern.
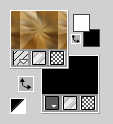
Activate the top layer, Merged.
Layers>New Raster Layer.
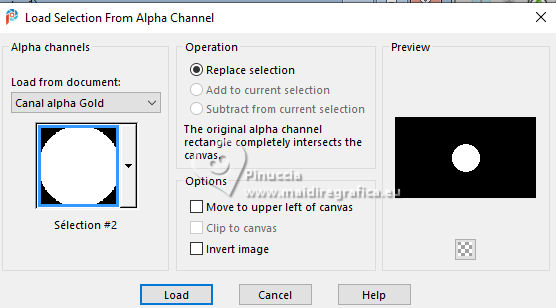
Selections>Load/Save Selection>Load Selection from Alpha Channel.
Open the selections menu and load th selection sélection 2
Flood Fill  the selection with your foreground pattern. the selection with your foreground pattern.
Adjust>Blur>Gaussian Blur, same settings.

Effects>Plugins>Alien Skin Eye Candy 5 Impact - Glass, same settings.
Selections>Modify>Select Selection Borders, same settings.

Flood Fill  the selection with your foreground pattern. the selection with your foreground pattern.
Repeat Effects>Plugins>Alien Skin Eye Candy 5 Impact - Glass, same settings.
Selections>Select None.
Effects>3D Effects>Drop Shadow, color black.
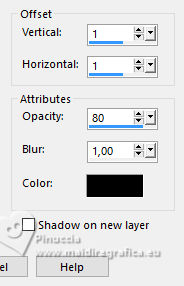
Image>Resize, to 50%, resize all layers not checked.
15. Open the tube Montre 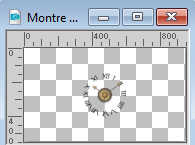
Edit>Copy.
Go back to your work and go to Edit>Paste as new layer.
K key to activate your Pick Tool 
keep Position X: 349,00 and set Position Y: 151,00.

M key to deselect the Tool.
16. The selections are used to create the title.
If necessary, you can find the final title in the material.
In my second version, for this step, I changed the settings of the pattern
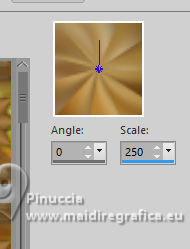
Layers>New Raster Layer.
Selections>Load/Save Selection>Load Selection from Alpha Channel.
Open the selections menu and load th selection sélection 3
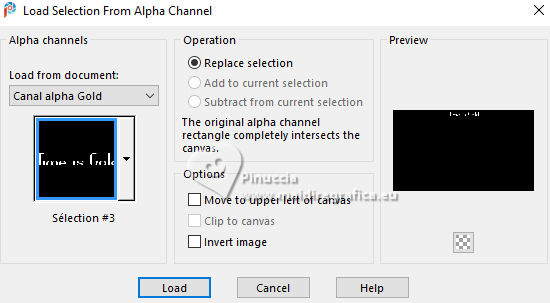
Flood Fill  the selection with your foreground pattern. the selection with your foreground pattern.
Effects>3D Effects>Inner Bevel.
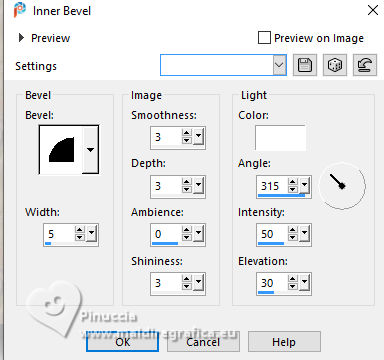
Selections>Select None.
Stay on this layer.
17. Selections>Load/Save Selection>Load Selection from Alpha Channel.
Open the selections menu and load th selection sélection 4
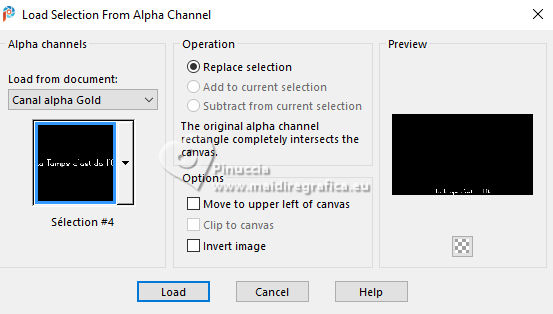
Flood Fill  the selection with your foreground pattern. the selection with your foreground pattern.
Effects>3D Effects>Drop Shadow, same settings.
Selections>Select None.
Effects>3D Effects>Drop Shadow, color black.
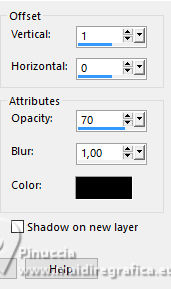
18. Image>Add Borders, 1 pixel, symmetric, color black.
Image>Add Borders, 10 pixels, symmetric, color white.
Image>Add Borders, 1 pixel, symmetric, color black.
Selections>Select All.
Image>Add Borders, 30 pixels, symmetric, color white.
Selections>Invert.
Layers>New Raster Layer.
Flood Fill  the selection with your foreground pattern. the selection with your foreground pattern.
Adjust>Blur>Gaussian Blur, radius 30.

Effects>Texture Effects>Weave, same settings.

Adjust>Sharpness>Sharpen.
Layers>Merge>Merge Down.
Selections>Select None.
19. Activate your Magic Wand Tool  , tolerance and feather 0, , tolerance and feather 0,
and click in the 10 pixel white border to select it.
Selections>Promote Selection to layer.
Flood Fill  the selection with your foreground pattern. the selection with your foreground pattern.
Effects>Plugins>Alien Skin Eye Candy 5 Impact - Glass, same settings.
Selections>Select None.
Image>Mirror>Mirror Horizontal.
Layers>Merge>Merge Down.
20. Open the tube Sablier_AI_tube 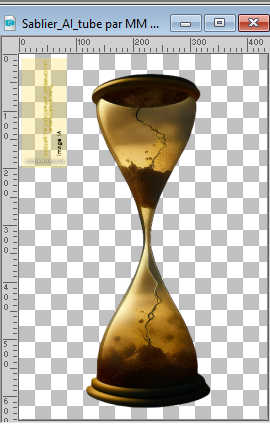
Erase the watermark and go to Edit>Copy.
Go back to your work and go to Edit>Paste as new layer.
Image>Resize, to 37%, resize all layers not checked.
Adjust>Sharpness>Sharpen.
K key to activate your Pick Tool 
and set Position X: 790,00 and Position Y: 312,00.

M key to deselect the Tool.
Effects>3D Effects>Drop Shadow, color black.

21. Open the woman's tube gold-ai-generated-tube MM 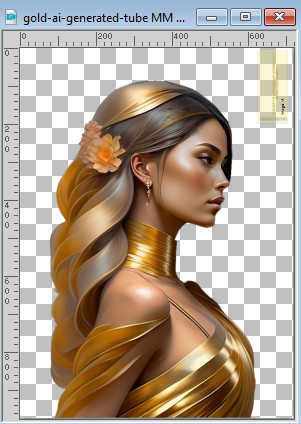
Erase the watermark and go to Edit>Copy.
Go back to your work and go to Edit>Paste as new layer.
Image>Resize, to 58%, resize all layers not checked.
Move  the tube to the left, see my example. the tube to the left, see my example.
Layers>Duplicate.
Activate the layer below of the original.
Adjust>Blur>Gaussian Blur, same settings.

Change the Blend Mode of this layer to Multiply.
22. Sign your work on a new layer.
Add the author and the translator watermarks.
23. Image>Add borders, 1 pixel, symmetric, color black.
Image>Resize, 950 pixels width, resize all layers checked.
Save as jpg.
For the tubes of this version thanks Adrienne
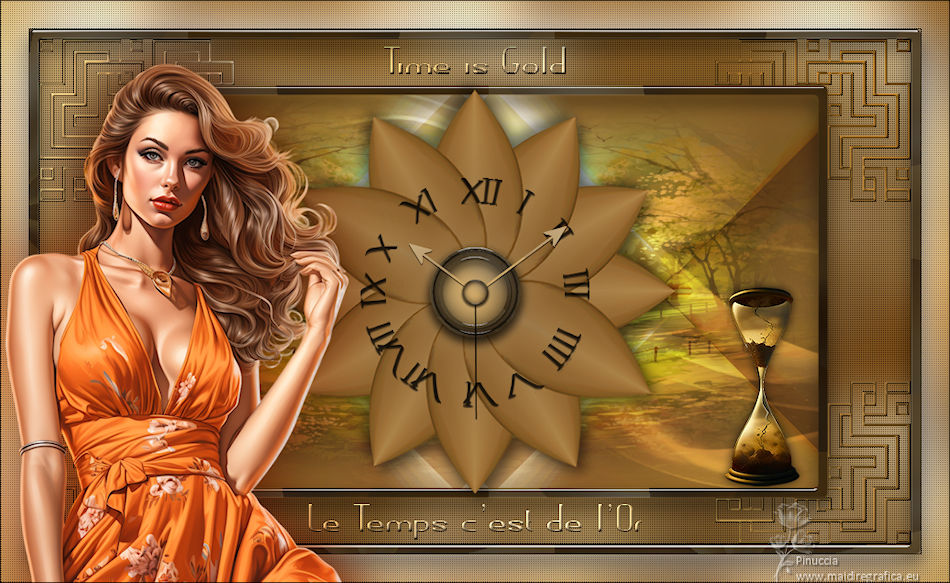

 Your versions Your versions
Thanks
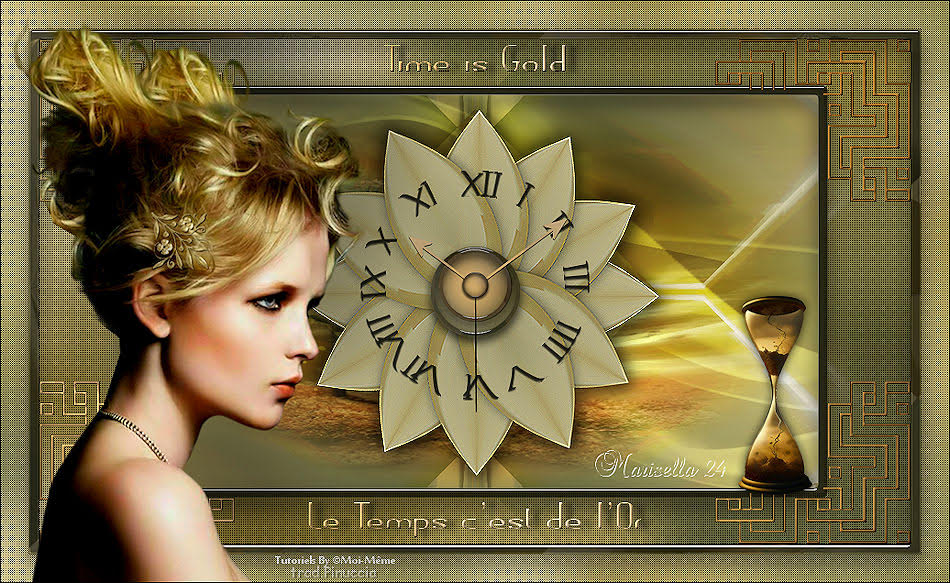
Marisella

If you have problems or doubts, or you find a not worked link,
or only for tell me that you enjoyed this tutorial, write to me.
17 April 2024

|

