|
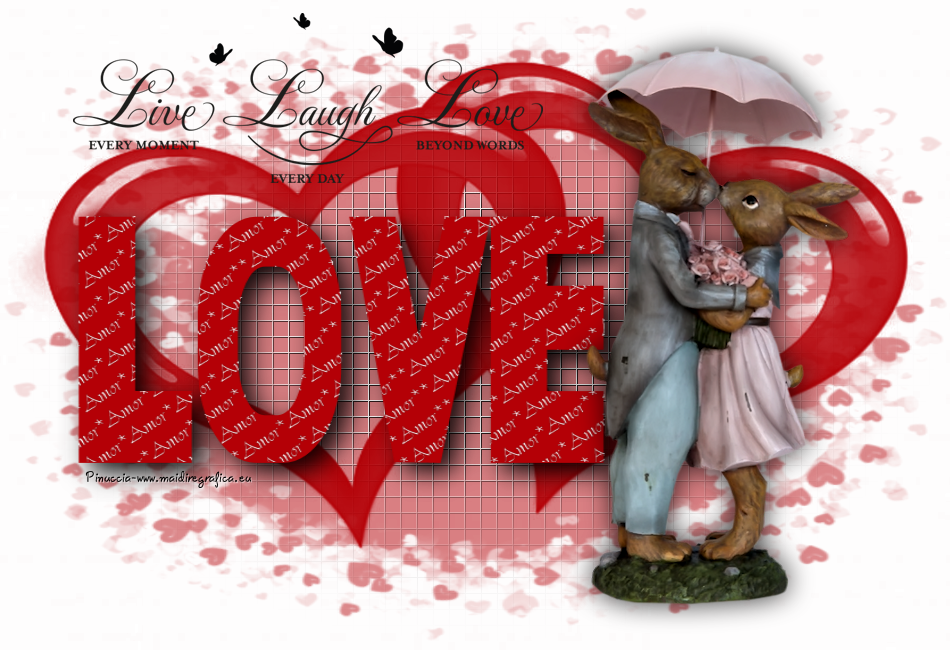
AMOR
english version LOVE
Here you find the original of this tutorial:

This tutorial was written with CorelX19 and translated with CorelX, Corel X3 and CorelX17, but it can also be made using other versions of PSP.
Since version PSP X4, Image>Mirror was replaced with Image>Flip Horizontal,
and Image>Flip with Image>Flip Vertical, there are some variables.
In versions X5 and X6, the functions have been improved by making available the Objects menu.
In the latest version X7 command Image>Mirror and Image>Flip returned, but with new differences.
See my schedule here
italian translation here
your versions qui/here
For this tutorial, you will need:
A tube of yours
The rest of the material qui
The tubes (not supplied) is by Thafs.
Mask by LBDM (lbdm-masque-106).
Mask 20-20.
Mask sg_heart_burst.
Font Star.
Wordart by Lize (wandspruch_live_every_moment_laugh_every_day_love_beyond_words_wand_tatoo)
TEXT_©Yedralina.
Plugins:
consult, if necessary, my filter section here
Filters Unlimited 2.0 here
&<Bkg Designer sf10IV> - Grid (to import in Unlimited) here
Alien Skin Eye Candy 5 Impact - Perspective Shadow here

You can change Blend Modes according to your colors.
Open the masks in PSP and minimize them with the rest of the material.
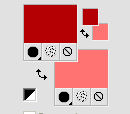
Chose a color and set your foreground color to the darker
set your background color with your lighter.
For the example:
foreground color #b40006,
background color #ff7373.
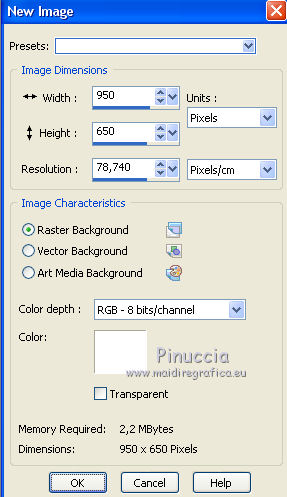
1. Open a new white image 950 x 650 pixels.
(this layer will be deleted at the end)
3. Layers>New Raster Layer.
Flood Fill  with your dark or light color, as you prefer. with your dark or light color, as you prefer.
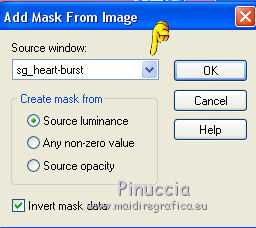
Layers>New Mask layer>From image
Open the menu under the source window and you'll see all the files open.
Select the mask sg_heart_burst:
Layers>Merge>Merge group.
Change the opacity of this layer to 50%.
4. Layers>New Raster Layer.
Effects>Plugins>Filters Unlimited 2.0 - &<Bkg Designer sf10 IV> - [Grid].
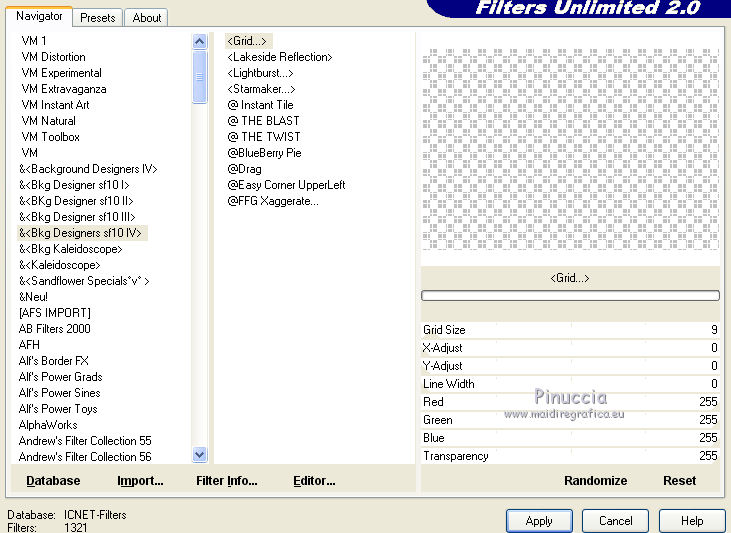
(if it is necessary, set Red, Green and Blue according to your color).
4. Layers>New Mask layer>From image
Open the menu under the source window
and selet the mask 20-20.

Layers>Duplicate - 2 times.

Layers>Merge>Merge group.
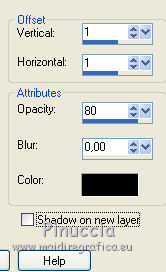
5. Effects>3D Effects>Drop Shadow, color black.
6. Layers>New Raster Layer.
Flood Fill with the red color.
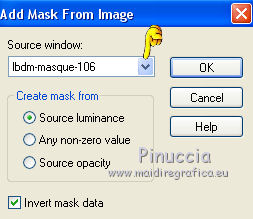
7. Layers>New Mask layer>From image
Open the menu under the source window
and select the mask lbdm-masque-106.
Layers>Merge>Merge group.
8. Layers>Duplicate.
Layers>Merge>Merge down.
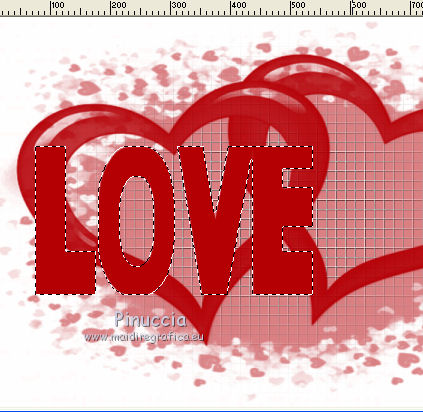
9. Activate the Text Tool  , font Star Vader, , font Star Vader,
set the size according to your text et your PSP version.
For me (Corel X2)

Write Amore, or Love of what you want
and use the nodes of the tool to place the text and reduce the word.

Layers>Convert to raster layer.
10. Activate the Magic Wand Tool  , tolerance 0, , tolerance 0,
and clic in each letter to select them.
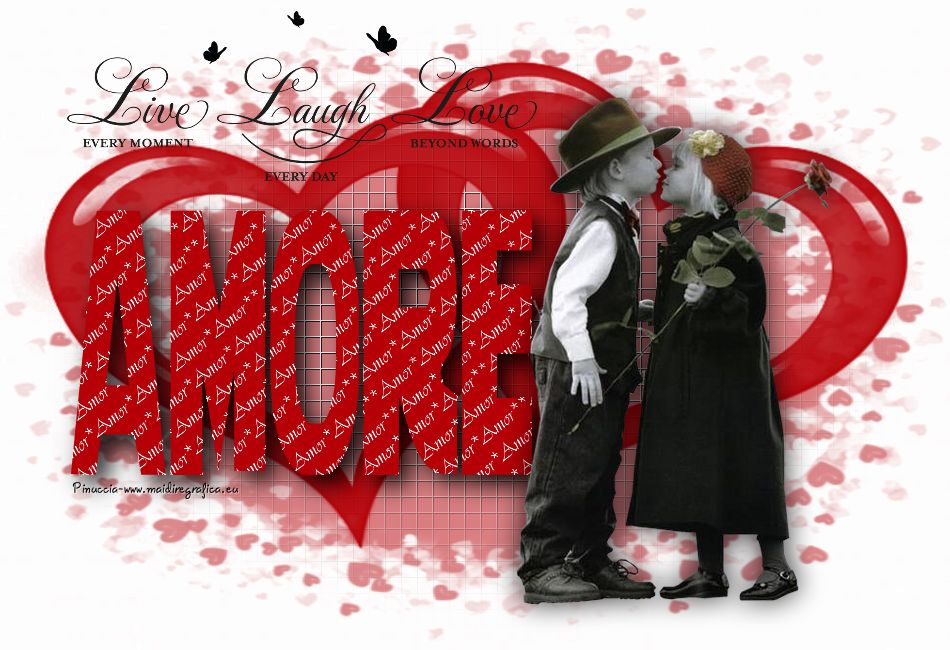
11. Open the text Amor de Yedralina - Edit>Copy.
Go back to your work and go to Edit>Paste into selection.
Selections>Select None.
12. Effects>Plugins>Alien Skin Eye Candy 5 Impact - Perspective Shadow.
Select the preset Drop Shadow Blurry and ok.

13. Open your tube and go to Edit>Copy.
Go back to your work and go to Edit>Paste as new layer.
Move  it where you want. it where you want.
Effects>3D Effects>Drop shadow, as you like.
14. Open the wordart wandspruch_live_every_moment_laugh_every_day_love_beyond_words_wand_tatoo and go to Edit>Copy.
Go back to your work and go to Edit>Paste as new layer.
Image>Resize, to 60%, resize all layer not checked.
Move the wordart at the upper left.
15. Delete the white background layer.
16. Sign your work on a new layer (on a dark part of the image).
Layers>Merge>Merge visible.
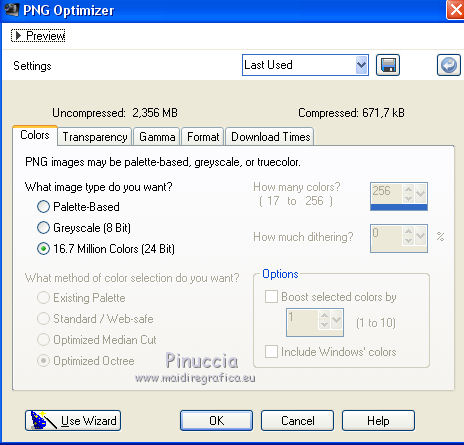
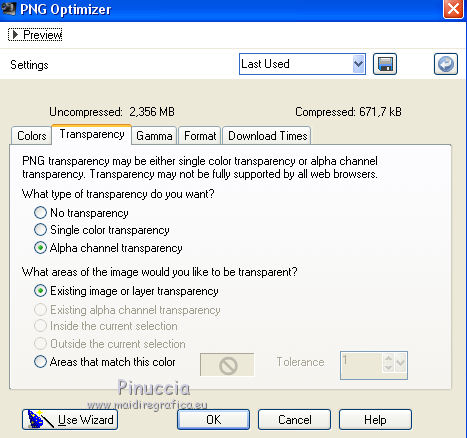
Save as png: File>Export>PNG Optimizer.
Example with tube by Moonstar
If you have problems or doubts, or you find a not worked link, or only for tell me that you enjoyed this tutorial, write to me.
7 February 2017
|