|
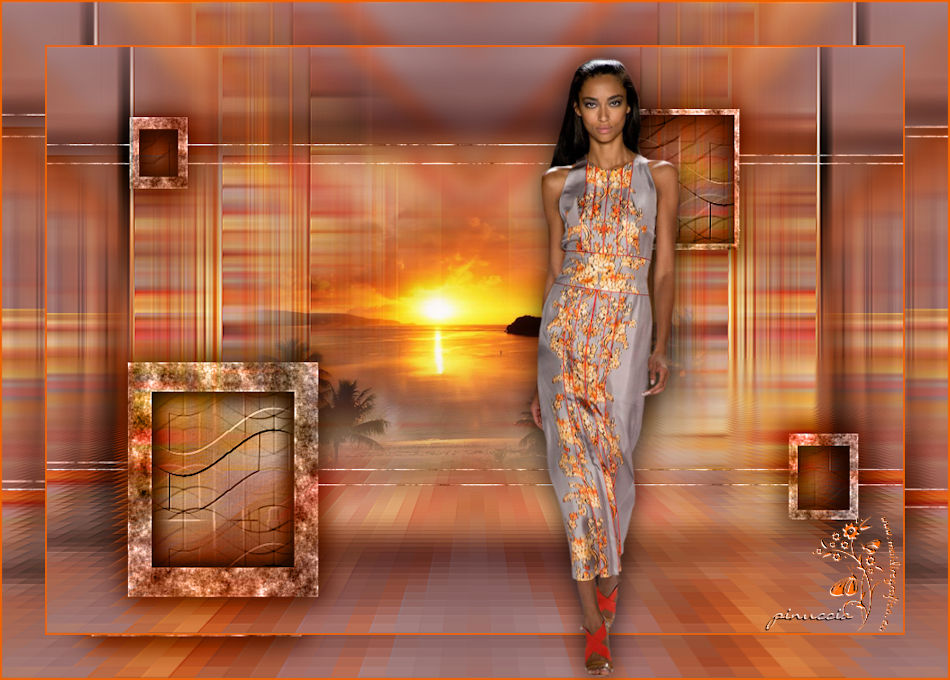
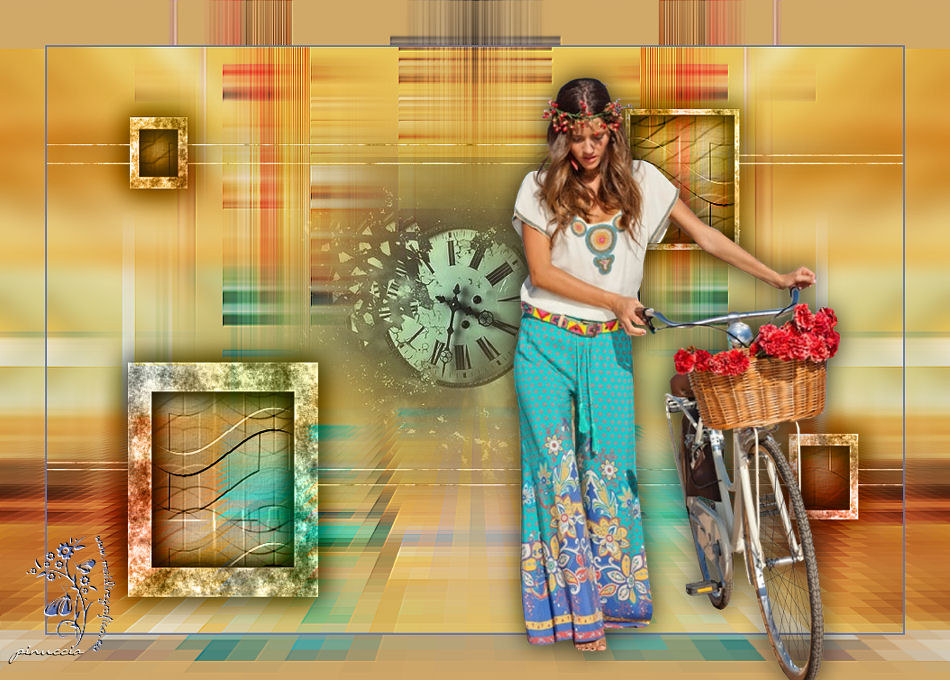
TODO CAMBIA, TODO PASA

english version

Here you find the original of this tutorial:

This tutorial was written with CorelX19 and translated with CorelX17, but it can also be made using other versions of PSP.
Since version PSP X4, Image>Mirror was replaced with Image>Flip Horizontal,
and Image>Flip with Image>Flip Vertical, there are some variables.
In versions X5 and X6, the functions have been improved by making available the Objects menu.
In the latest version X7 command Image>Mirror and Image>Flip returned, but with new differences.
See my schedule here
italian translation here
your versions here
For this tutorial, you will need:
A woman tube and a misted landscape
The rest of the material here
Landscape misted by Guismo (calguismistedsunrise230111) - not supplied
Woman tube by Cadi (cadiydesign) - not supplied
Mask by Ildiko (Ildiko_Desings_Created@Mask_&_ildiko_kjk 1a-35b)
Texture by Gabry (texiture-Gabry-053)
The rest of the material is by Yedralina.
(The links of the tubemakers here).
Plugins:
consult, if necessary, my filter section here
Filters Unlimited 2.0 here
Toadies - Weaver here
Frischluft - Mosaic Plan here
Eye Candy 4000 - HSB Noise here
FM Tile Tools - Blend Emboss here
Filters Toadies can be used alone or imported into Filters Unlimited.
(How do, you see here)
If a plugin supplied appears with this icon  it must necessarily be imported into Unlimited it must necessarily be imported into Unlimited

You can change Blend Modes according to your colors.
Copy the texture in the Textures Folder.
Copy the Selection in the Selections Folder.
Open the mask in PSP and minimize it with the rest of the material.
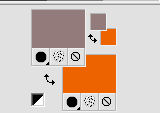
1. Choose two colors from your main tube
For me:
Foreground color to #f8e283,
Background color to #ab6616.
2. Open a new transparent image 950 x 650 pixels.
Flood Fill  with your foreground color. with your foreground color.
3. Selections>Select All.
Open your main tube - Edit>Copy.
Go back to your work and go to Edit>Paste into Selection.
Selections>Select None.
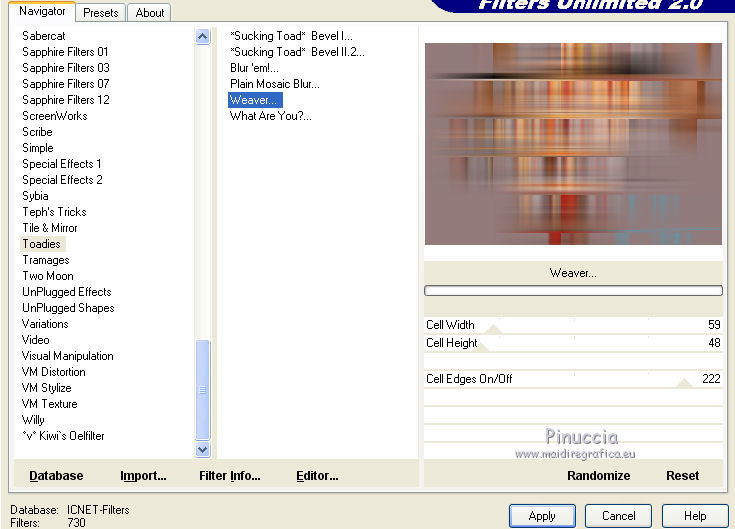
4. Effects>Plugins>Filters Unlimited 2.0 - Toadies - Weaver, default settings.
5. Layers>Duplicate.
Close this layer and activate the bottom layer (Raster 1).
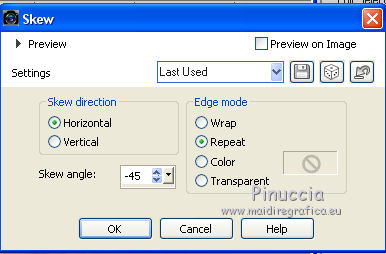
6. Effecs>Geometric Effects>Skew.
7. Effects>Reflection Effects>Rotating Mirror.
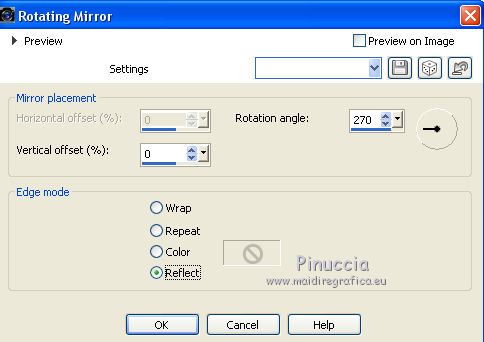
8. Repeat Effects>Reflection Effects>Rotating Mirror.

9. Adjust>Blur>Gaussian Blur - radius 10.
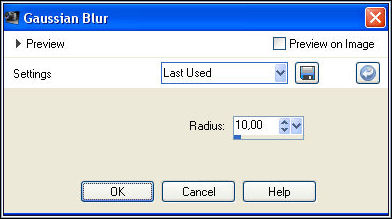
10. Open and activate the top layer, copy of Raster 1.
Image>Resize, to 80%, resize all layers not checked.
11. Image>Free Rotate - 90 degrees to left.
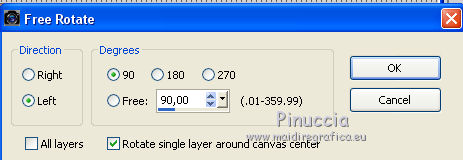
12. Objects>Align>Left
if you are working with a previous version that has not available the menu Objects,
use the Move Tool 
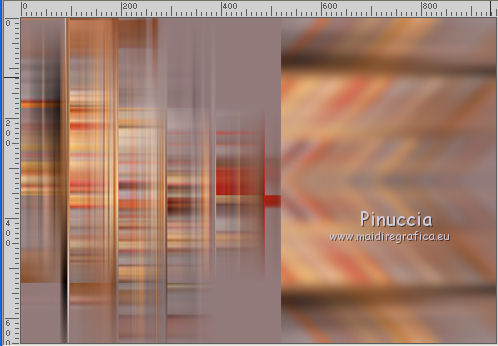
13. Effects>Reflection Effects>Rotating Mirror.

14. My change, to adapt the final result to original one:
Image>Flip.
15. Change the Blend Mode of this layer to Hard Light.
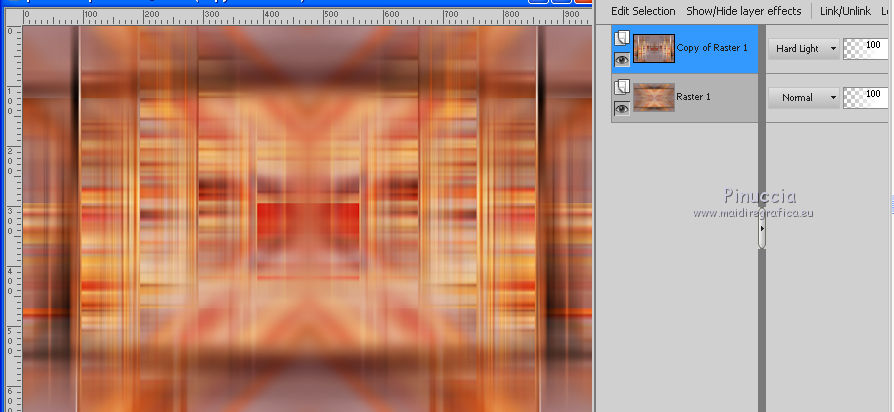
Layers>Merge>Merge down.
16. Effects>Plugins>Frischluft - Mosaic Plane, default settings.
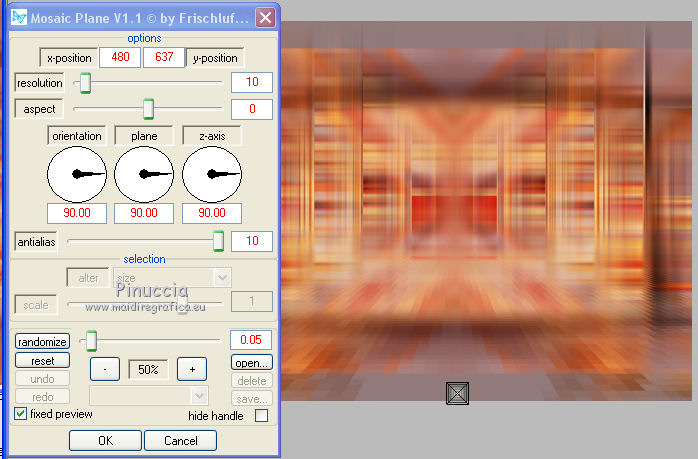
17. Effects>Plugins>FM Tile Tools - Blend Emboss.
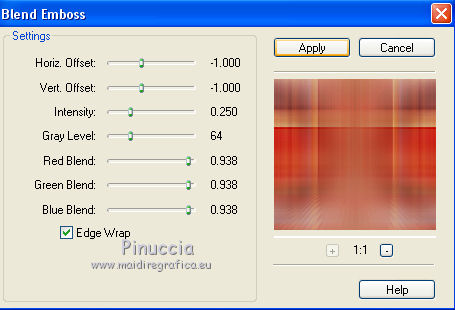
18. Open the landscape misted and go to Edit>Copy.
Go back to your work and go to Edit>Paste as new layer.
Image>Resize, to 60%, resize all layers not checked.
(I used a 1000 x 667 pixels tube)
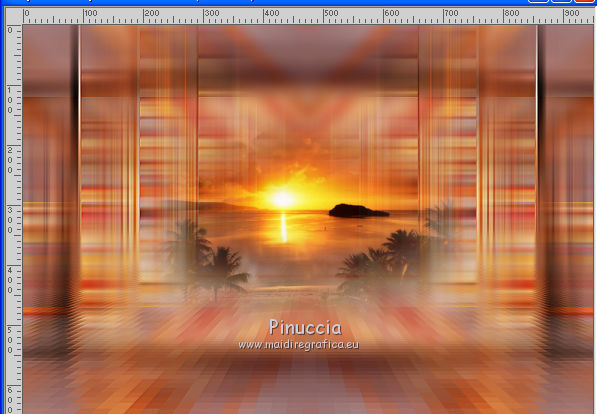
19. Layers>New Raster Layer.
Flood Fill  with your foreground color. with your foreground color.
20. Layers>New Mask layer>From image
Open the menu under the source window and you'll see all the files open.
Select the mask Ildiko_Desings_Created@Mask_&_ildiko_kjk 1a-35b
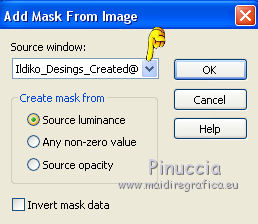
Layers>Merge>Merge Group.
21. Effects>Plugins>Eye Candy 4000 - HSB Noise - Settings: Necrotic Tissue
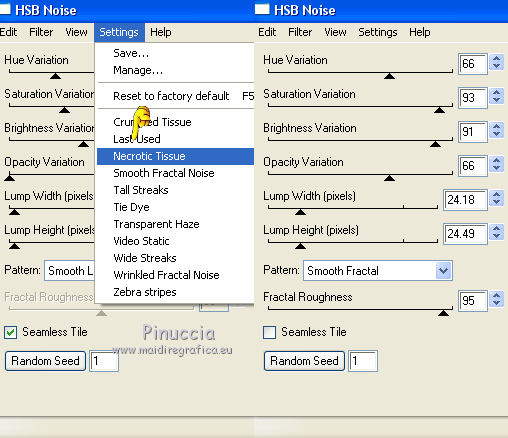
22. Adjust>Sharpness>Sharpen More.
Image>Mirror.
Change the Blend Mode of this layer to Overlay.
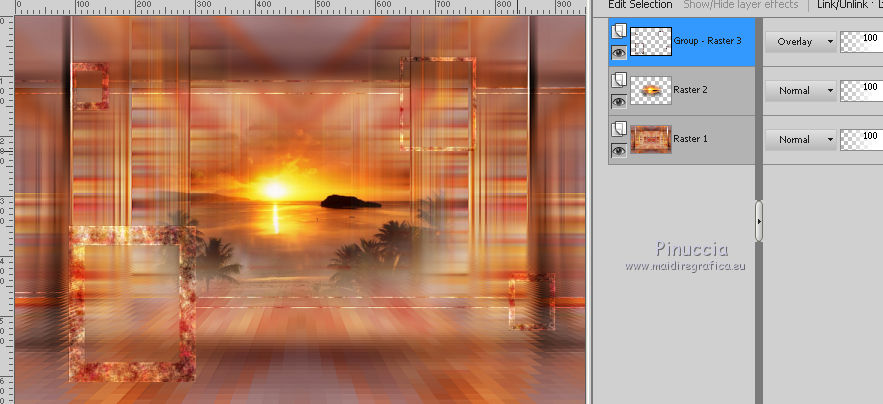
23. Effects>3D Effects>Drop Shadow, color black.
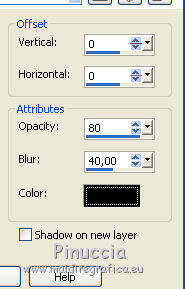
24. Activate the bottom layer.
Selections>Load/Save Selection>Load Selection from Disk.
Look for and load the selection ©Yedralina_Sel394.
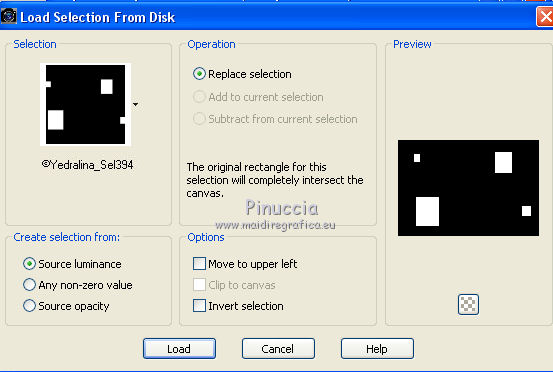
Selections>Promote Selection to Layer.
Layers>Arrange>Move up.
25. Adjust>Blur>Gaussian Blur - radius 10.

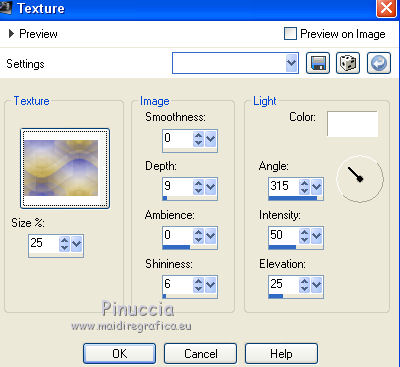
26. Effect>Texture Effects>Texture - select the texture texiture-Gabry-053.
27. Selections>invert.
Effects>3D Effects>Drop Shadow, same settings.

Selections>Select None.
28. Change the Blend Mode of this layer to Luminance (legacy)
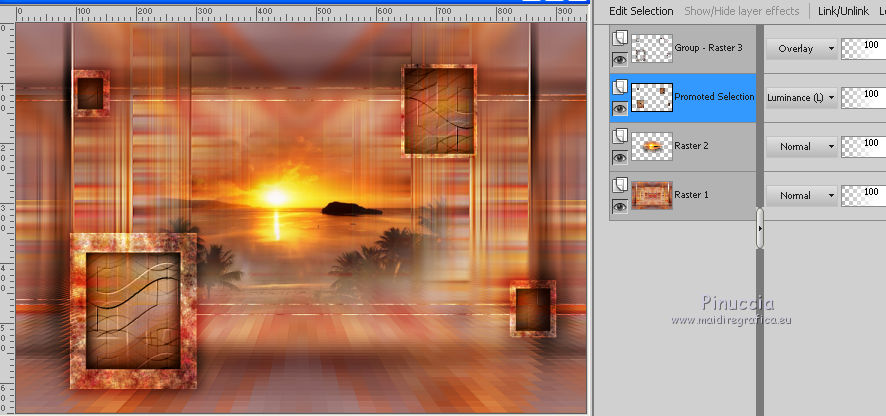
29. Activate the top layer.
Layers>Merge>Merge down.
30. Effects>3D Effects>Drop Shadow, same settings.
31. Activate the bottom layer, Raster 1.
Edit>Copy.
32. Image>Add borders, 2 pixels, symmetric, background color.
Selections>Select All.
Image>Add borders, 50 pixels, symmetric, whatever color.
Selections>Invert.
Edit>Paste into Selection.
33. Adjust>Blur>Gaussian Blur, same settings.

for my example, I have skipped this step;
after the translation the example with this step
Selections>Select None.
34. Open the main tube and go to Edit>Copy.
Go back to your work and go to Edit>Paste as new layer.
Image>Resize, if it is necessary, resize all layers not checked.
Place  rightly the tube. rightly the tube.
Effects>3D Effects>Drop Shadow, at your choice.
35. Sign your work on a new layer.
36. Layers>Merge>Merge All.
37. Image>Resize, 950 pixels width, resize all layers checked.
Save as jpg.
Version with the step 33
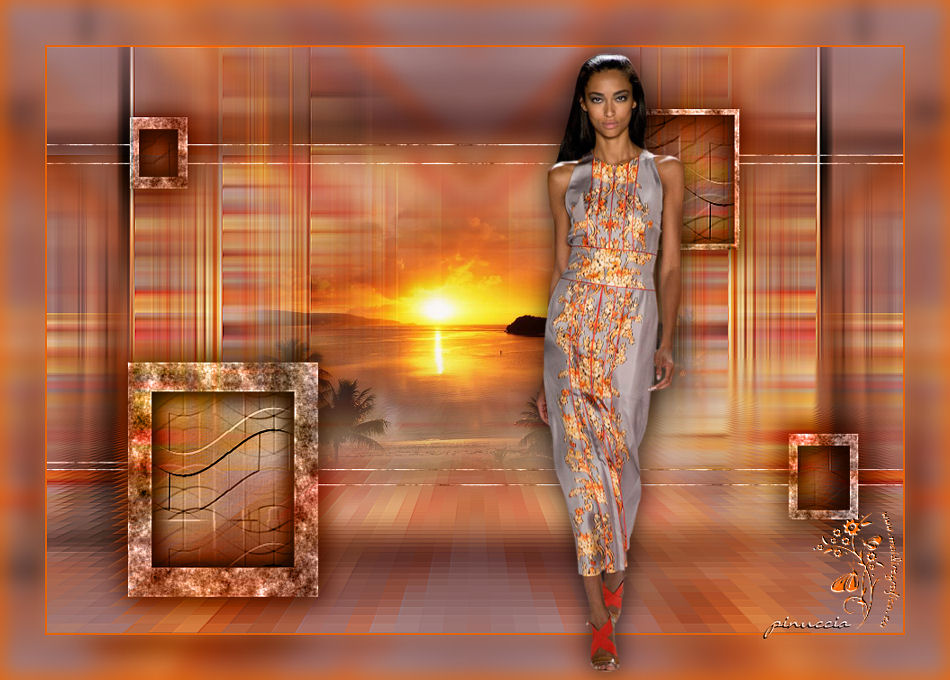
The tubes of this version are by Guismo

If you have problems or doubts, or you find a not worked link, or only for tell me that you enjoyed this tutorial, write to me.
26 September 2017
|

