|
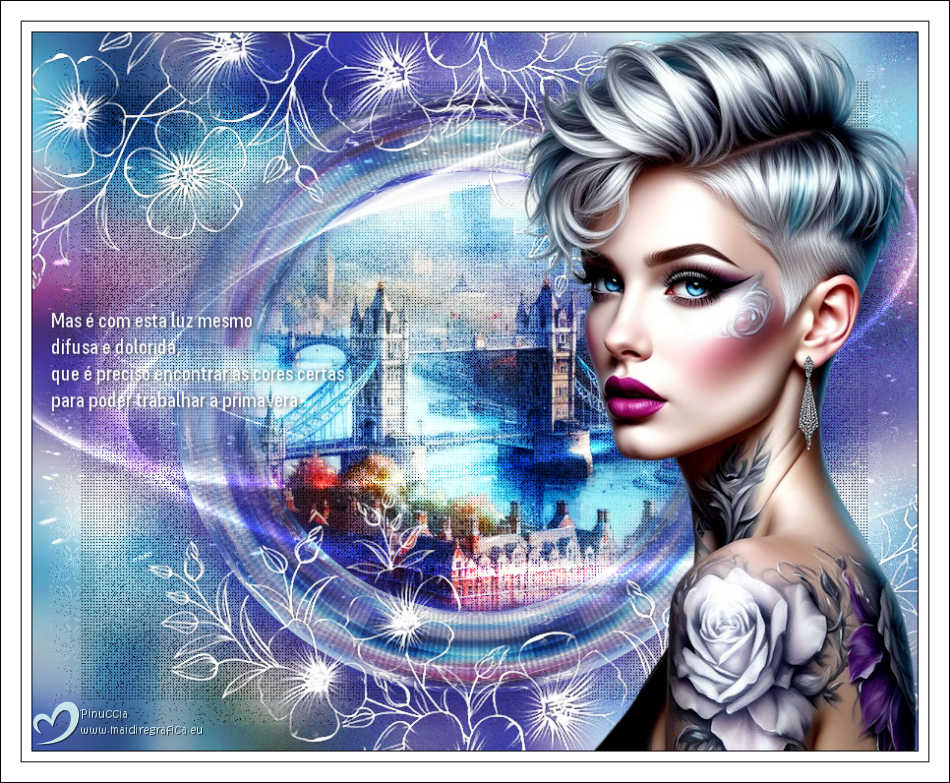
GLORIOUS


Thanks Estela for your invitation to translate your tutorials into english

This tutorial, created with PSP2022, was translated with PspX9 and 2020, but it can also be made using other versions of PSP.
Since version PSP X4, Image>Mirror was replaced with Image>Flip Horizontal,
and Image>Flip with Image>Flip Vertical, there are some variables.
In versions X5 and X6, the functions have been improved by making available the Objects menu.
In the latest version X7 command Image>Mirror and Image>Flip returned, but with new differences.
See my schedule here
 French Translation here French Translation here
 Your versions here Your versions here
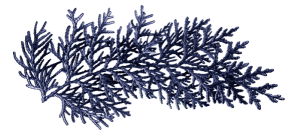
For this tutorial, you will need:

Material created from images Pinterest
For the mask thanks Silvie
(The links of the tubemakers here).

consult, if necessary, my filter section here
Filters Unlimited 2.0 here
&<Bkg Designers sf10II> - Moiré Block (to import Unlimited) here
Andrew's Filters Collection 57 here
AP 01 [Innovations] - Lines SilverLining here
Flaming Pear - Flexify 2 here
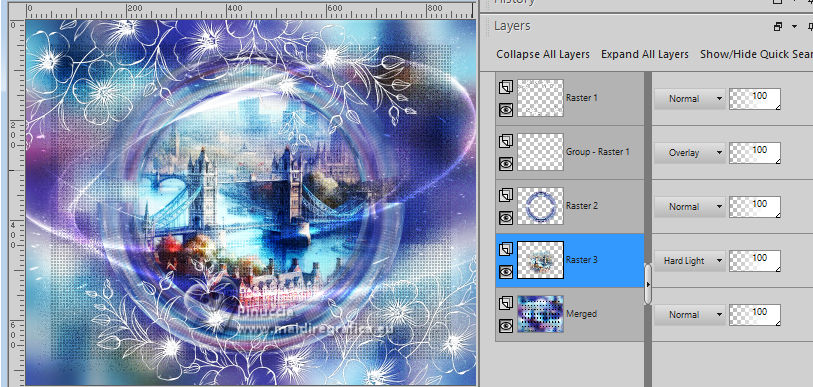
Filters Andrew's can be used alone or imported into Filters Unlimited.
(How do, you see here)
If a plugin supplied appears with this icon  it must necessarily be imported into Unlimited it must necessarily be imported into Unlimited

You can change Blend Modes according to your colors.
In the newest versions of PSP, you don't find the foreground/background gradient (Corel_06_029).
You can use the gradients of the older versions.
The Gradient of CorelX here

Open the mask in PSP and minimize it with the rest of the material.
Colors
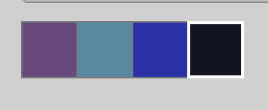
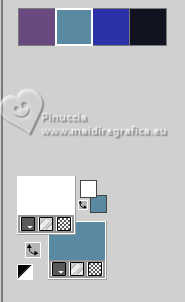
1. Set your foreground color to #684989
and your background color to #598aa2.
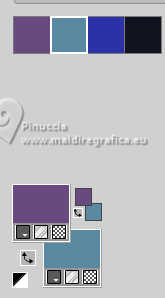
color 3 #2c32a6
color 4 #131522
other color #000000 and #ffffff
Set your foreground color to a Foreground/Background Gradient, stile Linear.
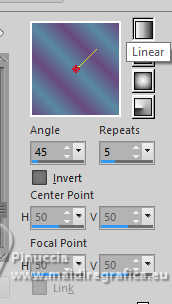
Open a new transparent image 900 x 730 pixels.
Flood Fill  the transparent image with your Gradient. the transparent image with your Gradient.
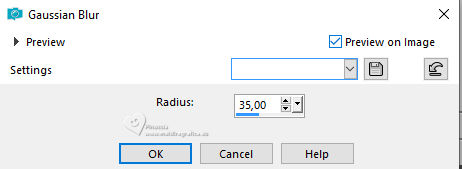
2. Adjust>Blur>Gaussian Blur - radius 35.
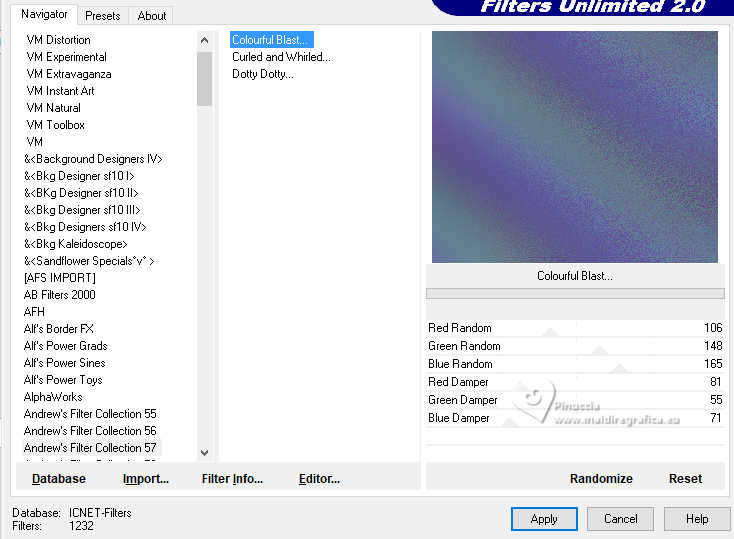
3. Effects>Plugins>Filters Unlimited 2.0 - Andrew's Filters Collection 57 - Colourful Blast, default settings.
4. Layers>New Raster Layer.
Selections>Select All.
Open the misted EF-Misted_Paisagem 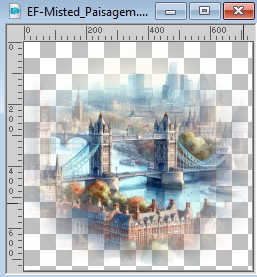
Edit>Copy.
Go back to your work and go to Edit>Paste into Selection.
Selections>Select None.
5. Effects>Image Effects>Seamless Tiling, default settings

6. Adjust>Blur>Gaussian Blur - radius 20.

7. Selections>Select All.
Selections>Modify>Contract - 50 pixels.
Edit>Cut and keep selected.
Edit>Paste as new layer.
8. Effects>Plugins>AP 01 &91;Innovations] - Lines SilverLining
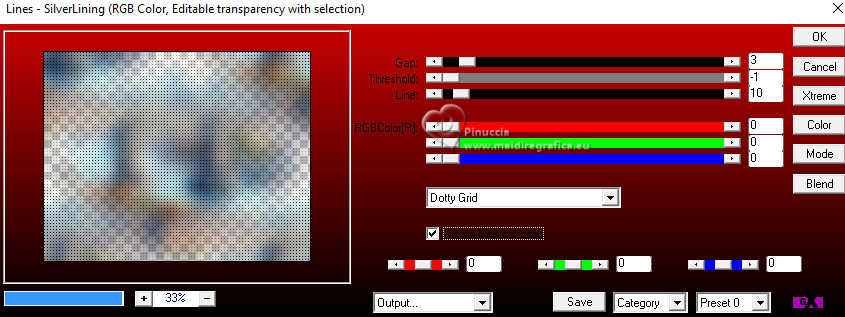
Selections>Select None.
9. Change the Blend Mode of this layer to Hard Light.
Layers>Arrange>Move Down.
Layers>Merge>Merge Down.
10. Layers>Duplicate.
Effects>Plugins>Filters Unlimited 2.0 - &<Bkg Designers sf10II> -Moiré Blocks
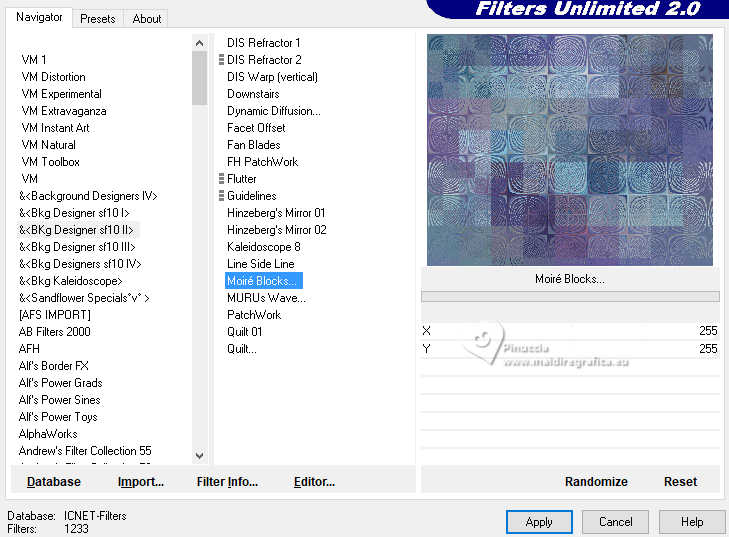
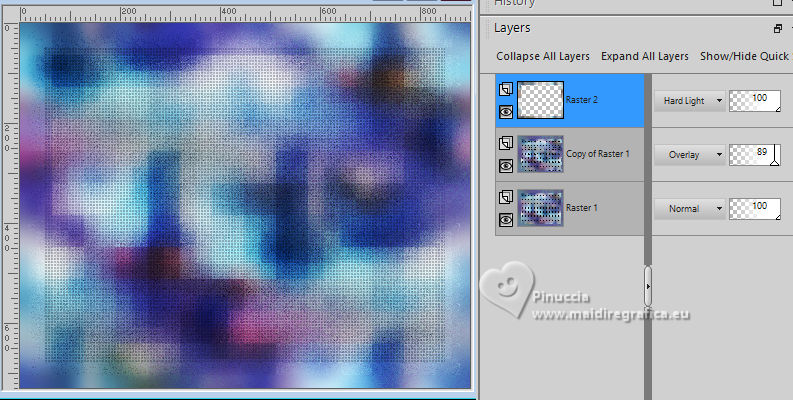
11. Change the Blend Mode of this layer to Overlay and reduce the opacity to 89.
Activate your top layer.
Change the Blend Mode of this layer to Hard Light.
12. Layers>Merge>Merge visible.
13. Set your foreground color to white #ffffff.
Layers>New Raster Layer.
Flood Fill  the layer with color white. the layer with color white.
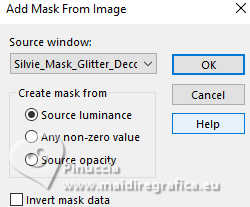
14. Layers>New Mask layer>From image
Open the menu under the source window and you'll see all the files open.
Select the mask
Silvie_Mask_Glitter_Decor54PP
Layers>Duplicate.
Layers>Merge>Merge Group.
Change the Blend Mode of this layer to Overlay.
15. Open EF-Glorious_Deco_1 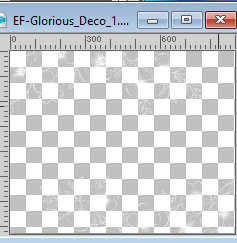
Edit>Copy.
Go back to your work and go to Edit>Paste as new layer.
Adjust>Sharpness>Sharpen More.
Layers>Duplicate.
Layers>Merge>Merge Down.
author's note: for my second version I did:
Image>Negative Image (on the mask and the deco's layers)
16. Edit>Copy Special>Copy Merged
Edit>Paste as new layer.
Image>Resize, to 50%, resize all layers not checked.
Layers>Arrange>Move Down - 2 times.
17. Effects>Image Effects>Seamless Tiling - Side by Side

Adjust>Sharpness>Sharpen.
18. Effects>Plugins>Flaming Pear - Flexify 2
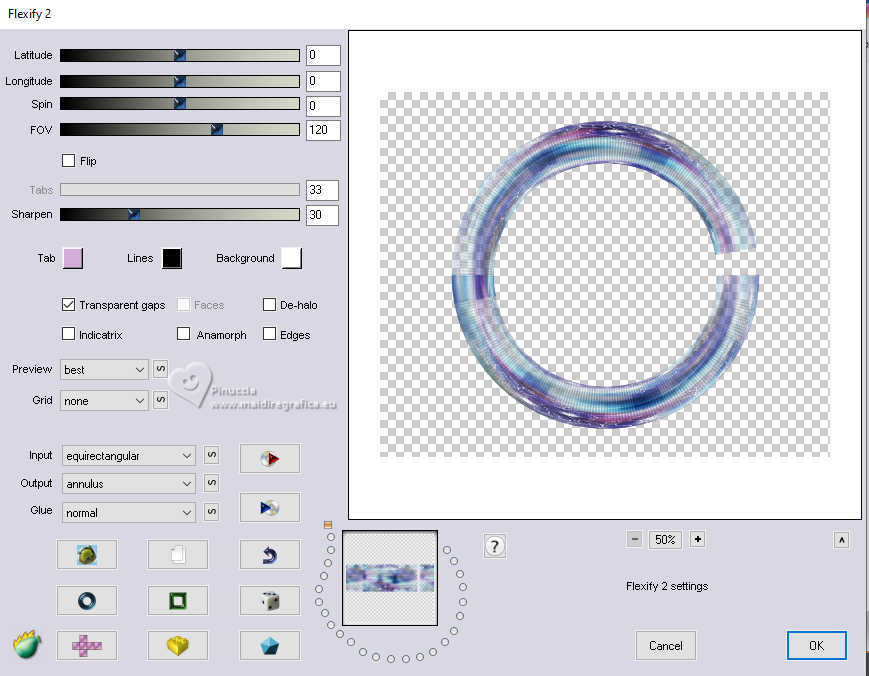
Image>Mirror>Mirror horizontal.
19. Effects>Reflection Effects>Rotating Mirror.

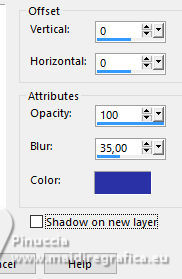
20. Effects>3D Effects>Drop Shadow, color 3 #2c32a6 or #000000
21. Activate again the tube EF-Misted_Paisagem 
Edit>Copy.
Go back to your work and go to Edit>Paste as new layer.
Image>Resize, to 80%, resize all layers not checked.
Layers>Arrange>Move Down.
Change the Blend Mode of this layer to Hard ight or Normal (according to your tube).
22. Activate your top layer.
Open the tube EF-Tube_personagem 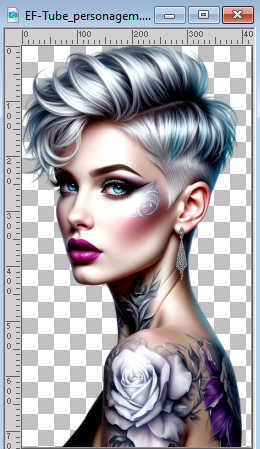
Edit>Copy.
Go back to your work and go to Edit>Paste as new layer.
Objects>Align>Right.
23. Open the text EF-Texto 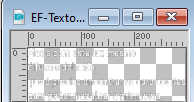
Edit>Copy.
Go back to your work and go to Edit>Paste as new layer.
Move  the tube to the left. the tube to the left.
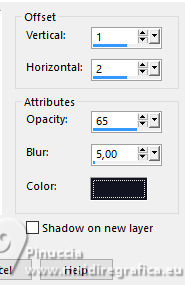
24. Effects>3D Effects>Drop Shadow, color 4 #131522.
25. Image>Add Borders, 1 pixel, symmetric, color #000000.
Image>Add Borders, 10 pixels, symmetric, color #ffffff.
Image>Add Borders, 1 pixel, symmetric, color #000000.
Image>Add Borders, 20 pixels, symmetric, color #ffffff.
26. Sign your work.
Image>Add Borders, 1 pixel, symmetric, color #000000.
Save as jpg.
Version with my tubes from Pinterest images
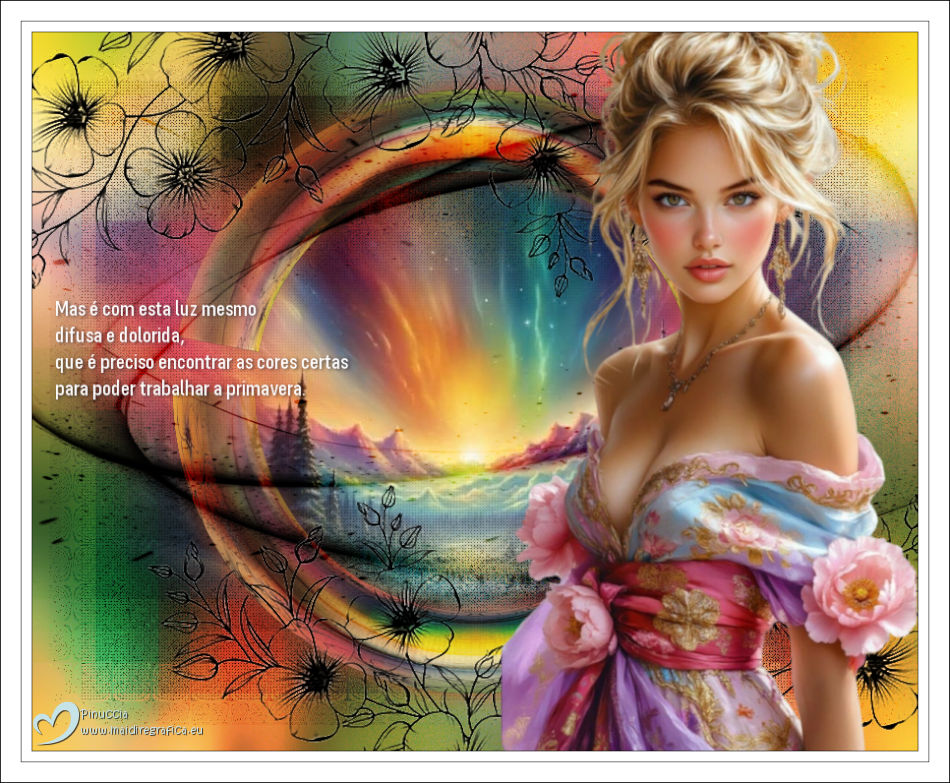


If you have problems or doubts, or you find a not worked link,
or only for tell me that you enjoyed this tutorial, write to me.
25 January 2026

|

