|
ORIGAMI FOLDER


Thanks Estela for your invitation to translate your tutorials into english

This tutorial, created with PSP2022, was translated with PspX7, but it can also be made using other versions of PSP.
Since version PSP X4, Image>Mirror was replaced with Image>Flip Horizontal,
and Image>Flip with Image>Flip Vertical, there are some variables.
In versions X5 and X6, the functions have been improved by making available the Objects menu.
In the latest version X7 command Image>Mirror and Image>Flip returned, but with new differences.
See my schedule here
 French Translation here French Translation here
 Your versions here Your versions here

For this tutorial, you will need:

Images by Pinterest.
(The links of the tubemakers here).

consult, if necessary, my filter section here
Filters Unlimited 2.0 here
VM Instant Art - Origami Folder here
Transparency - Eliminate Black here
Simple - Zoom out and flip here
Neology - Blend Emboss here
Carolaine and Sensibility - CS-LDots here
Flaming Pear - Flexify 2 here
Mura's Meister - Perspective Tiling here
Alien Skin Eye Candy 5 Impact here
Filters VM Instant Art, Transparency, Simple, Neology can be used alone or imported into Filters Unlimited.
(How do, you see here)
If a plugin supplied appears with this icon  it must necessarily be imported into Unlimited it must necessarily be imported into Unlimited

You can change Blend Modes according to your colors.

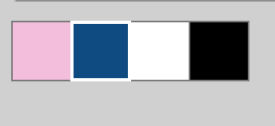
Colors
1. Open EF-Alpha_Origami_Folder
Window>Duplicate or, on the keyboard, shift+D to make a copy.

Close the original.
The copy, that will be the basis of your work, is not empty,
but contains a selections saved to alpha channel.
2.Selections>Select All.
Open the image grafico 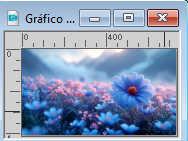
Edit>Copy.
Go back to your work and go to Edit>Paste into Selection.
Selections>Select None.
3. Adjust>Blur>Gaussian Blur - radius 25.

4. Layers>Duplicate.
Effects>Plugins>Filters Unlimited 2.0 - VM Instant Art - Origami Folder
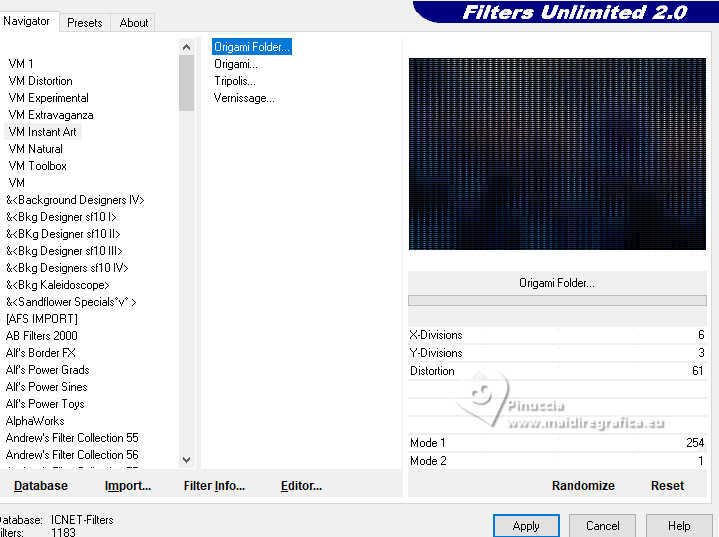
5. Effects>Plugins>Transparency - Eliminate Black
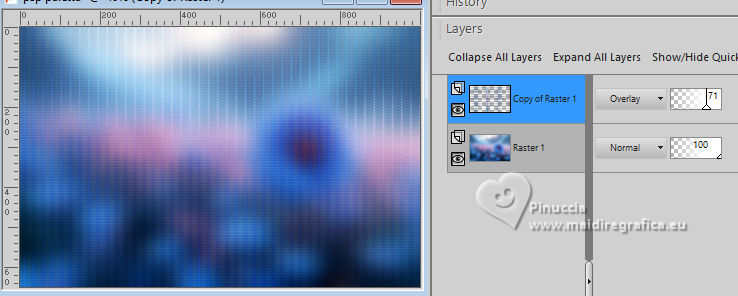
Change the Blend Mode of this layer to Overlay and reduce the opacity to 71%.
6. Open EF-Origami_Folder_Deco_1 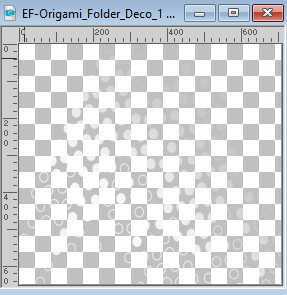
Edit>Copy.
Go back to your work and go to Edit>Paste as new layer.
Change the Blend Mode of this layer to Dodge.
Objects>Align>Right.
7. Layers>New Raster Layer.
Selections>Load/Save Selection>Load Selection from Alpha Channel.
The selection seleção #1 is immediately available. You just have to click Load.
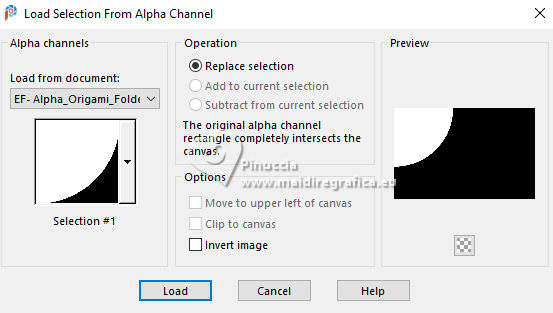
Set your foreground color to white #ffffff.
Flood Fill  the selection with color white. the selection with color white.
Selections>Select None.
8. Adjust>Blur>Gaussian Blur - radius 100
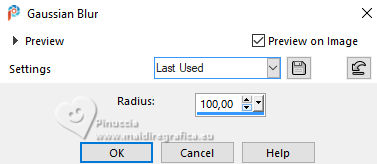
9. Effects>Distortion Effects>Ripple.
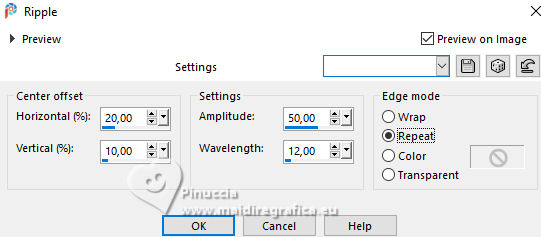
10. Open EF-Origami_Folder_Deco_2 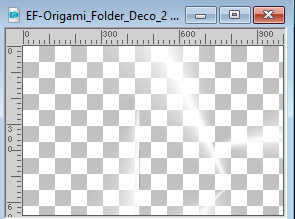
Edit>Copy.
Go back to your work and go to Edit>Paste as new layer.
11. Effects>Plugins>Filters Unlimited 2.0 - VM Instant Art - Origami Folder, default settings.
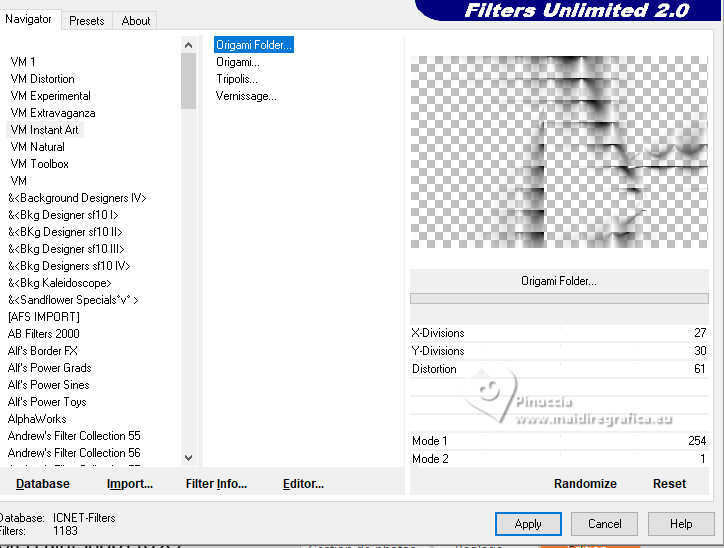
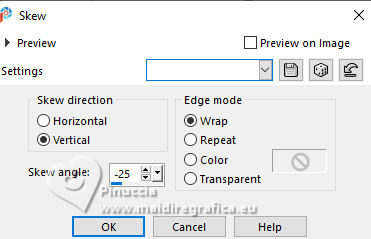
12. Effects>Geometric Effects>Skew.
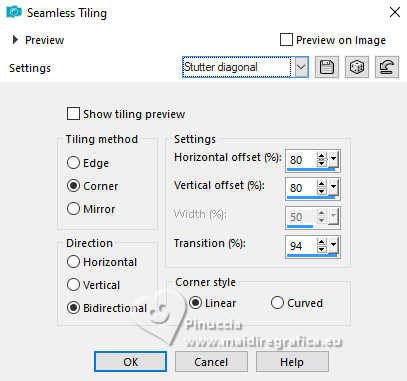
13. Effects>Image Effects>Seamless Tiling - Stutter diagonal
14. Effects>Image Effects>Offset.
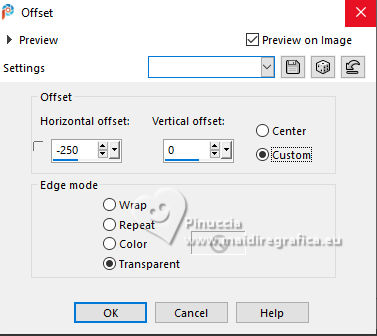
Reduce the opacity of this layer to 48.
15. Effects>Plugins>Filters Unlimited 2.0 - Neology - Blend Mosaic.
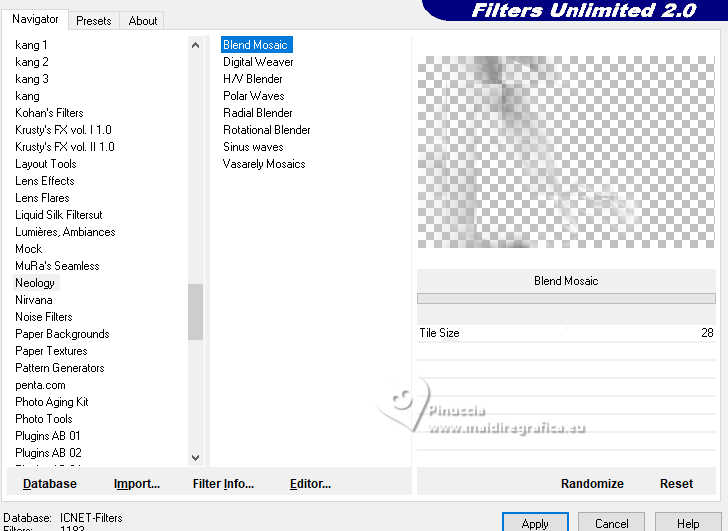
16. Layers>Merge>Merge visible.
17. Layers>Duplicate.
Image>Mirror>Mirror Horizontal.
18. Effects>Plugins>Mura's Meister - Perspective Tiling.
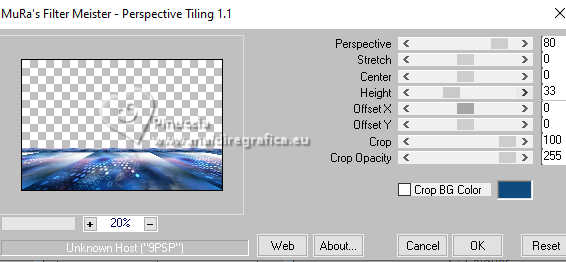
19. Effects>Distortion Effects>Punch.
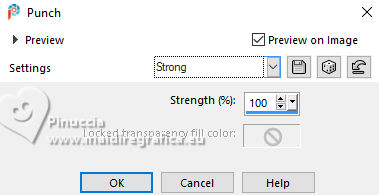
20. Effects>3D Effects>Drop shadow, color black.
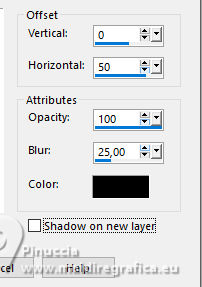
21. Effects>Plugins>Simple - Zoom out and Flip
This Effect works without window; result
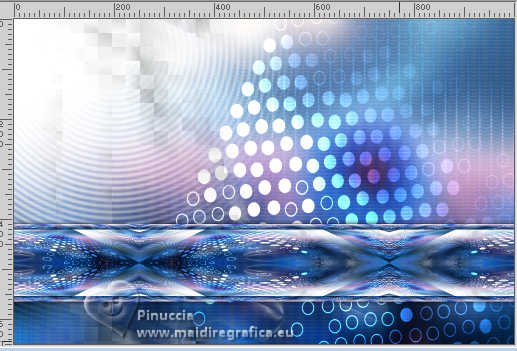
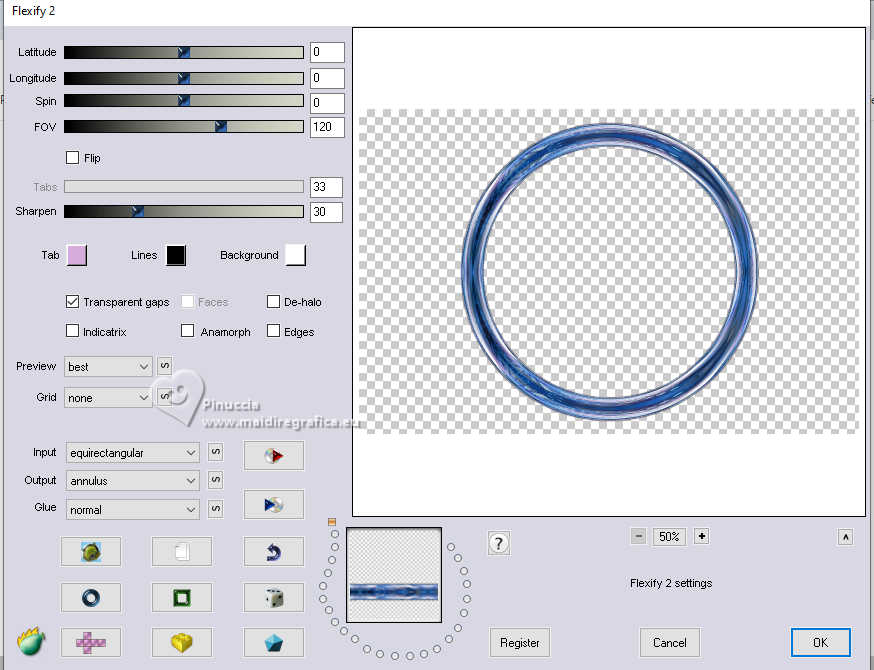
22. Effects>Plugins>Flaming Pear - Flexify 2
23. Effects>Image Effects>Seamless Tiling - Stutter Diagonal.

24. Open the misted EF-Tube_Misted_Floral 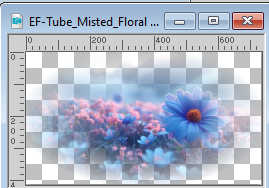
Edit>Copy.
Go back to your work and go to Edit>Paste as new layer.
Adjust>Sharpness>Sharpen More.
25. Open the tube EF-Tube_Passaro 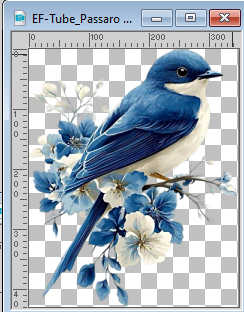
Edit>Copy.
Go back to your work and go to Edit>Paste as new layer.
Place  the tube to your liking. the tube to your liking.
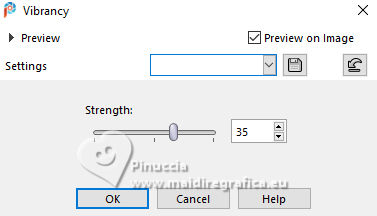
26. Adjust>Hue and Saturation>Vibrancy.
27. Open EF-Origami_Folder_Deco_3 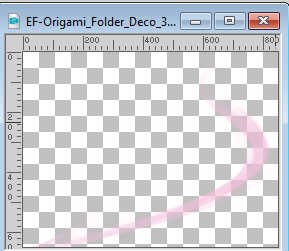
Edit>Copy.
Go back to your work and go to Edit>Paste as new layer.
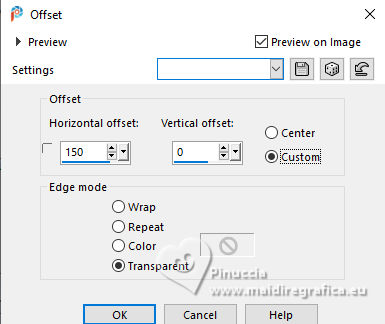
28. Effects>Image Effects>Offset.
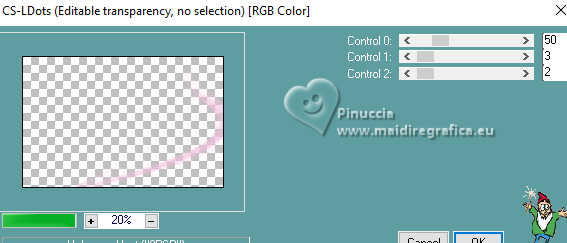
29. Effects>Plugins>Carolaine and Sensibility - CS-LDots, default settings.
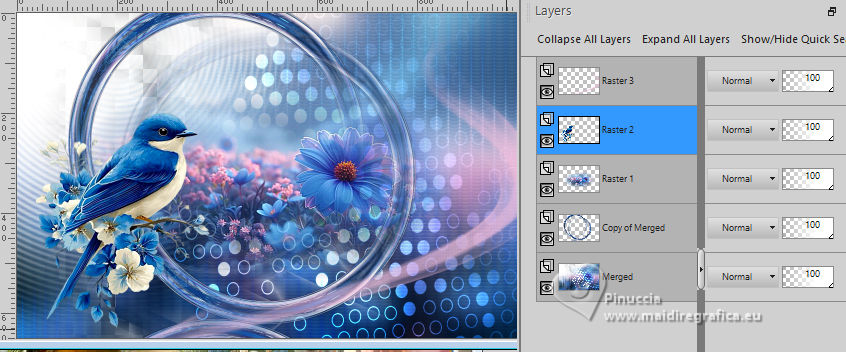
30. Activate the layer below of the tube, Raster 2.
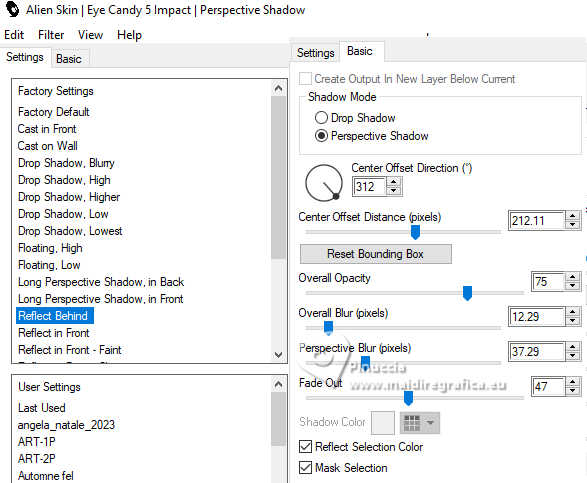
31. Effects>Plugins>Alien Skin Eye Candy 5 Impact - Perspective Shadow
Select the preset Reflect Behind.
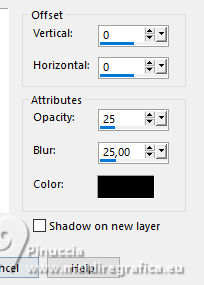
32. Effects>3D Effects>Drop shadow, color black.
33. Image>Add Borders, 4 pixels, symmetric, color 1 #f2bedc.
Image>Add Borders, 4 pixels, symmetric, color 2 #104b80.
Image>Add Borders, 10 pixels, symmetric, color #ffffff.
Image>Add Borders, 25 pixels, symmetric, color 2 #104b80.
34. Activate your Magic Wand Tool  , tolerance and feather 0, , tolerance and feather 0,
and click in the last border to select it.
35. Effects>Reflection Effects>Kaleidoscope.
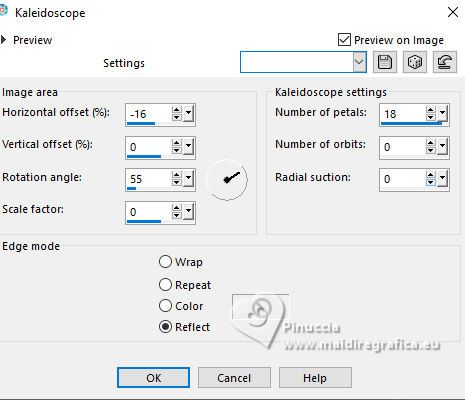
36. Adjust>Blur>Gaussian Blur - radius 25.

37. Effects>3D Effects>Drop Shadow, color black.

Selections>Select None.
Adjust>Sharpness>Sharpen.
38. Open EF-Origami_Folder_Texto 
Edit>Copy.
Go back to your work and go to Edit>Paste as new layer.
Place  the text to your liking. the text to your liking.
39. Sign your work on a new layer.
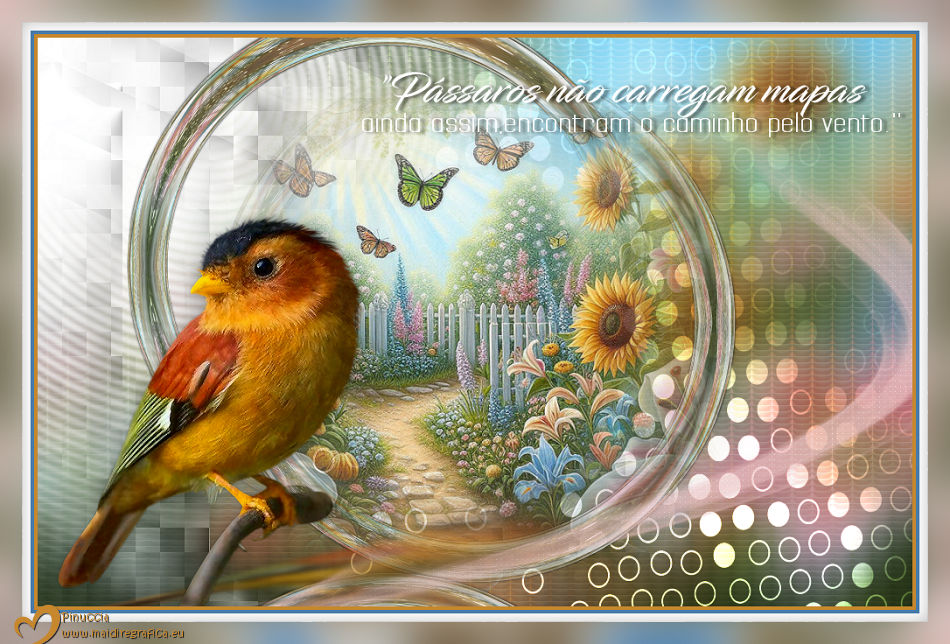
40. Layers>Merge>Merge All.
Image>Resize, 850 pixels width, resize all layers checked.
Save as jpg.

If you have problems or doubts, or you find a not worked link,
or only for tell me that you enjoyed this tutorial, write to me.
9 October 2025

|

