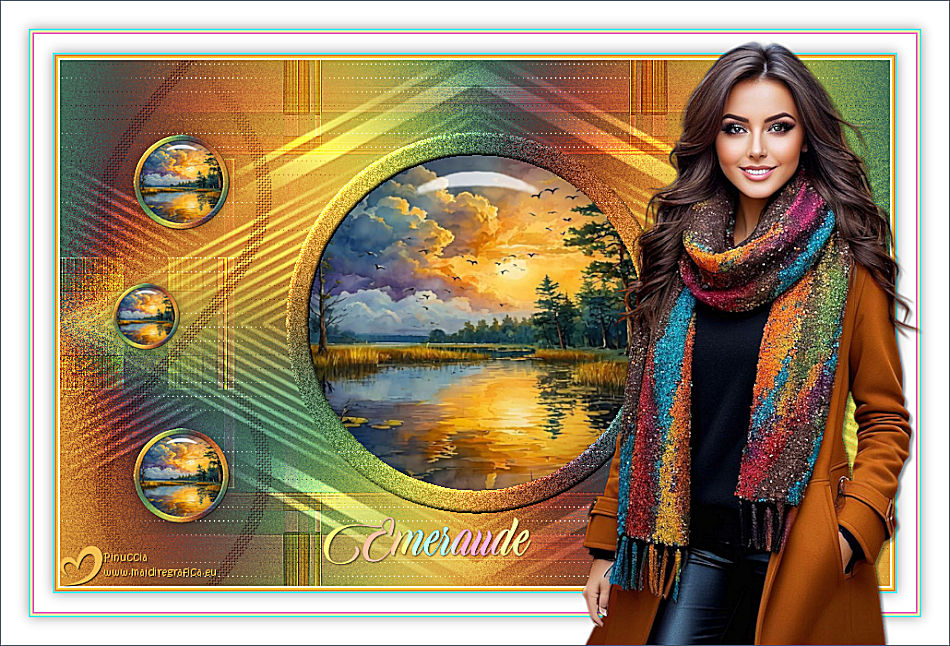
EMERAUDE

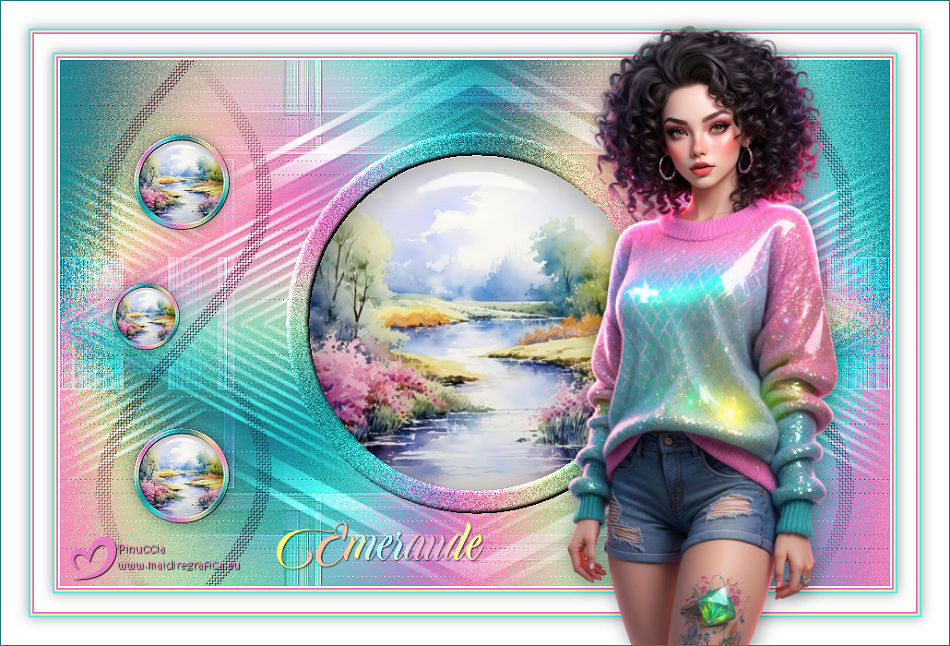
Thanks Carine for your invitation to translate

Clic and move the brush to follow the tutorial.

To print


|
This tutorial was translated with PSPX9 and PSP2020, but it can also be made using other versions of PSP.
Since version PSP X4, Image>Mirror was repemerauded with Image>Flip Horizontal,
and Image>Flip with Image>Flip Vertical, there are some variables.
In versions X5 and X6, the functions have been improved by making available the Objects menu.
In the latest version X7 command Image>Mirror and Image>Flip returned, but with new differences.
See my schedule here
 italian translation here italian translation here
 your versions here your versions here
Necessary

Thanks for the tube Catty and for the mask Franie Margot.
The rest of the material is by Felinec31
(The links of the tubemakers here).

consult, if necessary, my filter section here
Filters Unlimited 2.0 here
&<Bkg Designer sf10IV> - @The Blast (da importare in Unlimited) here
Mehdi - Wavy Lab 1.1. here
Toadies - Weaver here
L&K's - L&K's Zitah here
Flaming Pear - Flexify 2 here
Filters Toadies can be used alone or imported into Filters Unlimited.
(How do, you see here)
If a plugin supplied appears with this icon  it must necessarily be imported into Unlimited it must necessarily be imported into Unlimited

You can change Blend Modes according to your colors.

Copy the selection in the Selections Folder.
Open the mask in PSP and minimize it with the rest of the material.
Colors palette

Set your foreground color to color 1 #2b7e87
and you background color to color 2 #e87bc4
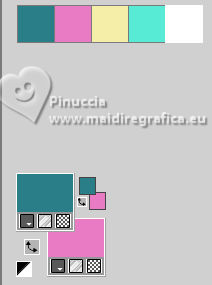
color 3 #f4eea8
color 4 #58ead4
color 5 #ffffff
1. Open a new transparent image 900 x 570 pixels.
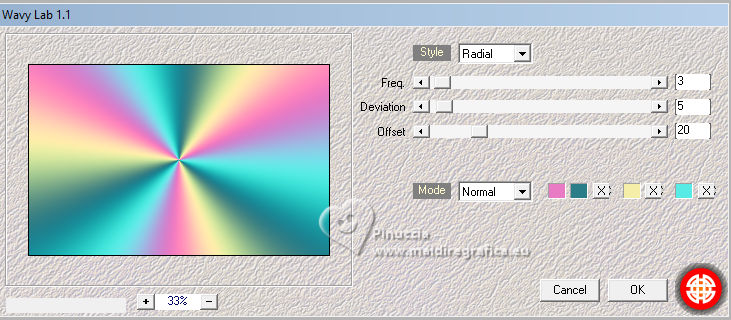
2. Effects>Plugins>Mehdi - Wavy Lab 1.1.
This filter creates gradients with the colors of your Materials palette.
The first is your background color, the second is your foreground color.
Change the last two colors created by the filtre:
the third color with color 3 #f4eea8br; the the fourth one with color 4 #58ead4
3. Effects>Image Effects>Seamless Tiling.

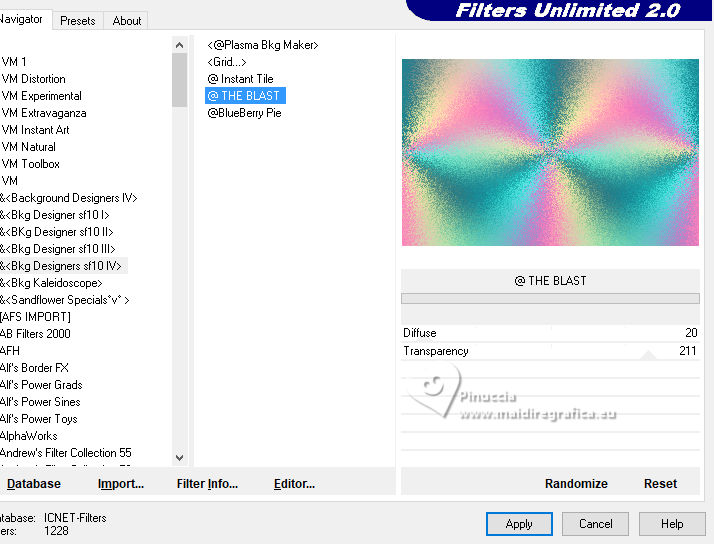
4. Effects>Plugins>Filters Unlimited 2.0 - &<Bkg Designers sf10IV> - @THE BLAST, default settings
5. Effects>Plugins>L&K's - L&K's Zitah
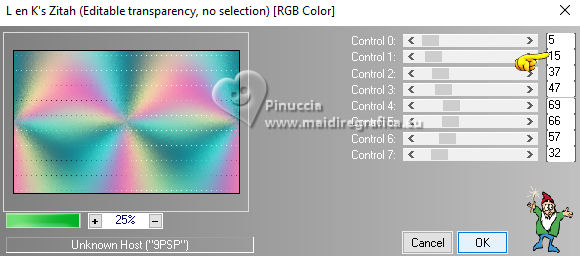
6. Set your foreground color to white.
Layers>New Raster Layer, Raster 2.
Flood Fill  the layer with color white. the layer with color white.
7. Layers>New Mask layer>From image
Open the menu under the source window and you'll see all the files open.
Select the mask masque29_franiemargot
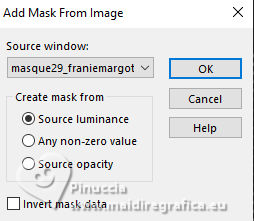
Layers>Merge>Merge Group.
8. Change the Blend Mode of this layer to Overlay.
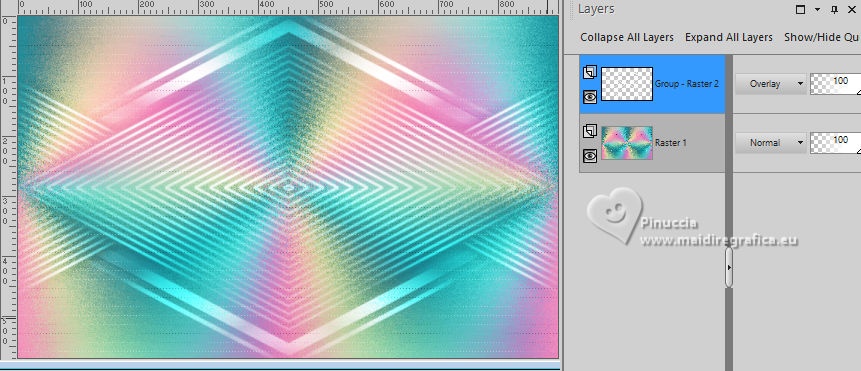
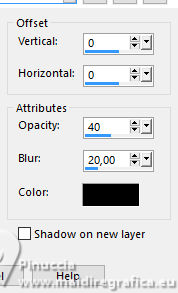
9. Effects>3D Effects>Drop Shadow, color black.
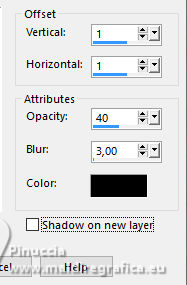
10. Activate the layer Raster 1.
Selections>Load/Save Selection>Load Selection from Disk.
Look for and load the selection Sélection_I.1
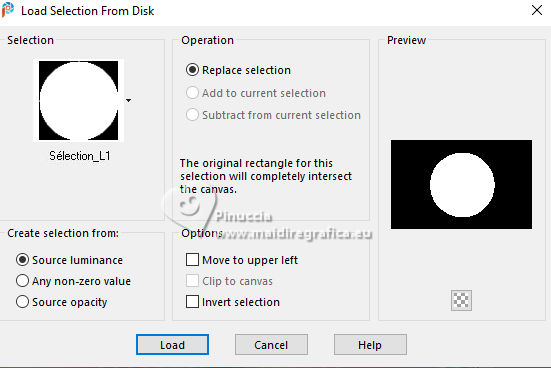
Selections>Promote Selection to Layer.
Layers>Arrange>Bring to top.
11. Selections>Modify>Contract - 25 pixels.
Press CANC on the keyboard 
Adjust>Sharpness>Sharpen.
Selections>Select None.
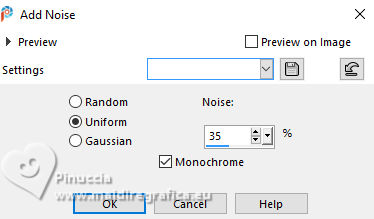
12. Adjust>Add/Remove Noise>Add Noise.
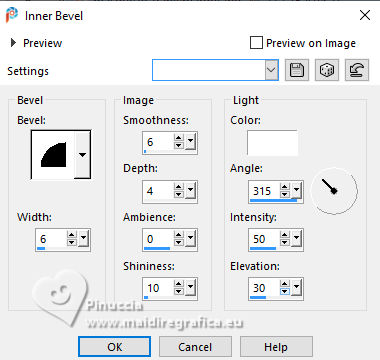
13. Effects>3D Effects>Inner Bevel.
14. Layers>Duplicate.
Effects>Plugins>Flaming Pear - Flexify 2.
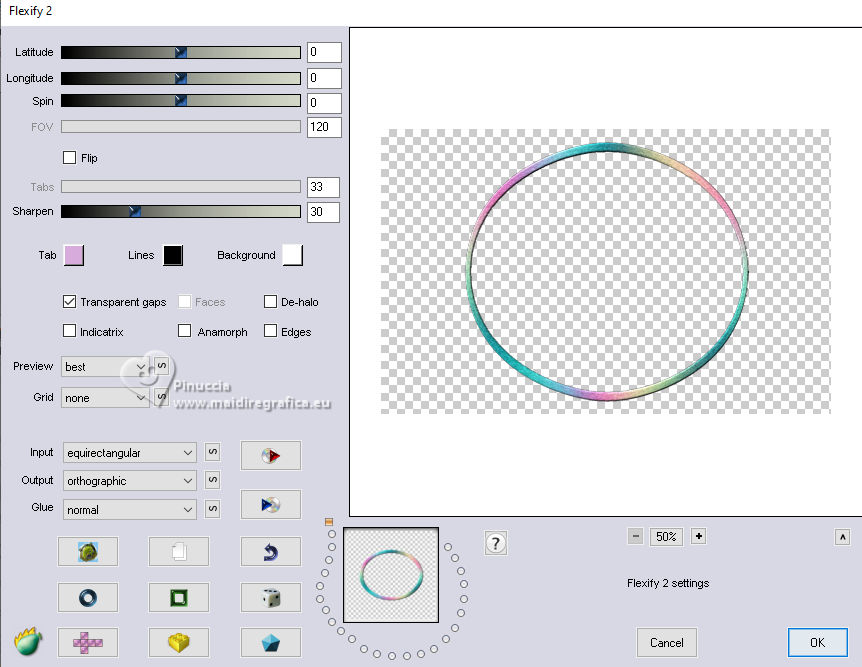
If you are using an old version of this filter:
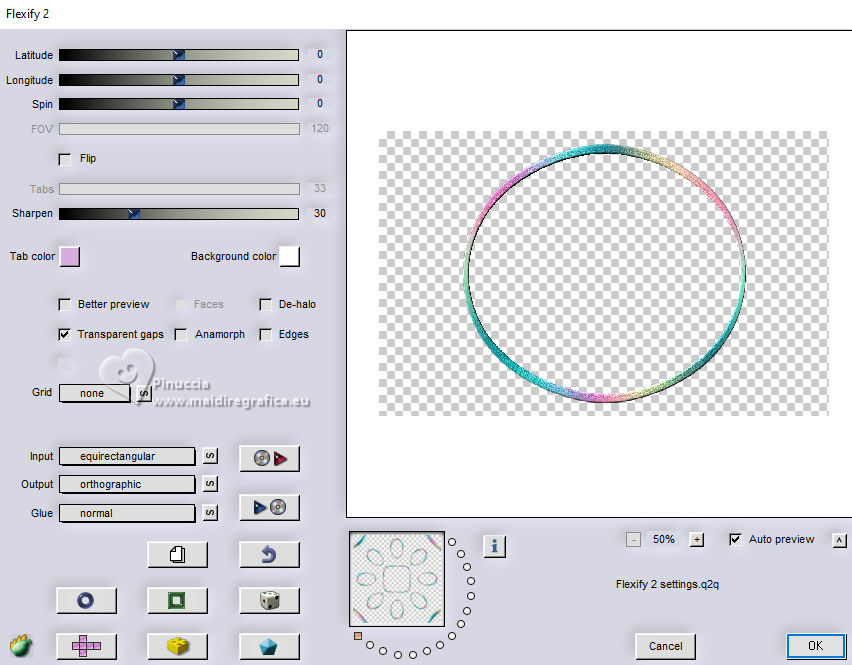
15. Effects>Image Effects>Seamless Tiling, default settings.

16. Effects>Plugins>Toadies - Weaver, default settings.
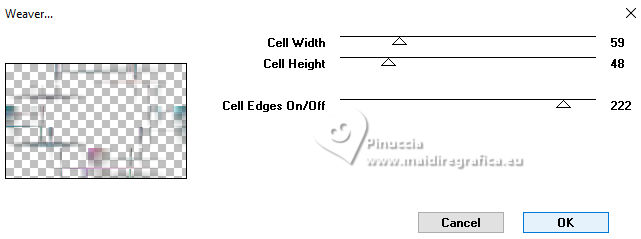
Change the Blend Mode of this layer to Overlay
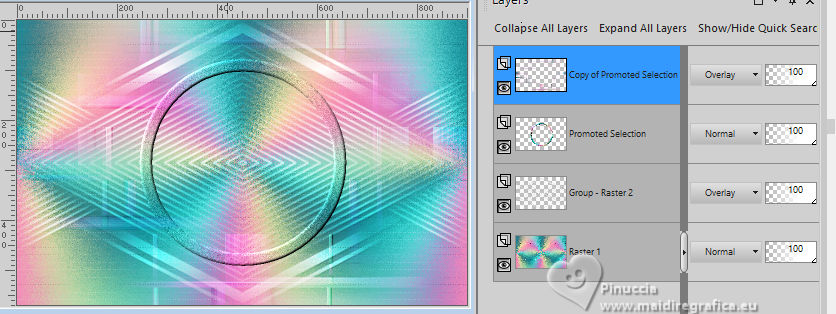
17. Effects>Reflection Effects>Rotating Mirror.
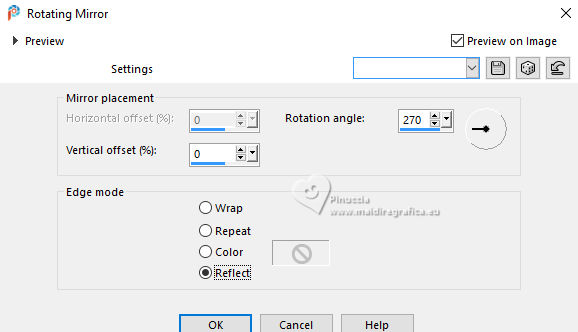
18. Repeat Effects>Reflection Effects>Rotating Mirror, default settings.

Effects>Edge Effects>Enhance.
Move this layer over the layer raster 1.
19. Activate the top layer, Promoted Selection.
Activate your Magic Wand Tool  with these settings, with these settings,
and click in the circle to select it

20. Open your background image Serene Watercolor Landscapes 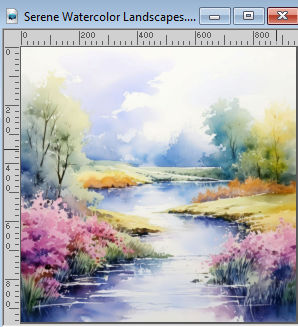
Edit>Copy.
Go back to your work and go to Edit>Paste into Selection.
Keep selected.
21. Open the file Effet Glass 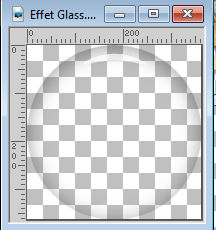
Edit>Copy.
Go back to your work and go to Edit>Paste into Selection.
Selections>Select None.
22. Layers>Duplicate.
Image>Resize, to 25%, resize all layers not checked.
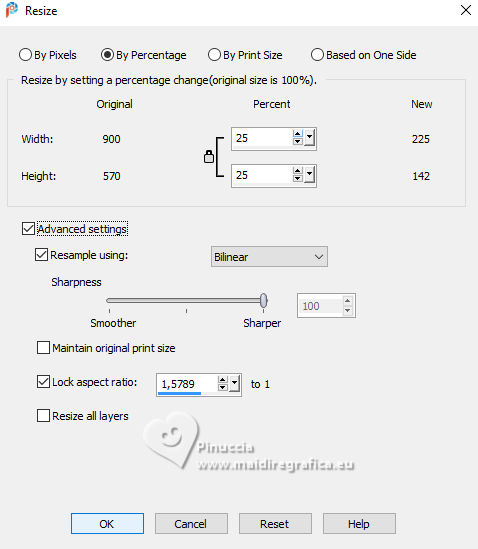
23. K key to activate your Pick Tool 
Position X: 80,00 - Position Y: 81,00.

24. Layers>Duplicate.
Position X: 80,00 - Position Y: 399,00.

25. Layers>Duplicate.
Image>Resize, to 70%, resize all layers not checked.
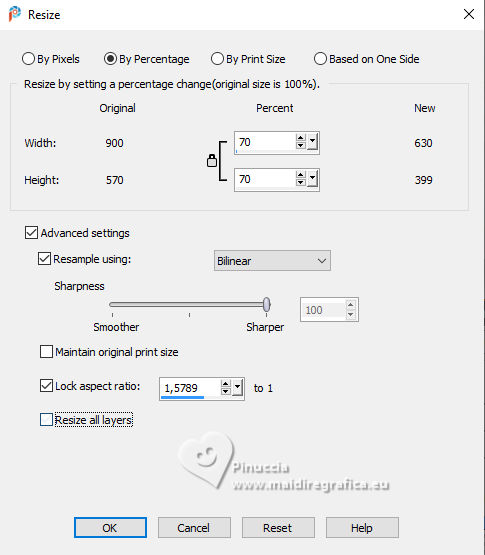
26. Pick Tool 
Position X: 57,00 - Position Y: 242,00.

27. Layers>Merge>Merge Down - 2 times.
Adjust>Sharpness>Sharpen.
28. Effects>3D Effects>Drop Shadow, color black.
29. Open deco 1 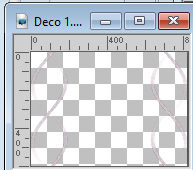
Edit>Copy.
Go back to your work and go to Edit>Paste as new layer.
Don't move it, it is in its place.
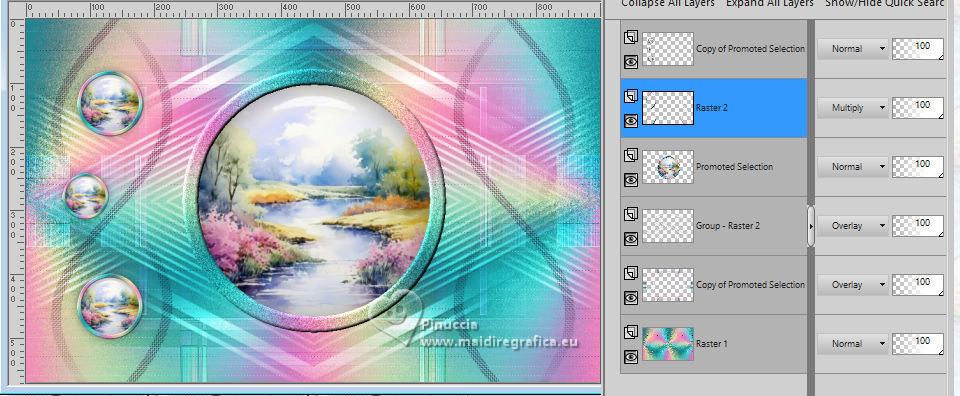
30. Layers>Arrange>Move Down.
Change the Blend Mode of this layer to Moltiply.
31. Image>Add Borders, 2 pixels, symmetric, color white.
Image>Add Borders, 2 pixels, symmetric, color 2 #e87bc4.
Image>Add Borders, 2 pixels, symmetric, color 3 #f4eea8.
Image>Add Borders, 2 pixels, symmetric, color 4 #58ead4.
32. Selections>Select All.
Image>Add Borders, 20 pixels, symmetric, color white.
33. Effects>3D Effects>Drop Shadow, color black.

Selections>Select None.
34. Image>Add Borders, 2 pixels, symmetric, color 2 #e87bc4.
Image>Add Borders, 2 pixels, symmetric, color 3 #f4eea8.
Image>Add Borders, 2 pixels, symmetric, color 4 #58ead4.
35. Selections>Select All.
Image>Add Borders, 30 pixels, symmetric, color white.
36. Effects>3D Effects>Drop Shadow, same settings.

Selections>Select None.
37. Open the tube catty creations femme multicolor 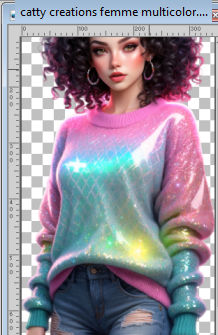
Edit>Copy.
Go back to your work and go to Edit>Paste as new layer.
Image>Resize, to 85%, resize all layers not checked.
Move  the tube to the right. the tube to the right.
38. Effects>3D Effects>Drop Shadow, color black.

39. Open the tube Texte 
Edit>Copy.
Go back to your work and go to Edit>Paste as new layer.
Move  the tube at the bottom, see my example. the tube at the bottom, see my example.
40. Image>Add Borders, 1 pixel, symmetric, foreground color.
41. Sign your work.
Image>Resize, to 950 pixels width, resize all layers checked.
Adjust>Sharpness>Sharpen.
Save as jpg.
For the tube of this version thanks Felinec31

If you have problems or doubts, or you find a not worked link, or only for tell me that you enjoyed this tutorial, write to me.
20 January 2026

|

