|
SPARKLING CHRISTMAS TIME

Thanks Inge-Lore for your invitation to translate your tutorials.

This tutorial, was translated with PSPX9, PSPX8 and PSP2020, but it can also be made using other versions of PSP.
Since version PSP X4, Image>Mirror was replaced with Image>Flip Horizontal,
and Image>Flip with Image>Flip Vertical, there are some variables.
In versions X5 and X6, the functions have been improved by making available the Objects menu.
In the latest version X7 command Image>Mirror and Image>Flip returned, but with new differences.
See my schedule here
 Italian translation qui Italian translation qui
 French translation here French translation here
 Your versions ici Your versions ici

Material
Material

For the tube thanks MerryHeart.
(you find here the links to the material authors' sites)


Aucun
Animation Shop here
You can change Blend Modes according to your colors.
In the newest versions of PSP, you don't find the foreground/background gradient (Corel_06_029).
You can use the gradients of the older versions.
The Gradient of CorelX here

1. Choose from your tubes a light and a dark color.
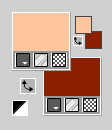
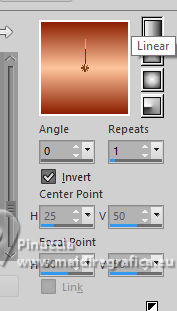
Set your foreground color to a Foreground/Background Gradient, style Linear.
Open a new transparent image 1000 x 650 pixels.
Flood Fill  the transparent image with your Gradient. the transparent image with your Gradient.
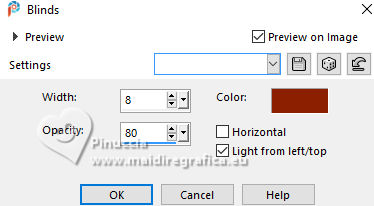
Effects>Texture Effects>Blinds - background color.
Open rideau 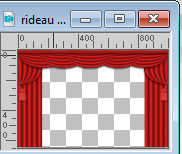
Edit>Copy.
Go back to your work and go to Edit>Paste as new layer.
Adjust>Sharpness>Sharpen.
Effects>3D Effects>Drop shadow, color black.

Open MM-AI-Tube-00(100)-paper 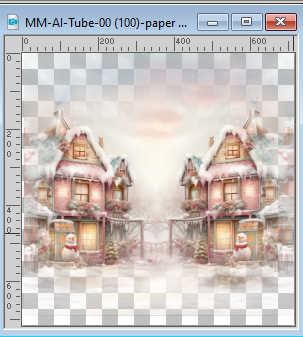
Edit>Copy.
Go back to your work and go to Edit>Paste as new layer.
Layers>Arrange>Move Down.
Adjust>Sharpness>Sharpen.
2. Activate your top layer.
Open your main tube AI VISION-LAMP CAROL KIDS 24 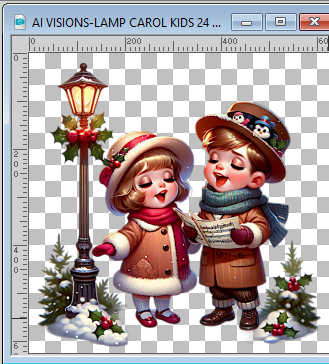
Edit>Copy.
Go back to your work and go to Edit>Paste as new layer.
Image>Resize, if necessary - for the provided tube I resized to 65%, resize all layers not checked.
Adjust>Sharpness>Sharpen.
Move  the tube down. the tube down.
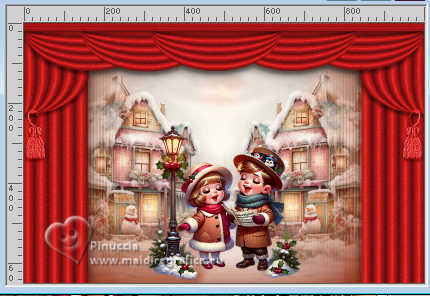
Effects>3D Effects>Drop shadow, same settings.
Open the tube AI VISION-RUSTIC FARM TREE 13 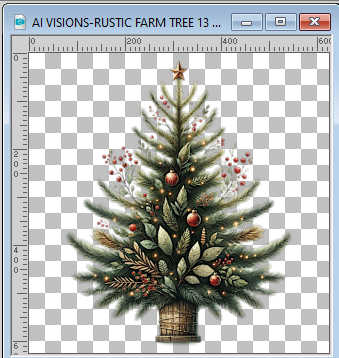
Edit>Copy.
Go back to your work and go to Edit>Paste as new layer.
Image>Resize, if necessary - for the provided tube I resized to 80%, resize all layers not checked.
Adjust>Sharpness>Sharpen.
Effects>3D Effects>Drop shadow, same settings.
4. Move  the tube to the right or to the left. the tube to the right or to the left.
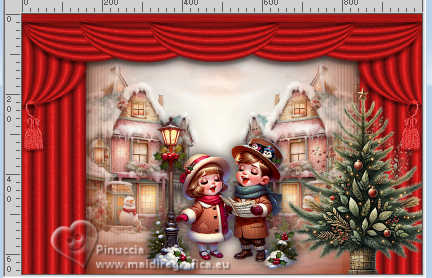
Layers>Duplicate.
Image>Mirror>Mirror Horizontal.
Layers>Merge>Merge Down.
Open couronne 
Edit>Copy.
Go back to your work and go to Edit>Paste as new layer.
Move  the tube againt the border. the tube againt the border.
(Objets>Align>Top)

Effects>3D Effects>Drop shadow, same settings.
Image>Add Borders, 2 pixels, symmetric, light color.
4. Selections>Select All.
Image>Add Borders, 50 pixels, symmetric, dark color.
Selections>Invert.
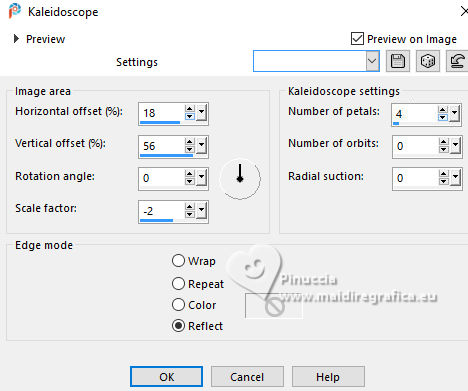
Effects>Reflection Effects>Kaleidoscope.
Again Selections>Invert.
Selections>Promote Selection to Layer.
Effects>3D Effects>Drop shadow, color black.

Selections>Select None.
5. Activate your bottom Layer.
Activate your Magic Wand Tool 
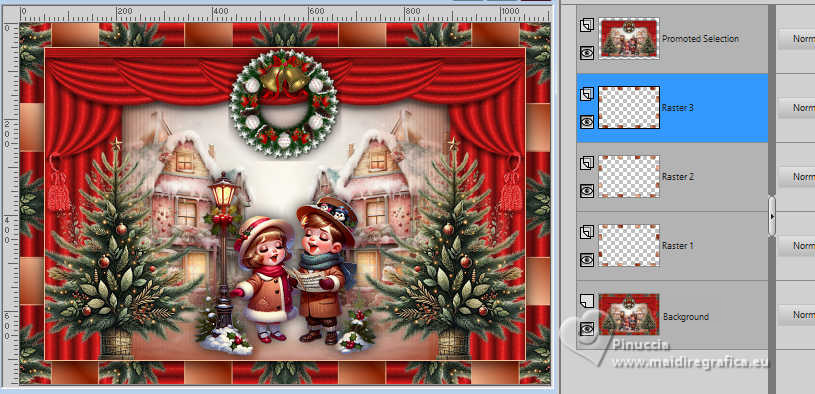
and click in all the colored rectangles to select them.

Change the Gradient's settings.
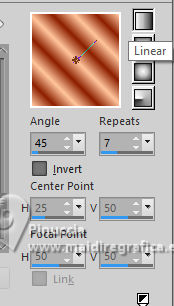
Flood Fill  the selection with your Gradient. the selection with your Gradient.
Layers>New Raster Layer.
Invert the colors of the Gradient.
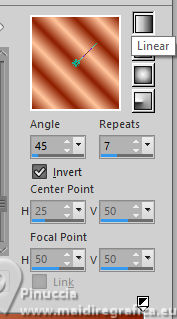
Flood Fill  the selection with your Gradient. the selection with your Gradient.
Layers>New Raster Layer.
Change again the Gradient's settings.
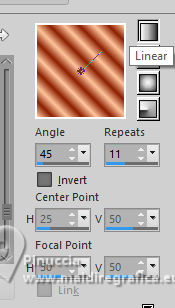
Be careful, if you're confused with the color inversions,
this setting should have the light part in the center
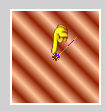
Flood Fill  the selection with your Gradient. the selection with your Gradient.
Selections>Select None.
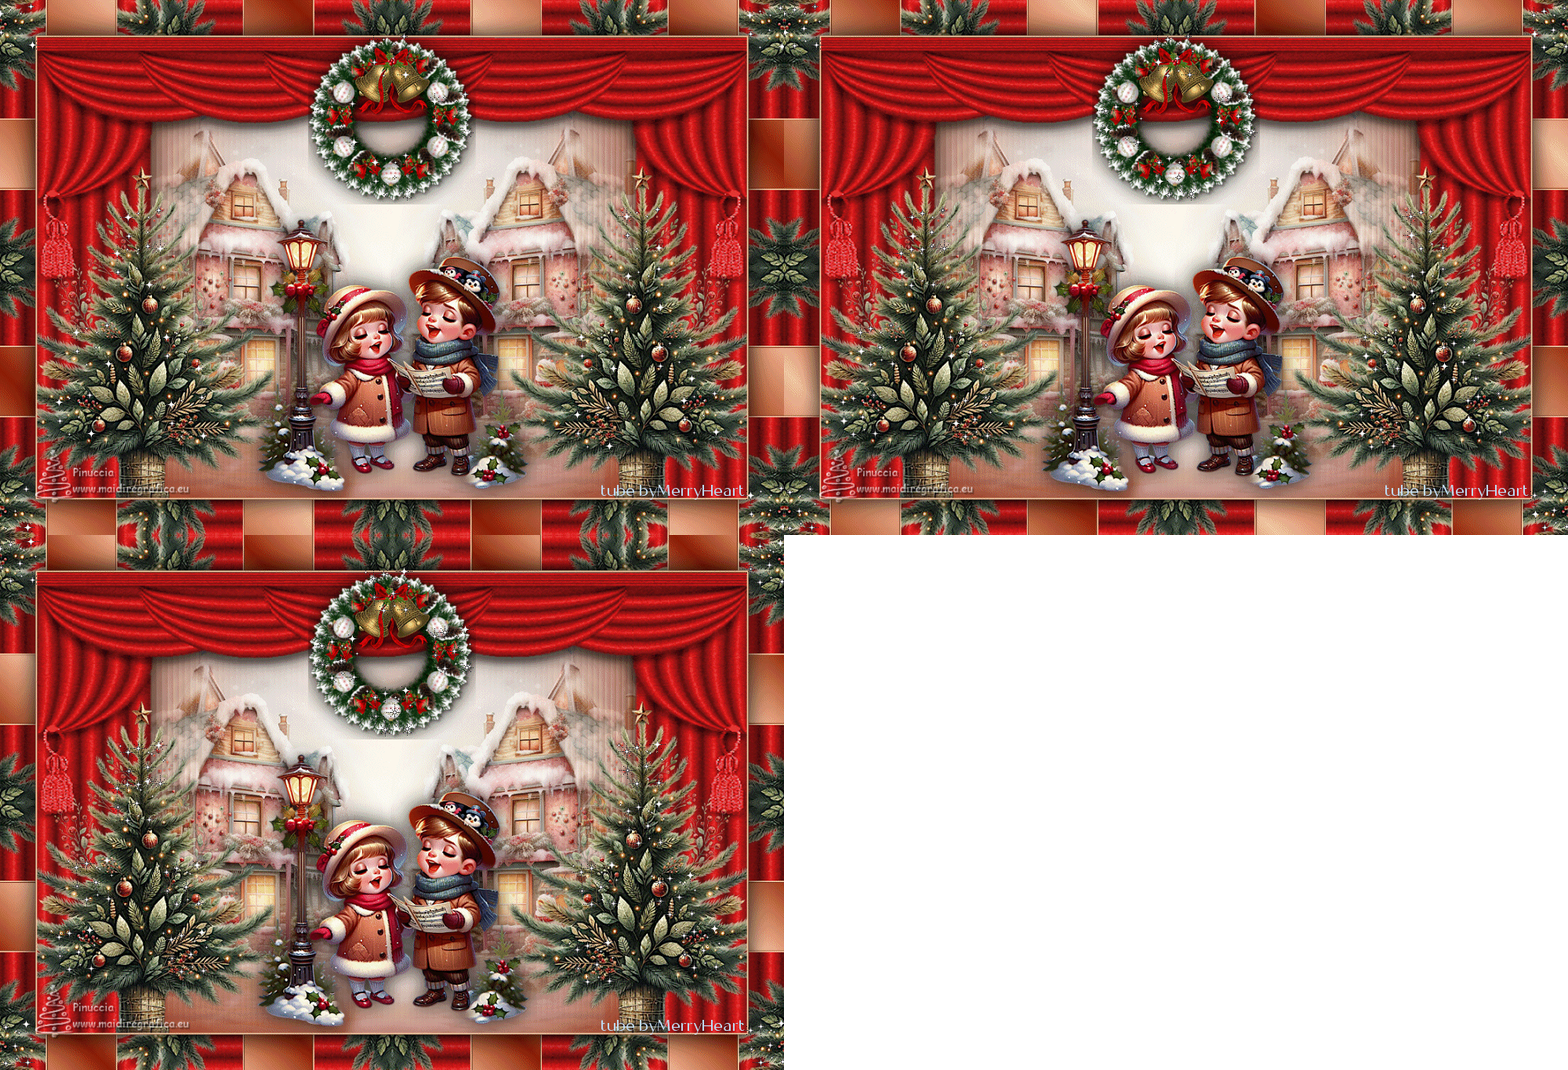
You should have this
6. Activate your top layer.
Image>Resize, 1000 pixels width, resize all layers checked.
Sign your work on a new layer.
Close the layers Raster 2 and Raster 3.
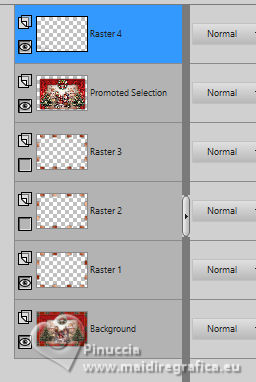
Edit>Copy Special>Copy Merged.
Open Animation Shop and go to Edit>Paste>Paste as new image.
Go back to PSP.
Open the layer Raster 2.
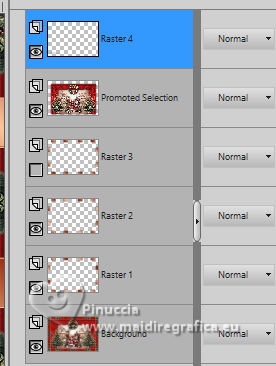
7. Edit>Copy Special>Copy Merged.
Go back to Animation Shop and go to Edit>Paste>Paste after the current frame.
Again in PSP.
Open the layer Raster 3.
Edit>Copy Special>Copy Merged.
Go back to Animation Shop and go to Edit>Paste>Paste after the current frame.
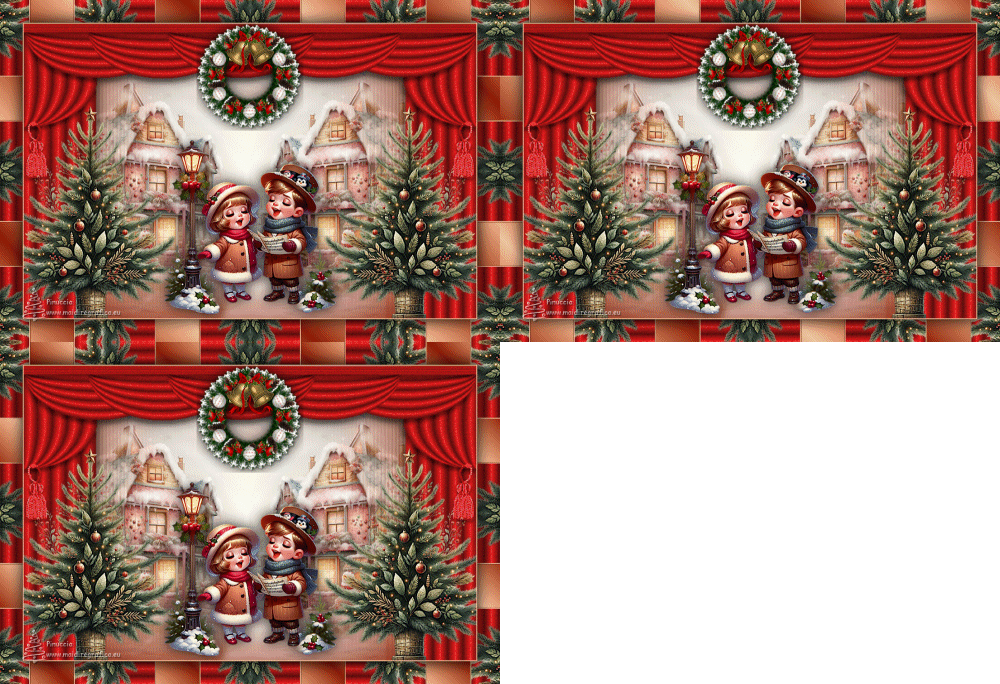
And you'll get an animation composed by 3 frames.
If all is ok and check the risult clicking on View animation 
you should have this
8. Move the cursor under the image to the left
and click on the first frame to select it.
Edit>Select All.
Open stars 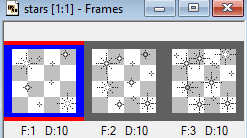
Also this animation is composted by 3 frames.
Edit>Select All.
Edit>Copy.
Activate your work and go to Edit>Paste>Paste into selected frame.
Position the animation on the wreath and, when you've found the correct position,
left-click.
9. Repeat Edit>Paste>Paste into selected frame,
as many times as you want to add more gifs to the wreath,
and to the Christmas trees.
In my example, I also added stars in the four corners.
Always make sure the cursor under the image is to the left.
Check the result by clicking View animation 
and save as gif.
If the animation seems too fast, go to Animation>Frame Properties and increase the duration.
For the example below, I set the duration to 25.
(The higher the settings, the slower the animation).

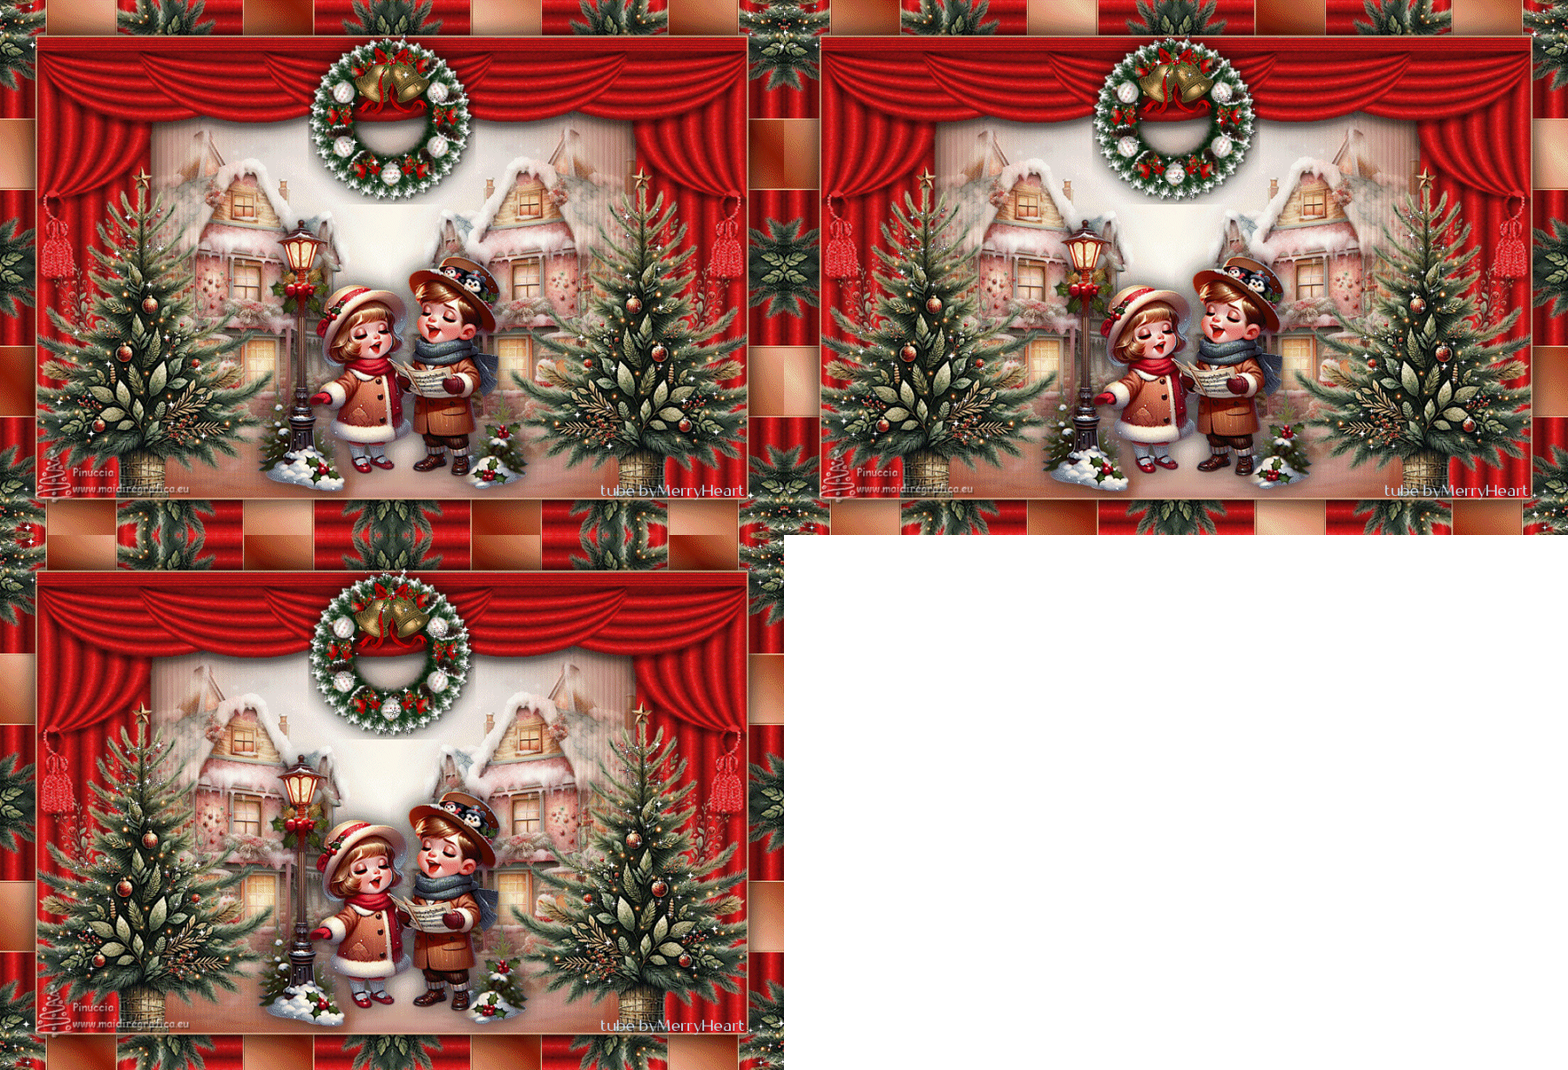
Version with my tubes from Pinterest images
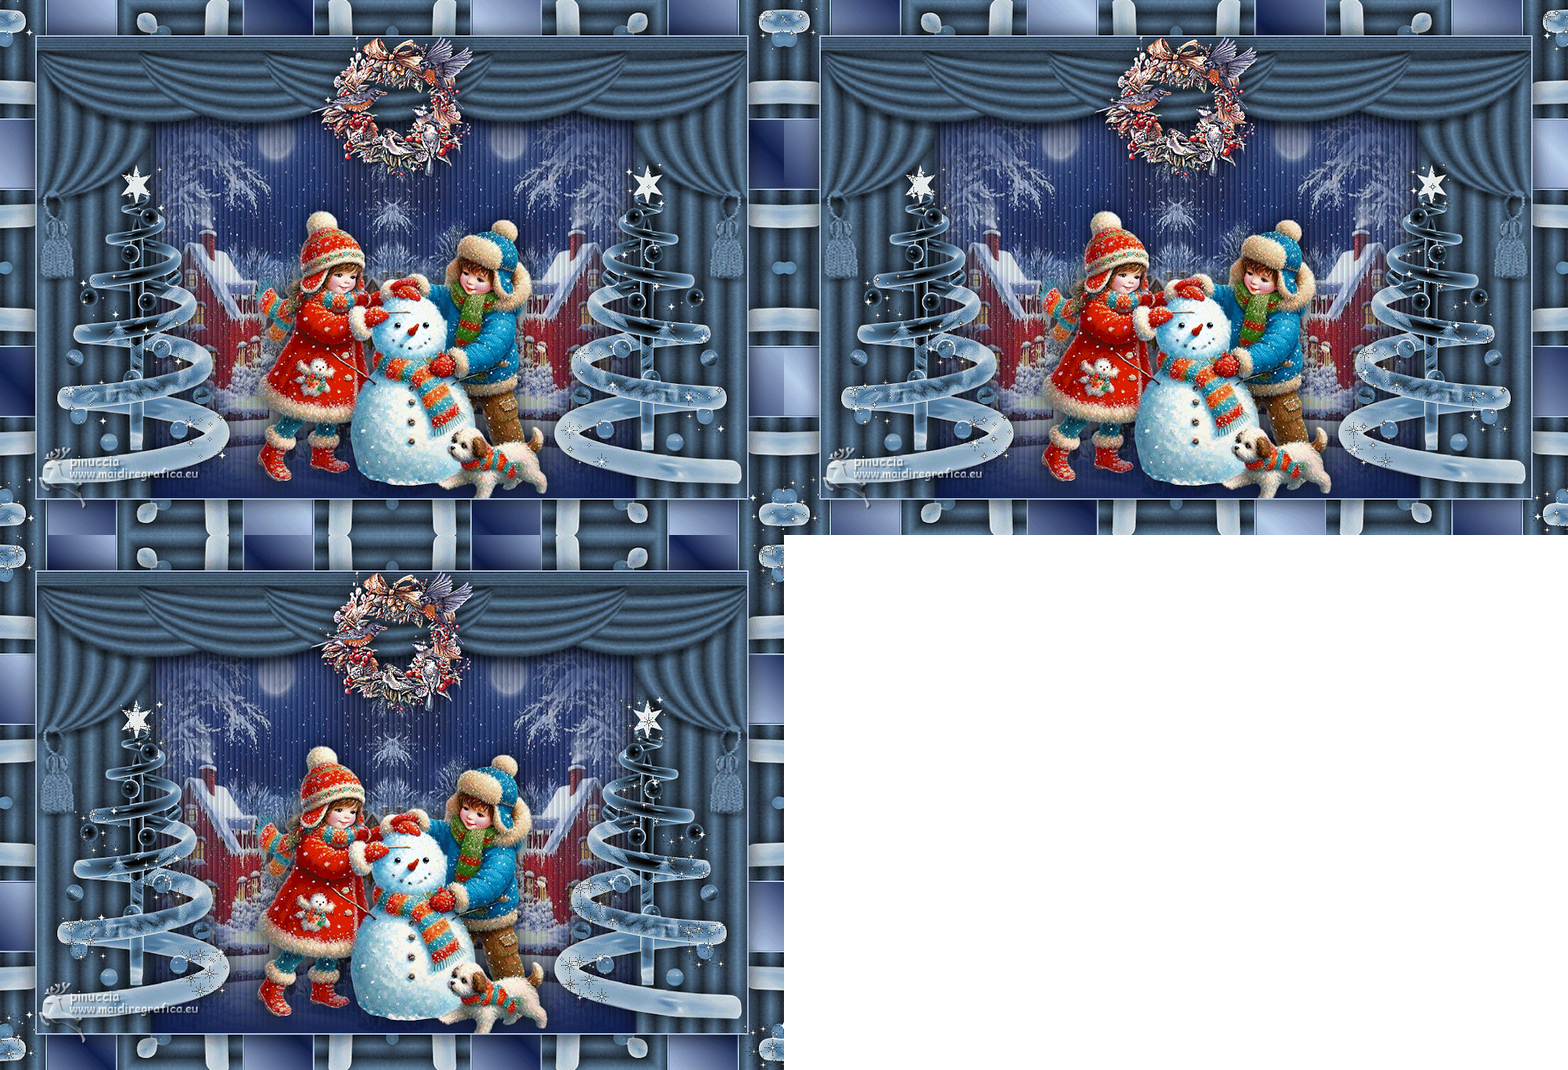
If you have problems or doubts, or you find a not worked link, or only for tell me that you enjoyed this tutorial, write to me.
15 November 2025

|


