|
WAITING FOR SANTA CLAUS


Thanks Inge-Lore for your invitation to translate your tutorials.

This tutorial, was translated with PSPX9, PSPX8 and PSP2020, but it can also be made using other versions of PSP.
Since version PSP X4, Image>Mirror was replaced with Image>Flip Horizontal,
and Image>Flip with Image>Flip Vertical, there are some variables.
In versions X5 and X6, the functions have been improved by making available the Objects menu.
In the latest version X7 command Image>Mirror and Image>Flip returned, but with new differences.
See my schedule here
 Italian translation qui Italian translation qui
 French translation here French translation here
 Your versions ici Your versions ici

Material
A tube at your choice
The rest of the material

For the tube thanks Brenda.
(you find here the links to the material authors' sites)


Aucun

You can change Blend Modes according to your colors.
In the newest versions of PSP, you don't find the foreground/background gradient (Corel_06_029).
You can use the gradients of the older versions.
The Gradient of CorelX here

Open the mask in PSP and minimize it with the rest of the materiale.
1. Choose from your tubes a light and a dark color.
For me, here below the colors choosen for the borders.
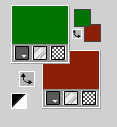
For the tutorial:
set your foreground color to the light color,
and your background color to the dark color
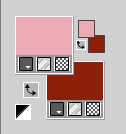
Set your foreground color to a Foreground/Background Gradient, style Linear.
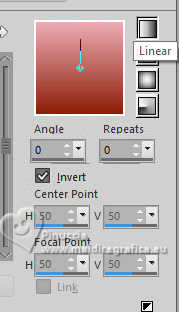
Open a new transparent image 900 x 600 pixels.
Flood Fill  the transparent image with your Gradient. the transparent image with your Gradient.
Selections>Select All.
Open your background image hhangrove_stnicksvillage_ice 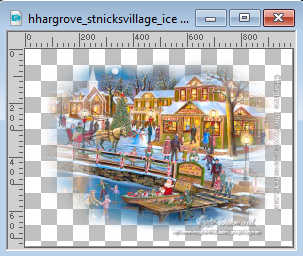
Edit>Copy.
Go back to your work and go to Edit>Paste into Selection.
Selections>Select None.
Effects>Image Effects>Seamless Tiling, Side by Side.

Adjust>Blur>Radial Blur.
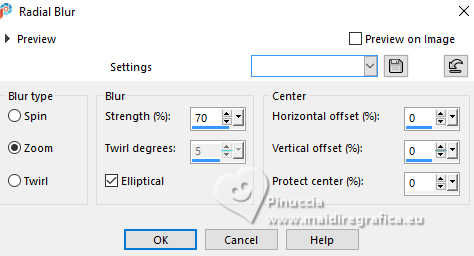
2. Effects>Reflection Effects>Rotating Mirror.

Set your foreground color to white #ffffff.
Layers>New Raster Layer.
Flood Fill  the layer with the color white. the layer with the color white.
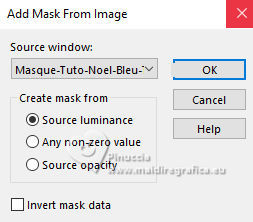
Layers>New Mask layer>From image
Open the menu under the source window and you'll see all the files open.
Select the mask Masque-Tuto-Noel-Bleu-TCH
Effects>Edge Effects>Enhance.
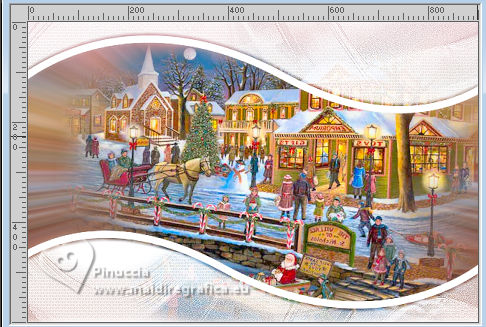
Layers>Merge>Merge Group.
Edit>Paste as new layer - your background image is still in memory.
Layers>Arrange>Move Down.
Image>Resize, if necessary
et place  correctly the tube. correctly the tube.
3. Open Fairy_Dust_Silvie_07.01 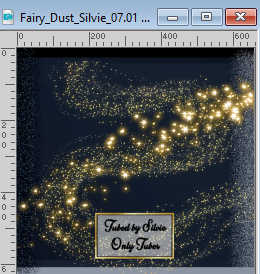
Edit>Copy.
Go back to your work and go to Edit>Paste as new layer.
K key to activate your Pick Tool 
Position X: -186,00 - Position Y: 43,00.

Layers>Duplicate.
Image>Mirror>Mirror Horizontal.
Position X: 268,00 - Position Y: -69,00.

M key to deselect the Tool.
Layers>Merge>Merge Down.
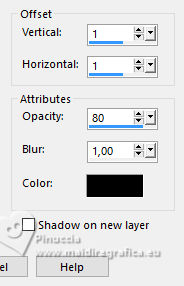
Effects>3D Effects>Drop Shadow, color black.
4. Activate again your top layer.
Open 655 PNG (32) 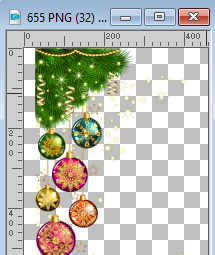
Edit>Copy.
Go back to your work and go to Edit>Paste as new layer.
Image>Resize, to 80%, resize all layers not checked.
K key to activate your Pick Tool 
Position X: 0,00 - Position Y: 0,00.

Effects>3D Effects>Drop Shadow, color black.

Open Cardinal Flower 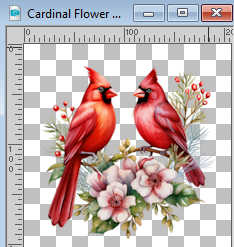
Edit>Copy.
Go back to your work and go to Edit>Paste as new layer.
Move  the tube at the upper right. the tube at the upper right.
Effects>3D Effects>Drop shadow, same settings.
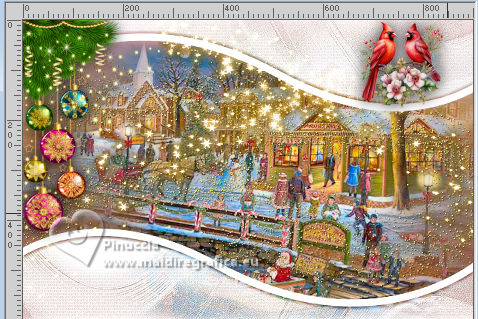
5. Open your main tube and go to Edit>Copy.
Go back to your work and go to Edit>Paste as new layer.
Image>Resize, if necessary.
Adjust>Sharpness>Sharpen.
Place  correctly the tube. correctly the tube.
Effects>3D Effects>Drop shadow, color black.

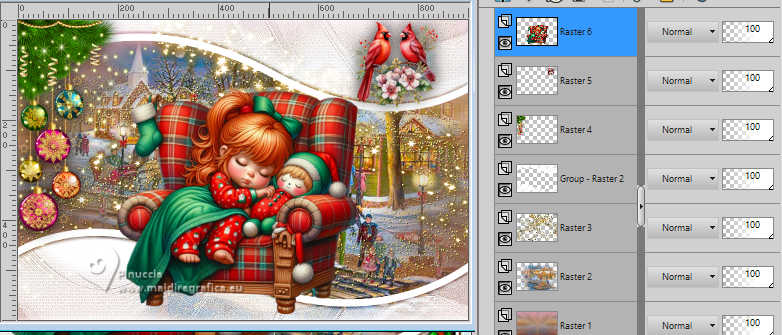
For the bords, set your choosen colors

Selections>Select All.
Image>Add Borders, 40 pixels, symmetric, color white.
Selections>Invert.
6. Selections>Modify>Contract - 5 pixels.
Flood Fill  the selection with the red color. the selection with the red color.
Effects>3D Effects>Inner Bevel.
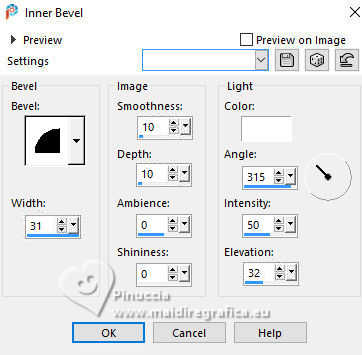
Selections>Select None.
Open TCH-Tuto-53-Cadre 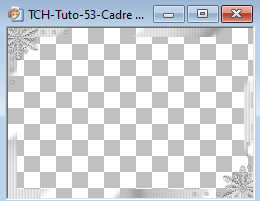
Edit>Copy.
Go back to your work and go to Edit>Paste as new layer.
Colorize with one of the choosen colors.
Sign your work.
Image>Add Borders, 2 pixels, symmetric, color red.
Save as jpg.
Version

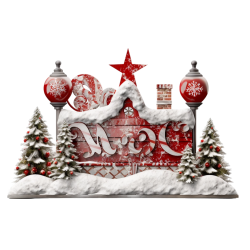
If you have problems or doubts, or you find a not worked link, or only for tell me that you enjoyed this tutorial, write to me.
13 November 2025

|


