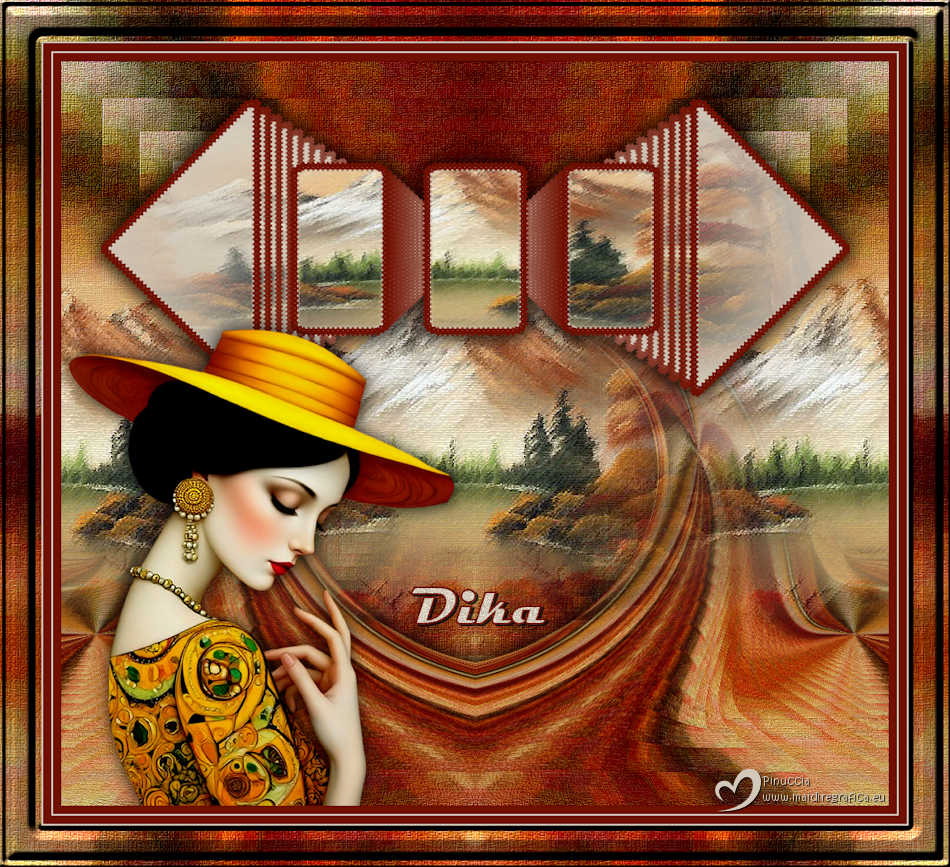
|
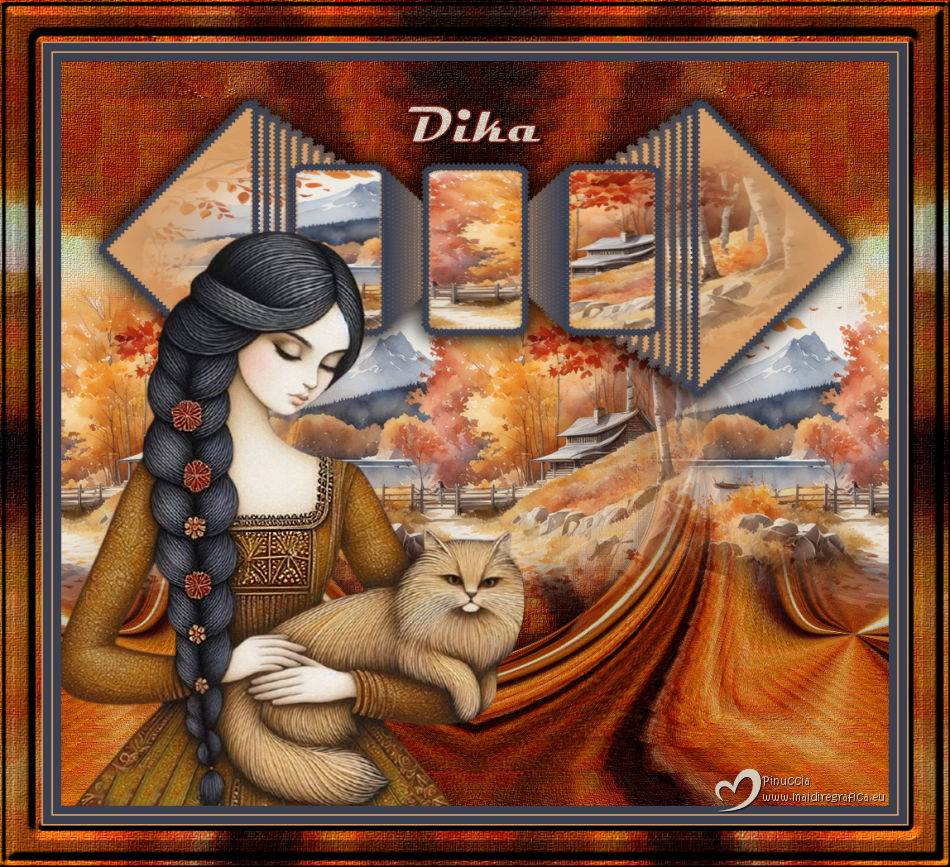
DIKA


Thanks Luz Cristina for your invitation to translate your tutorials into english

This tutorial, created with PSP9, was translated with PspX9 and PSP2020, but it can also be made using other versions of PSP.
Since version PSP X4, Image>Mirror was replaced with Image>Flip Horizontal,
and Image>Flip with Image>Flip Vertical, there are some variables.
In versions X5 and X6, the functions have been improved by making available the Objects menu.
In the latest version X7 command Image>Mirror and Image>Flip returned, but with new differences.
See my schedule here
 French Translation here French Translation here
 Your versions here Your versions here

For this tutorial, you will need:

(you find here the links to the material authors' sites)

consult, if necessary, my filter section here
Blur - Radial Blur here
Mura's Meister - Copies, Perspective Tiling here
Virtual Painter - Virtual Painter 4 here
FM Tile Tools - Blend Emboss here

You can change Blend Modes according to your colors.
In the newest versions of PSP, you don't find the foreground/background gradient (Corel_06_029).
You can use the gradients of the older versions.
The Gradient of CorelX here

Copy the Preset Shape in the Preset Shapes Folder.
1. Open a new transparent image 1000 x 900 pixels.
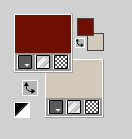
2. Set your foreground color to the dark color #6f1000
and your background color to the light color #d2c9ba
2. Activate your Preset Shape Tool 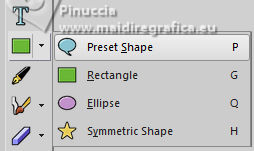
Look for and select the shape SK Random 90 with these settings
Styled Line Opposing Arrowheads-Overlap

The styled line was in older versions of PSP and is not found in the newer ones.
I added it to the material, in case you don't have it on your PSP
(copy it in the Styled Lines Folder).
Place the mouse at 50x50 pixels and drag until 950 pixels
And, without moving the mouse, drag down to 400 pixels
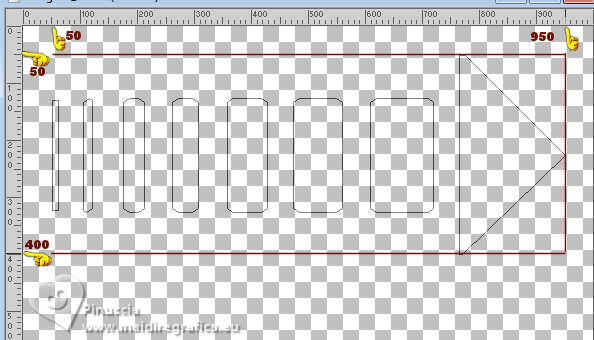
You shold have this
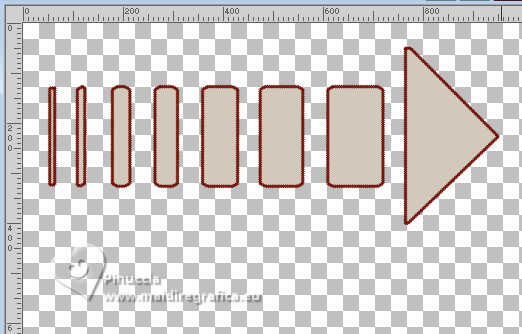
Here above is the result with older versions of PSP:
I used PSP 8 to check the Tool, and Luz Cristina has created the tutorial with PSP9.
With the new versions - I translated the tutorial with PSPX9 and PSP2020,
the result is a little different
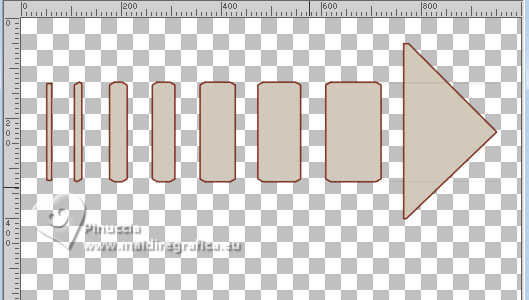
In this case, if you want, you can set the width of your Shape Tool to 2 pixels

3. Image>Mirror>Mirror horizontal.
Effects>Reflection Effects>Rotating Mirror.

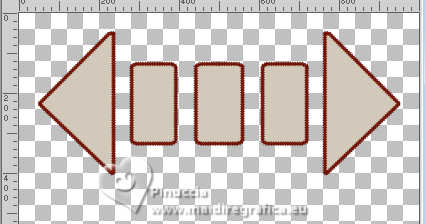
Result:
4. Selections>Select All.
Selections>Float.
Selections>Modify>Contract - 8 pixels.
Open the misted misted-luzcristina 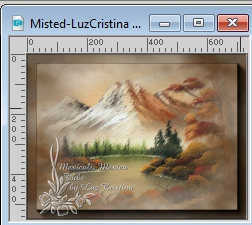
Edit>Copy.
Go back to your work and go to Edit>Paste into Selection.
Selections>Select None.
5. Effects>Plugins>Mura's Meister - Copies.

6. Effects>3D Effects>Drop Shadow, color black.

Edit>Repeat Drop Shadow.
7. Set your foreground color to a Foreground/Background Gradient, style Linear.
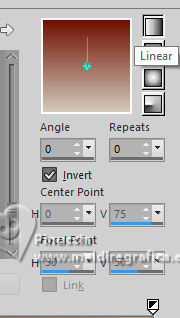
Layers>New Raster Layer.
Flood Fill  the layer with your Gradient. the layer with your Gradient.
Layers>Arrange>Move Down.
8. Selections>Select All.
Edit>Paste into Selection - the misted is still in memory.
Selections>Select None.
Effects>Image Effects>Seamless Tiling.

9. Effects>Plugins>Blur - Radial Blur
if you use the french version of this filter (the result doesn't change)
Effects>Plugins>Atténuation>Flou radial
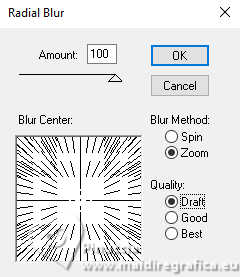 
10. Effects>Plugins>Virtual Painter 4 - Virtual Painter 4.
Filter: Oil painting - Material: Canvas(Fine).
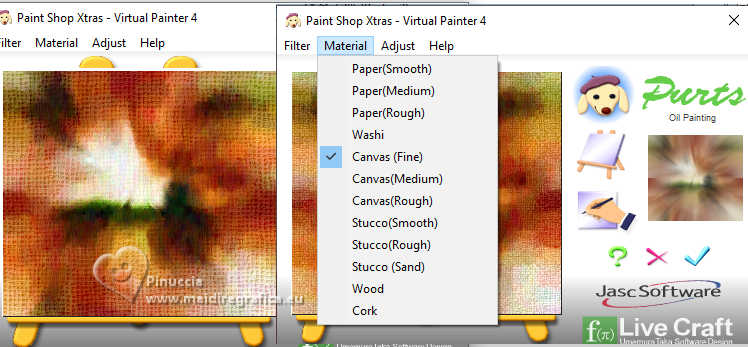
11. Effects>Reflection Effects>Rotating Mirror.

12. Effects>Reflexion Effects>Feedback.
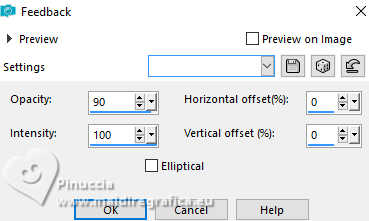
13. Effects>Plugins>FM Tile Tools - Blend Emboss.

14. Adjust>Brightness and Contrast>Brightness and Contrast.
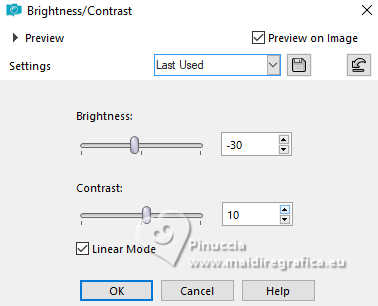
15. Layers>Duplicate.
Effects>Plugins>Mura's Meister - Perspective Tiling.

16. Effects>Distortion Effects>Twirl.
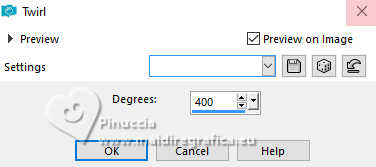
17. Effects>Reflection Effects>Rotating Mirror.

18. Effects>3D Effects>Drop Shadow, color black.

Edit>Repeat Drop Shadow.
19. Edit>Paste as new layer - the misted is still in memory.
Effects>Image Effects>Seamless Tiling.

20. Activate your top layer.
Open the woman's tube 9087-LuzCristina 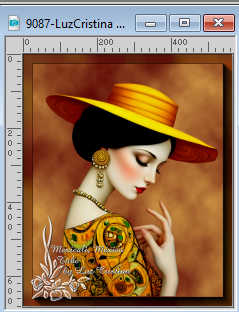
Edit>Copy.
Go back to your work and go to Edit>Paste as new layer.
Move  the tube at the bottom left. the tube at the bottom left.
Effects>3D Effects>Drop Shadow, same settings.
21. Open the text texto 
Edit>Copy.
Go back to your work and go to Edit>Paste as new layer.
Move  the tube to your liking. the tube to your liking.
22. Activate your bottom layer, RAster 2.
Edit>Copy
Image>Add Borders, 10 pixels, symmetric, dark color.
Image>Add Borders, 2 pixels, symmetric, light color.
Image>Add Borders, 10 pixels, symmetric, dark color.
Image>Add Borders, 2 pixels, symmetric, light color.
Image>Ajouter des bordures, 50 pixels, symétrique, couleur foncée.
23. Activate your Magic Wand Tool 
and click in the last border to select it.
Edit>Paste into Selection - the background image of step 20.
24. Effects>3D Effects>Inner Bevel.
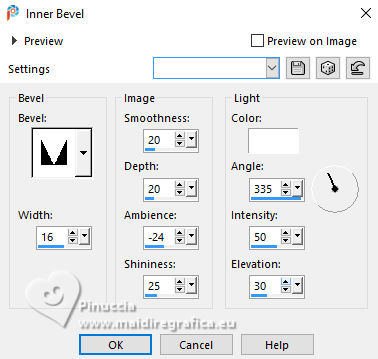
Selections>Select None.
25. Image>Resize, to 83%, resize all layers checked.
26. Sign your work and save as jpg.
For the tubes of this version thanks Luz Cristina and Mentali


If you have problems or doubts, or you find a not worked link,
or only for tell me that you enjoyed this tutorial, write to me.
30 May 2025

|

