|
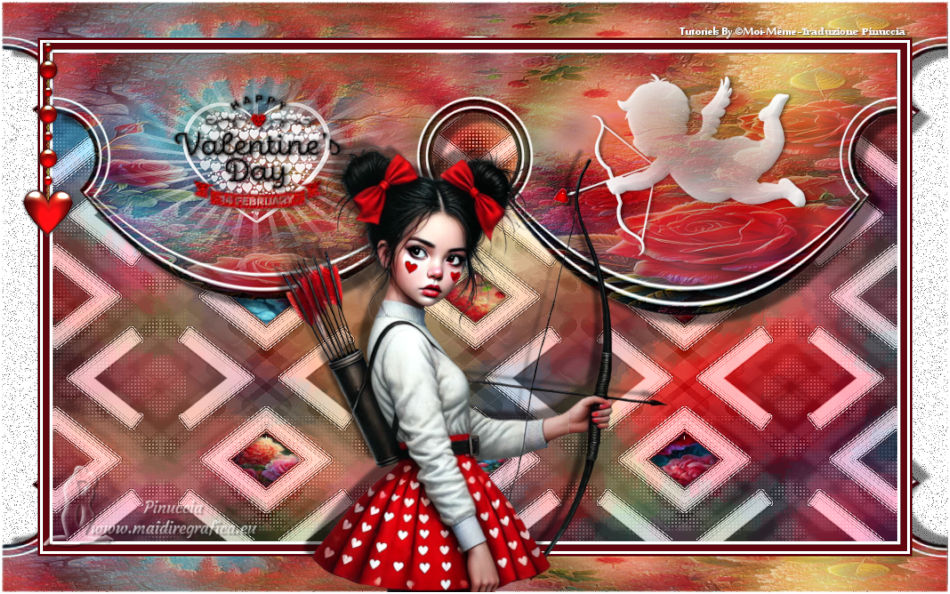
ST VALENTIN 2026


Thanks Irene for the invitation to translate your tutorials

This tutorial was written with PSPX8 and translated with PSPX9 and PSP2020, but it can also be made using other versions of PSP.
Since version PSP X4, Image>Mirror was replaced with Image>Flip Horizontal,
and Image>Flip with Image>Flip Vertical, there are some variables.
In versions X5 and X6, the functions have been improved by making available the Objects menu.
In the latest version X7 command Image>Mirror and Image>Flip returned, but with new differences.
See my schedule here
 italian translation here italian translation here
 your versions here your versions here

For this tutorial, you will need:
Material by Moi-Même
(don't use for other tutorials)
Other theme's tubes qui
(The links of material creators here).

consult, if necessary, my filter section here
Filters Unlimited 2.0 here
&<Bkg Designer sf10I> (to import in Unlimited) here
AFS IMPORT - sqborder2 here
AAA Frames - Foto Frame here
Flaming Pear - Flexify 2 here
FM Tile Tools - Blend Emboss here
Optional: deco in the material): Alien Skin Eye Candy 5 Impact - Glass here
Filters AFS IMPORT can be used alone or imported into Filters Unlimited.
(How do, you see here)
If a plugin supplied appears with this icon  it must necessarily be imported into Unlimited it must necessarily be imported into Unlimited

You can change Blend Modes according to your colors.
Copy the Flexify preset in a folder of your choice.
I usually leave it in the material folder.
You will import it from this folder when you need it.

If you have problems with the Alpha Channel,
open a new transparent image 950 x 550 pixels, and use the selections from disk.
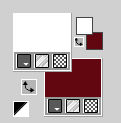
Set your foreground color to #ffffff,
and your background color to #620811.
1. Open Canal_alpha STvalentin2026
This image, that will be the basis of your work, is not empty,
but contains the selections saved to alpha channel.
Selections>Select All.
Open the image Paysage-STvalentin2026 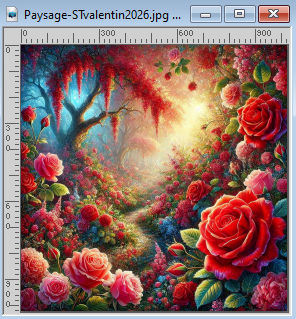
Edit>Copy.
Minimize the image: you'll use it again.
Go back to your work and go to Edit>Paste into Selection.
Selections>Select None.
Adjust>Blur>Gaussian Blur - radius 20.

Selections>Select None.
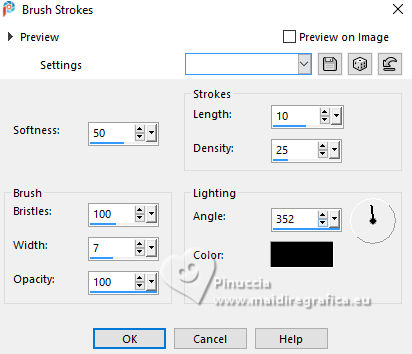
Effects>Art Media Effects>Brush Strokes.
2. Open déco 1 MM 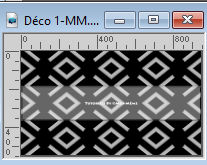
Edit>Copy.
Go back to your work and go to Edit>Paste as new layer.
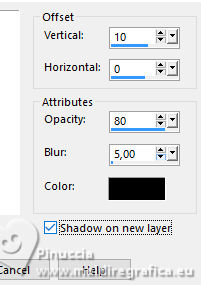
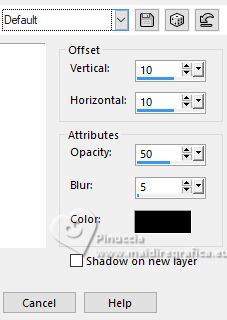
Effects>3D Effects>Drop Shadow, colore nero; shadow on new layer checked.
Stay on the shadow's layer.
3. Effects>Plugins>Filters Unlimited 2.0 - &<Bkg Designer sf10I> - Cruncher, default settings.
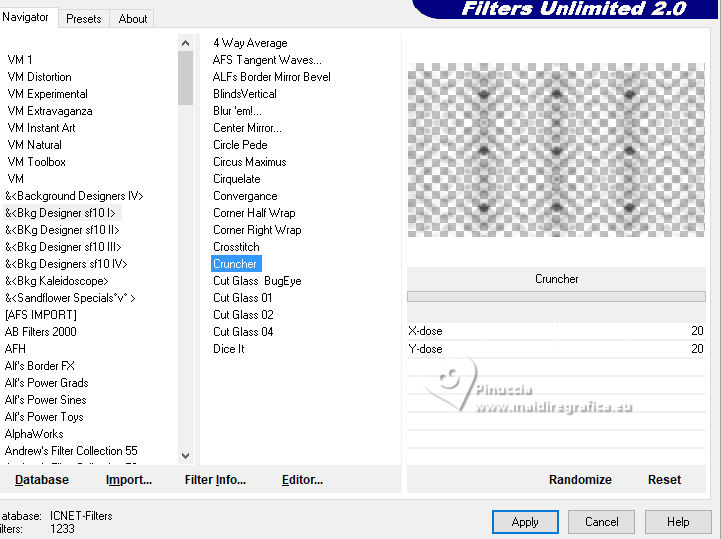
Effects>Plugins>AFS IMPORT - sqborder2, default settings.
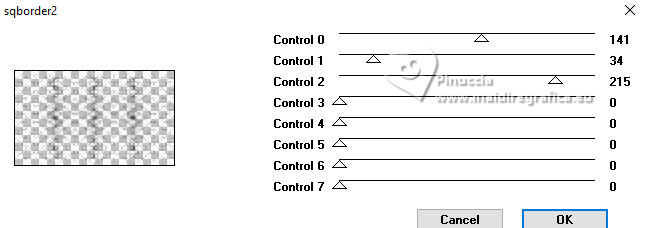
Adjust>Sharpness>Sharpen.
Change the Blend Mode of this layer to Luminance (legacy),
(or Soft Light, according to your colors).
4. Activate your top layer.
Change the Blend Mode of this layer to Luminance (legacy).
5. Layers>New Raster Layer.
Selections>Load/Save Selection>Load Selection from Alpha Channel.
The selection Sélection #1 is immediately available.
You just have to click Load.
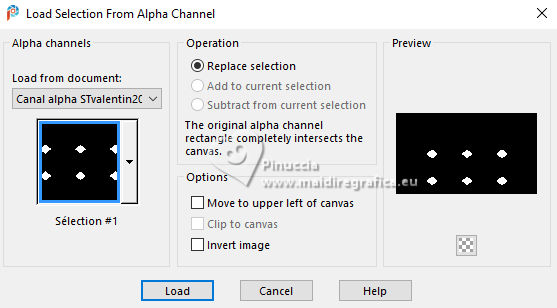
Activate again the image Paysage-STvalentin2026 and go to Edit>Copy.
Go back to your work and go to Edit>Paste into Selection.
Effects>Plugins>Alien Skin Eye Candy 5 Impact - Glass
(in the material there is, if necessary, the tube ma déco glass 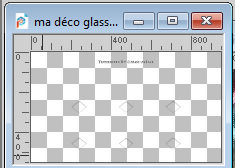 , ,
erase the watermark and copy/paste into selection).
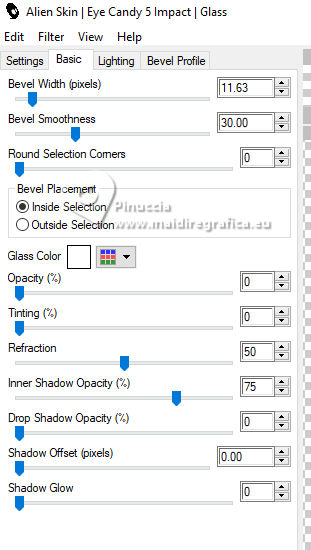
Layers>Arrange>Move Down.
Selections>Select None.
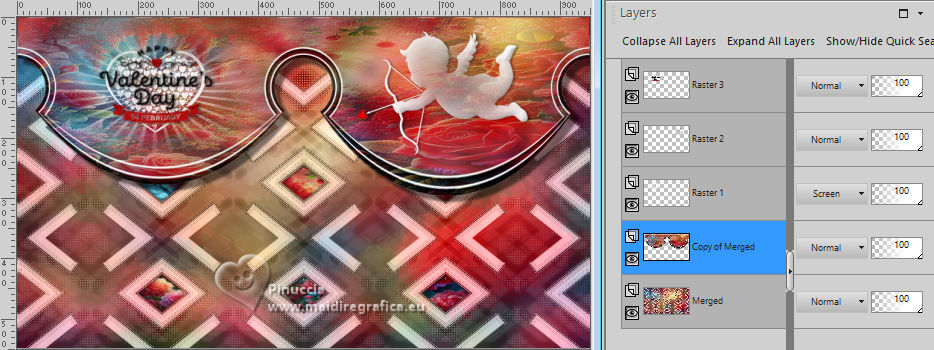
6. Your tag and the layers.
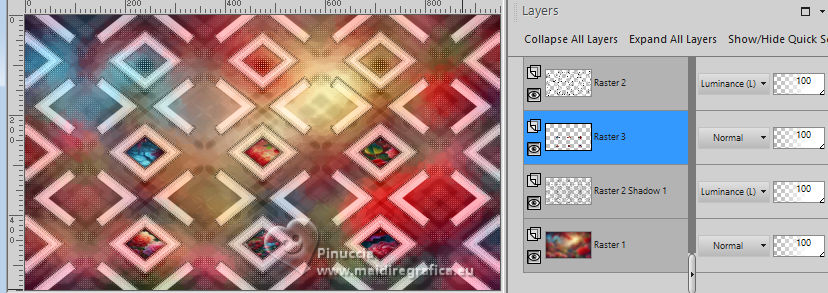
7. Layers>Merge>Merge visible.
Layers>Duplicate.
Adjust>Blur>Gaussian Blur - radius 20

Effects>Plugins>AAA Frames - Foto Frame.
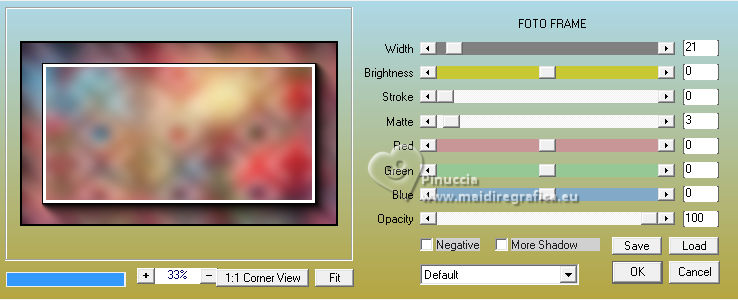
Ripeti Effects>Plugins>AAA Frames - Foto Frame - width 7.
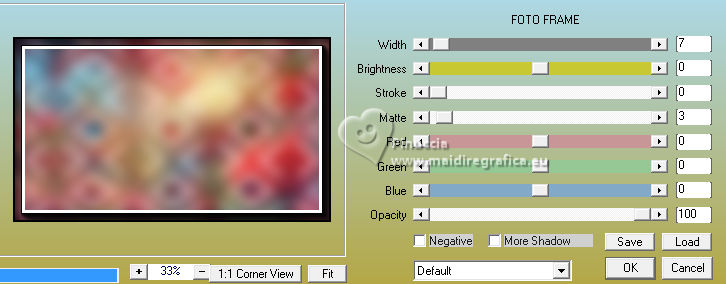
Image>Resize, to 80%, resize all layers not checked.
Note: This preset was created with PSP 2020 and may crash the program if you're using a different version.
Therefore, I recommend saving your work first,
or copy/paste as new layer the file in the folder
mon effet Flexify 2 is needed: image1 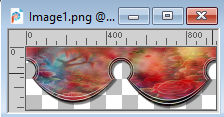 ; ;
To colorize it to match your color.
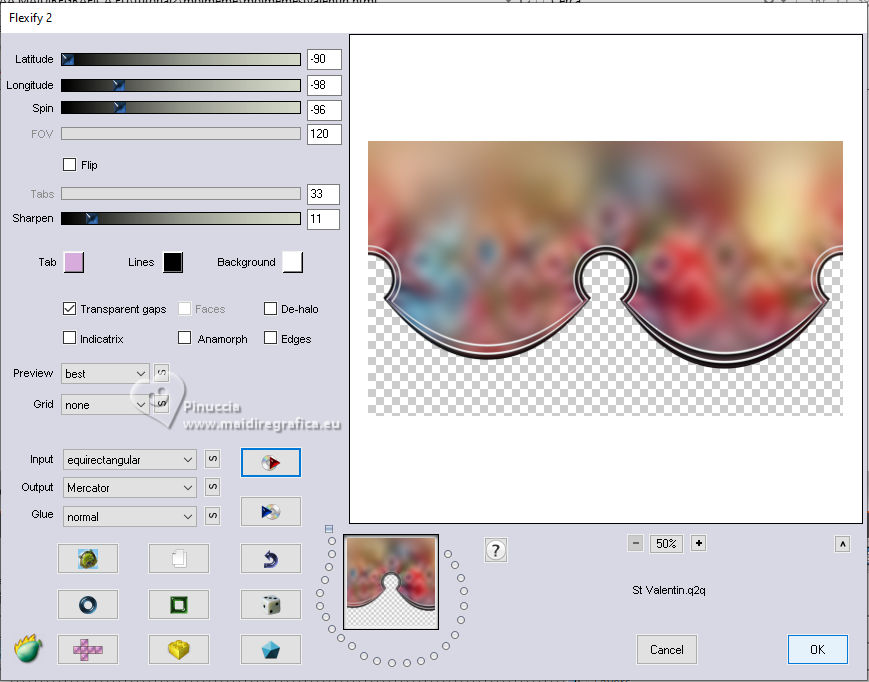
Or simply copy the settings you see in the screenshot.
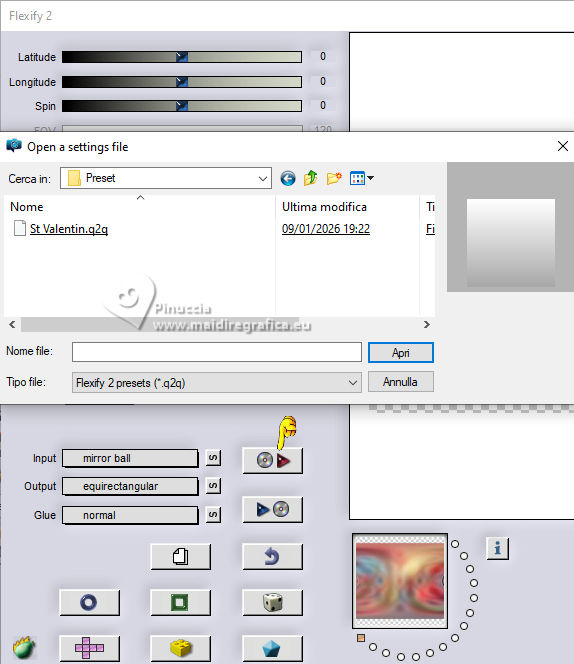
Effects>Plugins>Flaming Pear - Flexify 2
click on the red button and look for the preset in the folder where you saved it
K key to activate your Pick Tool 
Position X: 0,00 - Position Y: -158.

M key to deselect the Tool.
8. Activate your background layer, Merged.
Selections>Select All.
Image>Crop to Selection.
9. Activate your top layer.
Layers>New Raster Layer.
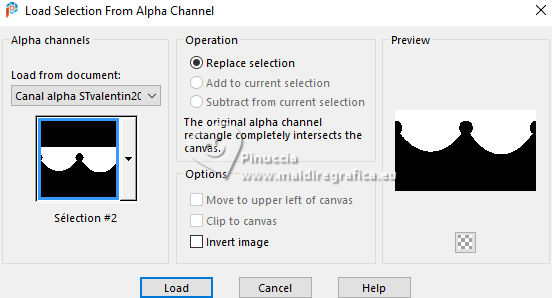
Selections>Load/Save Selection>Load Selection from Alpha Channel.
Open the selections menu and load the selection sélection 2
Activate again the image Paysage-STvalentin2026 and go to Edit>Copy.
Go back to your work and go to Edit>Paste into Selection.
Change the Blend Mode of this layer to Soft Light.
Effects>Plugins>FM Tile Tools - Blend Emboss, default settings.

Layers>Merge>Merge Down.
Selections>Modify>Feather - 3 pixels.
Selection>Invert.
Press 2 times CANC on the keyboard 
Selections>Select None.
Effects>3D Effects>Drop Shadow, default settings.
10. Open the tube déco coeur 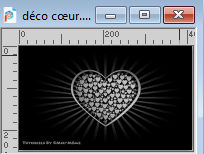
Edit>Copy.
Go back to your work and go to Edit>Paste as new layer.
K key to activate your Pick Tool 
Position X: 23,00 - Position Y: 0,00.

Change the Blend Mode of this layer to Screen.
Effects>Plugins>FM Tile Tools - Blend Emboss, default settings.

11. Open the tube déco cupidon 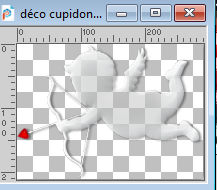
Edit>Copy.
Go back to your work and go to Edit>Paste as new layer.
Position X: 562,00 - Position Y: 21,00.

12. Open déco message 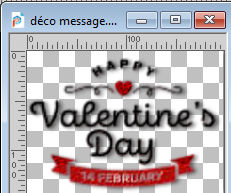
Edit>Copy.
Go back to your work and go to Edit>Paste as new layer.
Position X: 134,00 - Position Y: 39,00.

M key to deselect the Tool.
13. Activate the layer Copy of Merged - the second from the bottom
Layers>Duplicate.
Layers>Arrange>Bring to Top.
K key to activate your Pick Tool 
push the lower central knot up
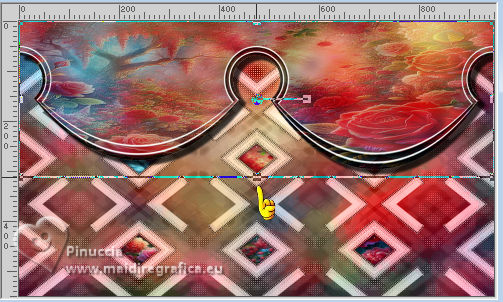
until 200 pixels
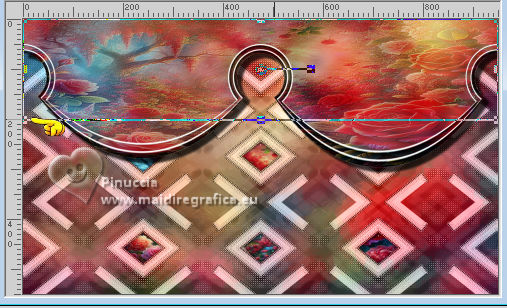
Layers>Duplicate.
Image>Mirror>Mirror Vertical (Image>Flip).
Layers>Merge>Merge Down.
Edit>Cut
Edit>Paste as new image, for caution, and minimize it.
14. Image>Add Borders, 3 pixels, symmetric, color white.
Image>Add Borders, 8 pixels, symmetric, background color.
Image>Add Borders, 3 pixels, symmetric, color white.
Image>Add Borders, 3 pixels, symmetric, background color.
15. Selections>Select All.
Image>Add Borders, 40 pixels, symmetric, color white.
Selections>Invert.
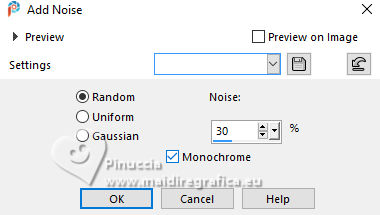
Adjust>Add/Remove Noise>Add Noise.
Edit>Paste into Selection - the image cut and memorized in step 13.
Adjust>Sharpness>Sharpen.
Selections>Select None.
16. Open the tube Femme_cupidon_AIgenMM 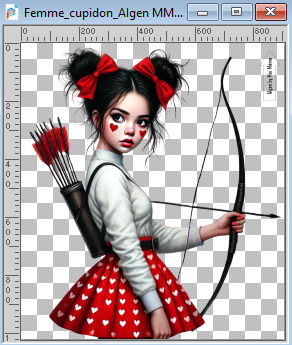
Erase the watermark and go to Edit>Copy.
Go back to your work and go to Edit>Paste as new layer.
Image>Resize, to 50%, resize all layers not checked.
K key to activate your Pick Tool 
Position X: 314,00 - Position Y: 156,00.

Effects>3D Effects>Drop Shadow, color black.
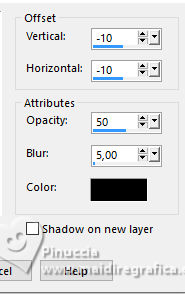
(adapt to your tube)
17. Sign your work on a new layer.
Add author and translator watermarks.
18. Open déco 2 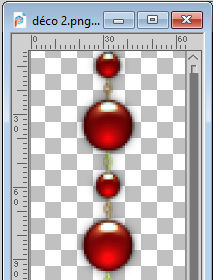
Edit>Copy.
Go back to your work and go to Edit>Paste as new layer.
Position X: 20,00 - Position Y: 42,00.

19. Image>Add Borders, 2 pixels, symmetric, color white.
Image>Resize, 950 pixels width, resize all layers checked.
Save as jpg.
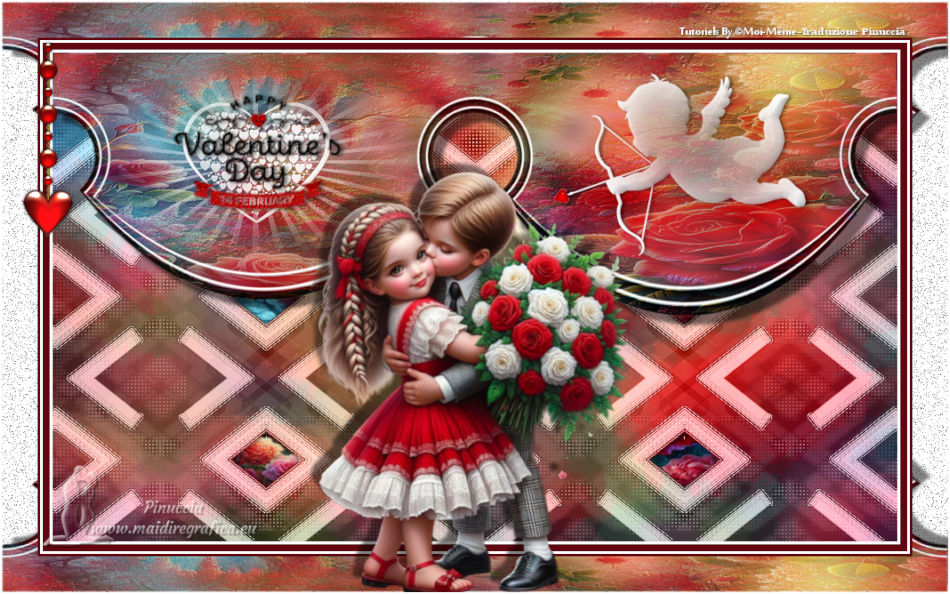

If you have problems or doubts, or you find a not worked link,
or only for tell me that you enjoyed this tutorial, write to me.
1 February 2026

|

