|
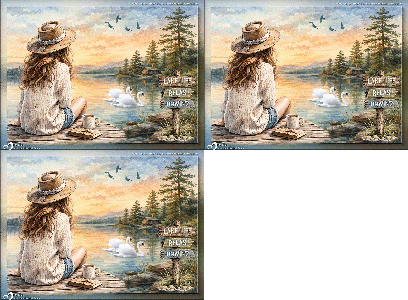
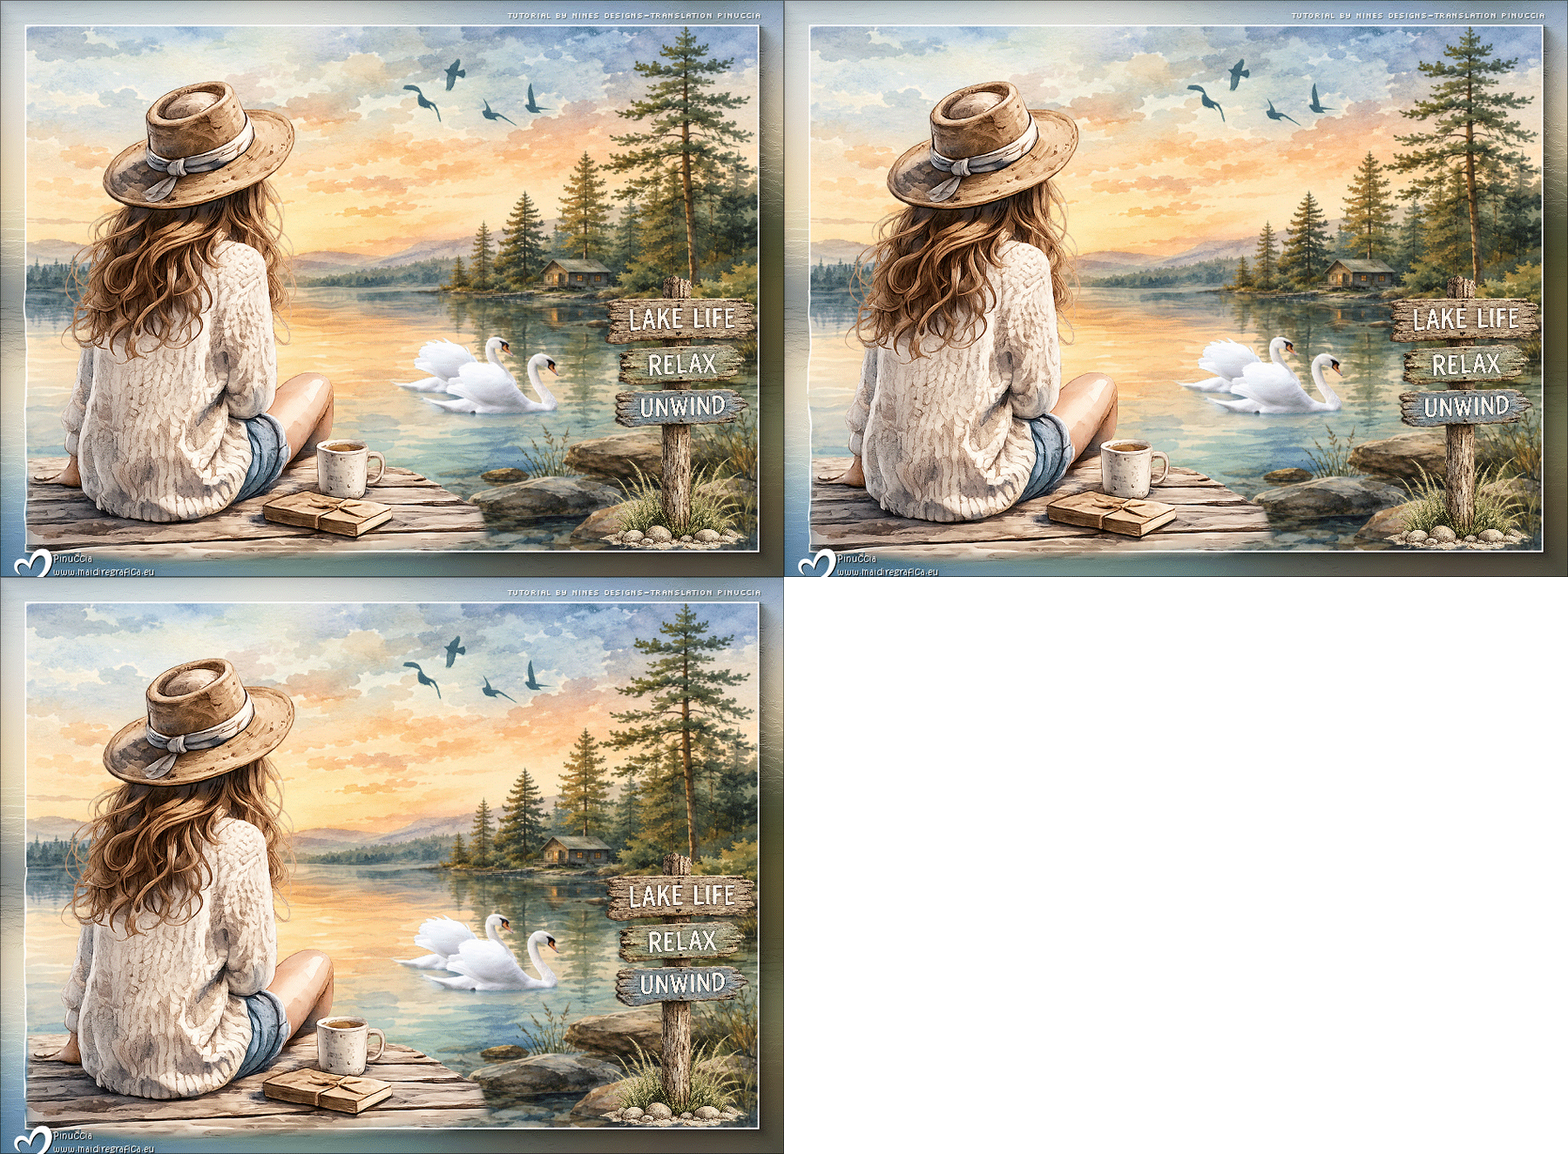
TAG LAKE LIFE

This tutorial was translated with PSPX9 and PSP2020, but it can also be made using other versions of PSP.
Since version PSP X4, Image>Mirror was replaced with Image>Flip Horizontal,
and Image>Flip with Image>Flip Vertical, there are some variables.
In versions X5 and X6, the functions have been improved by making available the Objects menu.
In the latest version X7 command Image>Mirror and Image>Flip returned, but with new differences.
See my schedule here
 French translation here French translation here
 Your versions here Your versions here
For this tutorial, you will need:

For a tube thanks Colybrix.
(you find here the links to the material authors' sites)

consult, if necessary, my filter section here
Eye Candy 4000 - Jiggle here
AAA Frames - Foto Frame here
Animation Shop here

You can change Blend Modes according to your colors.

Copy the selection in the Selections Folder.
1. Open a new transparent image 950 x 700 pixels.
2. Selections>Select All.
Open BD_LakeLife_Paper 1 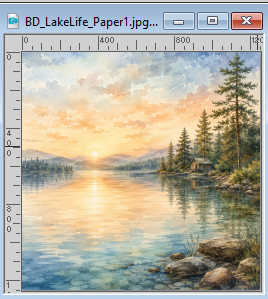
Edit>Copy.
Go back to your work and go to Edit>Paste into Selection.
Selections>Select None.
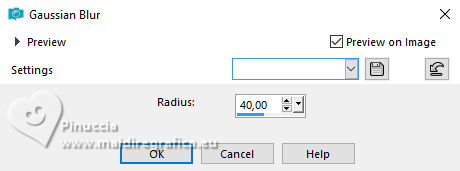
3. Adjust>Blur>Gaussian Blur - radius 40.
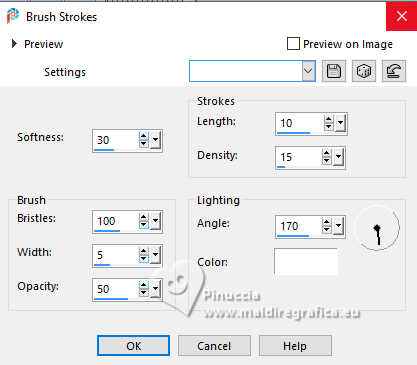
4. Effects>Art Media Effects>Brush Strokes - color #ffffff.
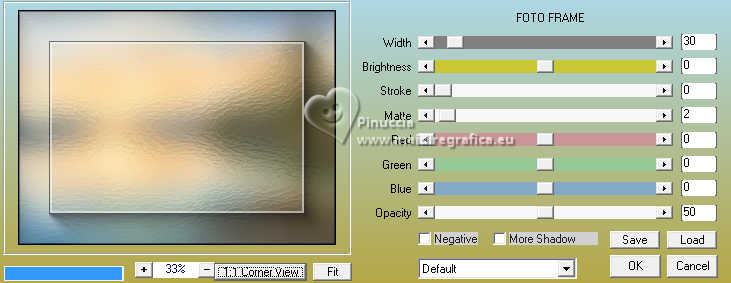
5. Effects>Plugins>AAA Frames - Foto Frame.
6. Layers>New Raster Layer.
Selections>Select All.
Selections>Modify>Contract - 30 pixels.
Flood Fill  the selection with color #ffffff. the selection with color #ffffff.
Selections>Modify>Contract - 2 pixels.
Edit>Paste into Selection - the jpg image is still in memory.
7. Open BD_LakeLife_Element56 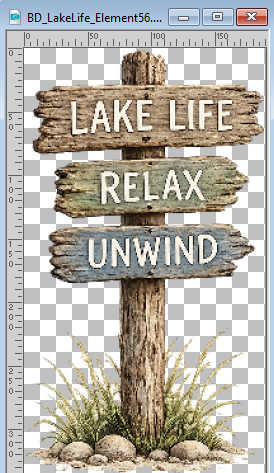
Edit>Copy.
Go back to your work and go to Edit>Paste as new layer.
Move  the tube at the bottom right. the tube at the bottom right.
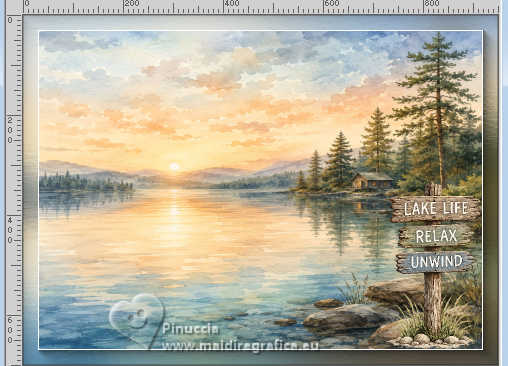
8. Layers>Merge>Merge visible.
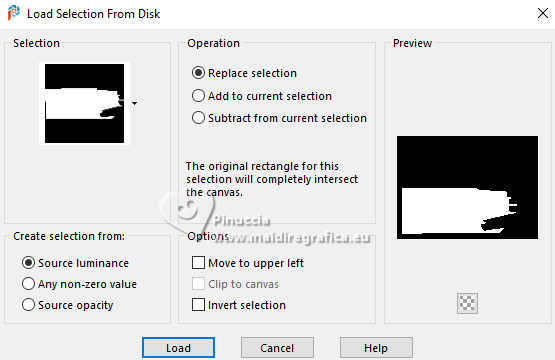
9. Selections>Load/Save Selection>Load Selection from Disk.
Look for and load the selection sel.lakelife.nines
****
Attention, the selection covers the border, which could alter the animation result.
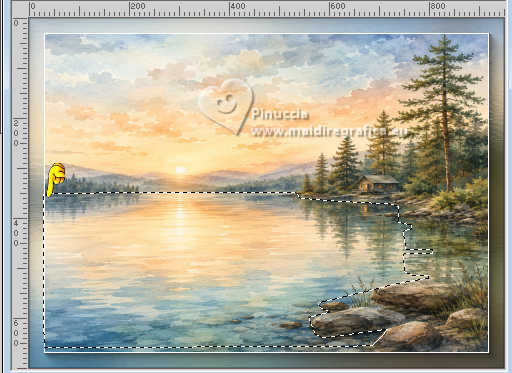
For this reason, I recommend moving the selection:
Activate the Move tool and hold down the right mouse button on the selection to adjust its position.
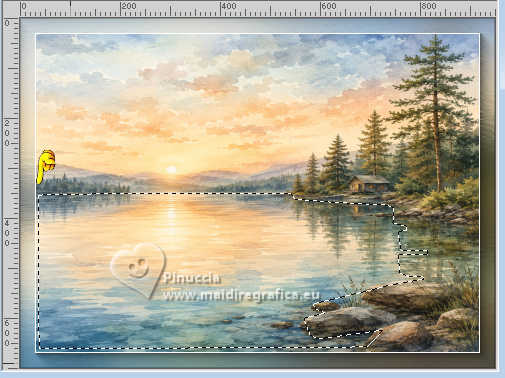
See under my translation the result without this adjustment.
****
10. Layers>Duplicate - 2 times - to have 3 equal layers.
Rename these layers 1, 2 et 3.
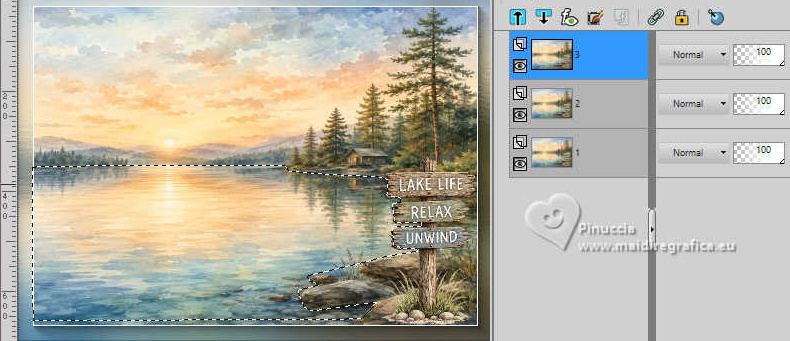
11. Activate the layer Raster 1.
Effects>Plugins>Eye Candy 4000 - Jiggle
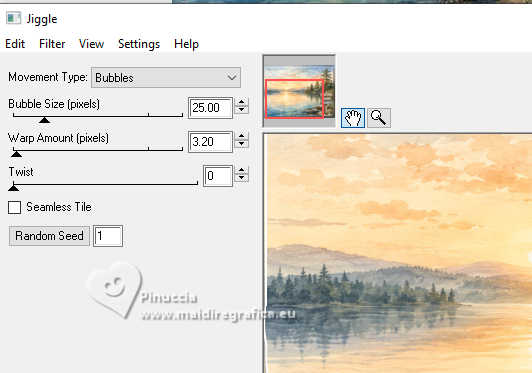
12. Close this layer and activate the layer 2.
Effects>Plugins>Eye Candy 4000 - Jiggle, click on Random Seed and ok.
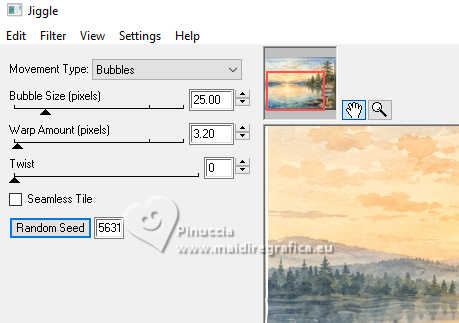
13. Close this layer and activate the layer 3.
Effects>Plugins>Eye Candy 4000 - Jiggle, click on Random Seed and ok.
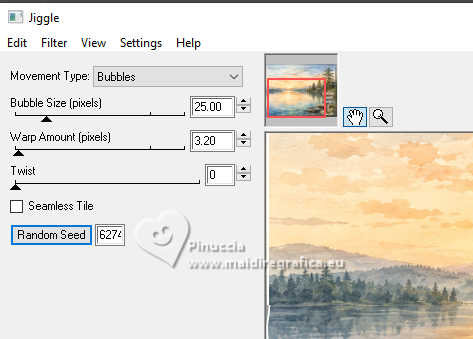
Selections>Select none.
Close the layer 3.
14. Open BD_LakeLife_Tube1 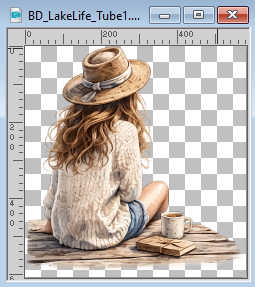
Edit>Copy.
Go back to your work and go to Edit>Paste as new layer.
Move the tube to the left.
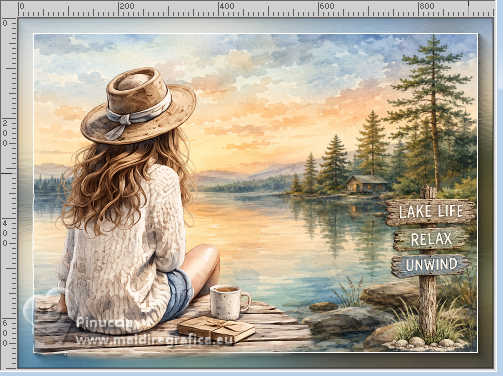
15. Open oiseau43-coly 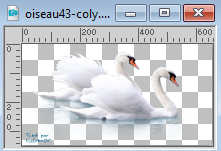
Erase the watermark and go to Edit>Copy.
Go back to your work and go to Edit>Paste as new layer.
Image>Resize, to 40%, resize all layers not checked.
Move the tube as in my example.
16. Open oiseaux 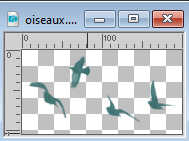
Edit>Copy.
Go back to your work and go to Edit>Paste as new layer.
Move the tube as below.
17. Sign your work on a new layer.
Add the author and translator's watermarks.
18. The layers 1,2 et 3 are closed.
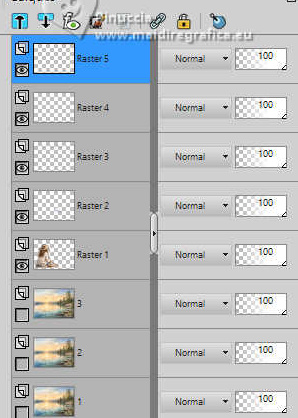
Layers>Merge>Merge visible.
Animation
1. Stay on the top layer.
Close the layer Raster 1.
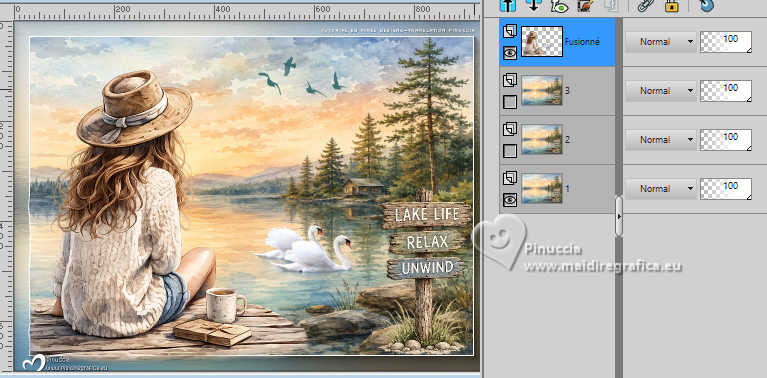
Edit>Copy Special>Copy Merged.
Open Animation Shop and go to Edit>Paste>Paste as new animation.
2. Go back to PSP.
Close the layer 1 and open the layer 2.
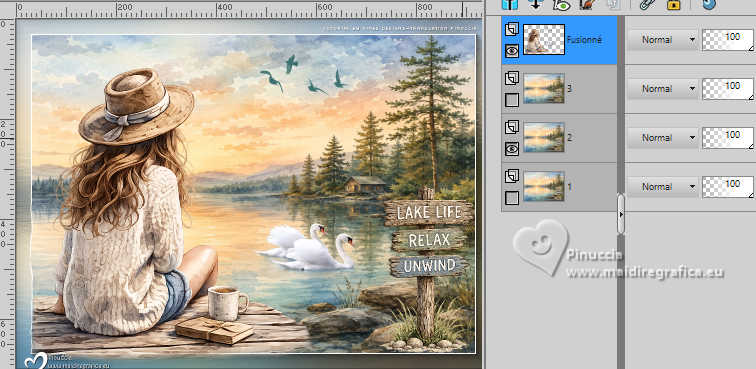
Edit>Copy Special>Copy Merged.
Go back to Animation Shop and go to Edit>Paste>Paste after the current frame.
3. On PSP.
Close the layer 2 and open the layer 3.
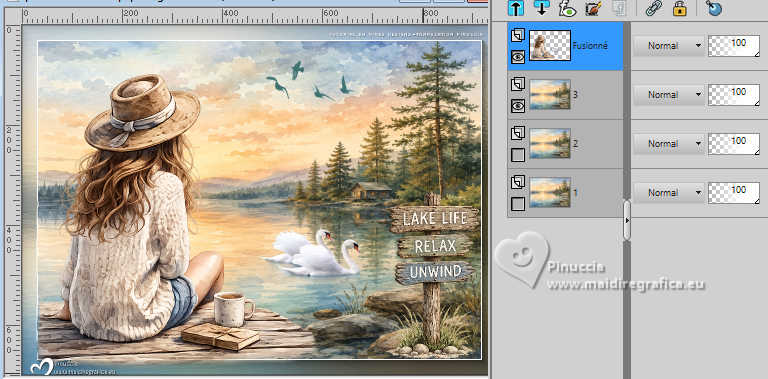
Edit>Copy Special>Copy Merged.
Go back to Animation Shop and go to Edit>Paste>Paste after the current frame.
4. Image>Resize, to 90%.
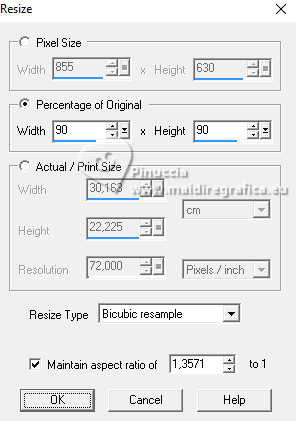
5. Check the result clicking on View Animation 
anda save as gif.
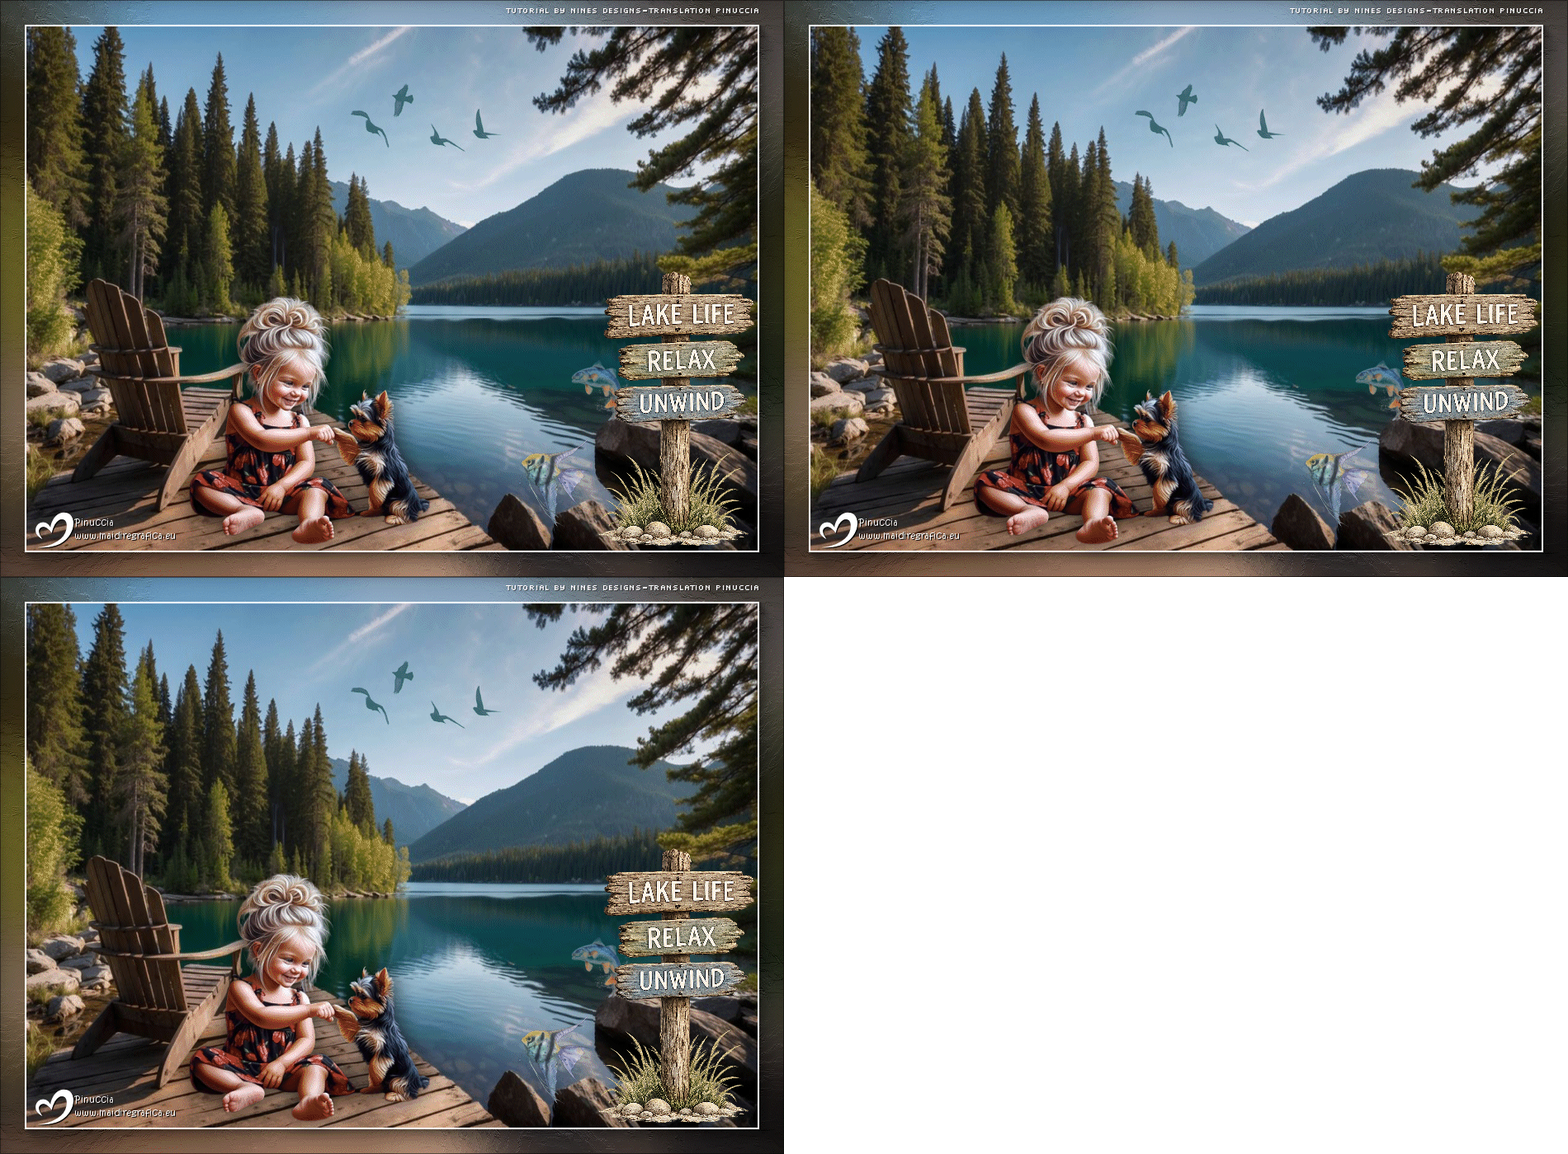
Here below the result without the selection's adjustment at the step 9.
Versions with Pinterest images
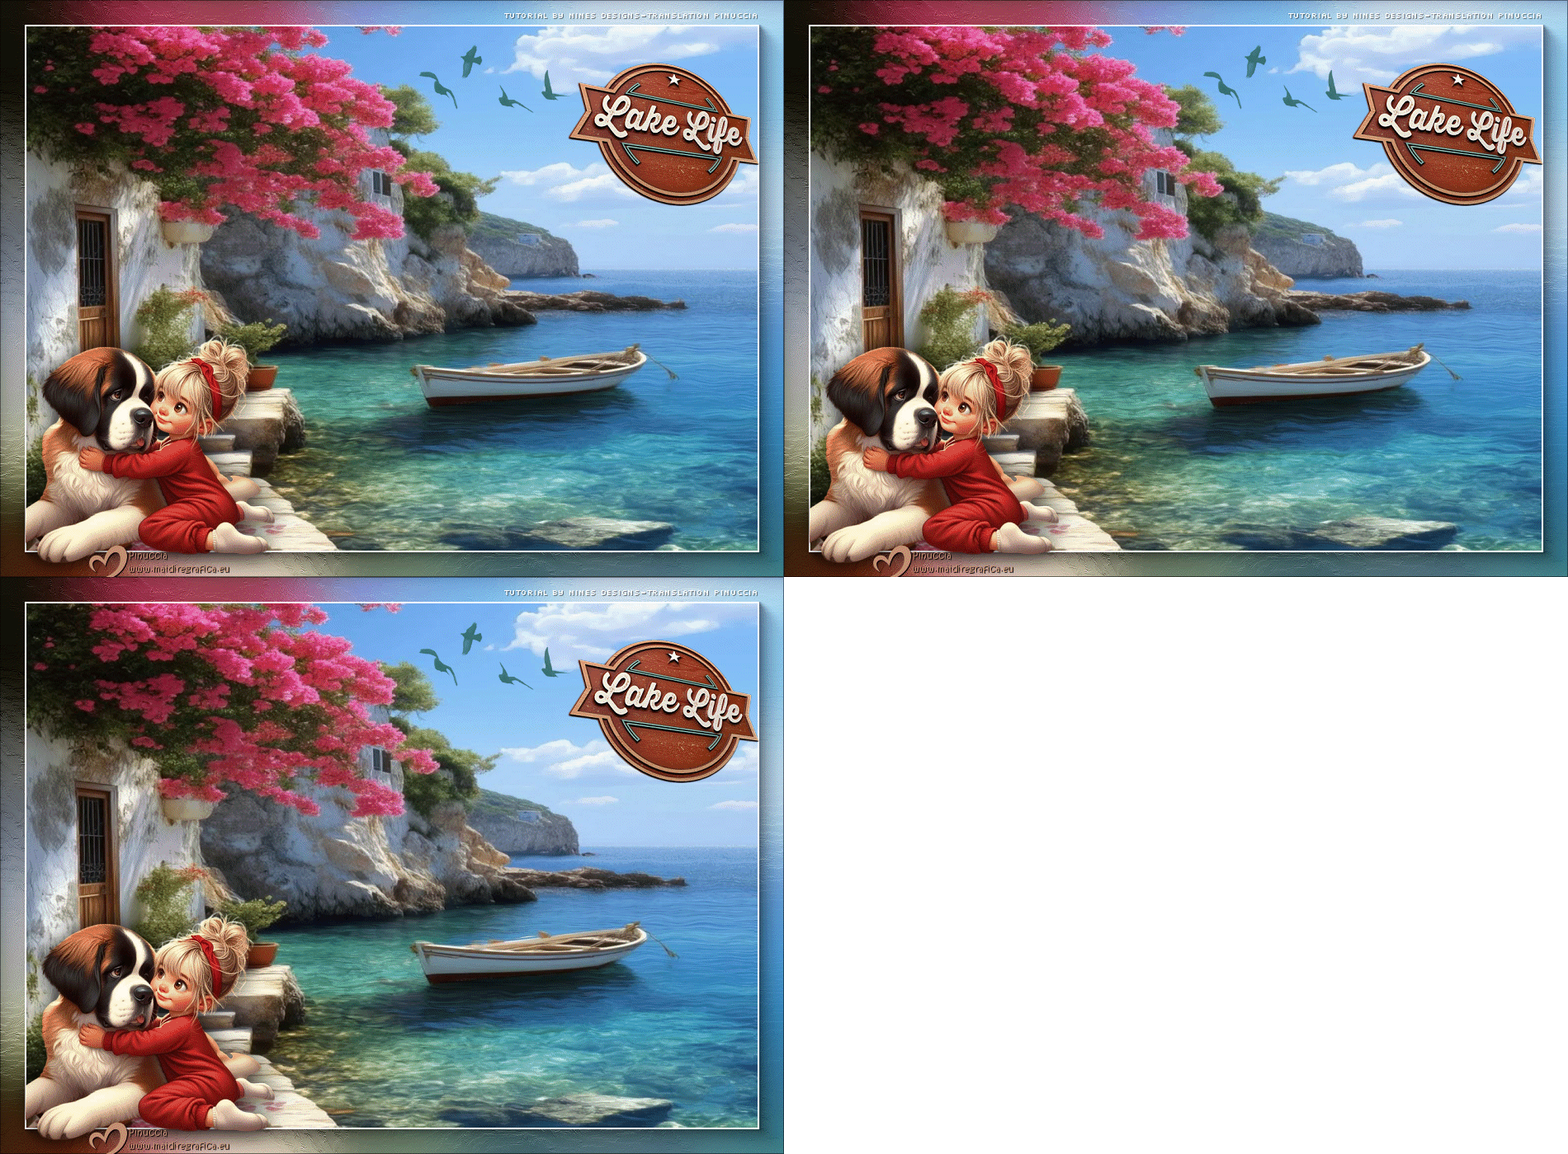
If you have problems or doubts, or you find a not worked link, or only for tell me that you enjoyed this tutorial, write to me.
18 August 2026

|