YANARA

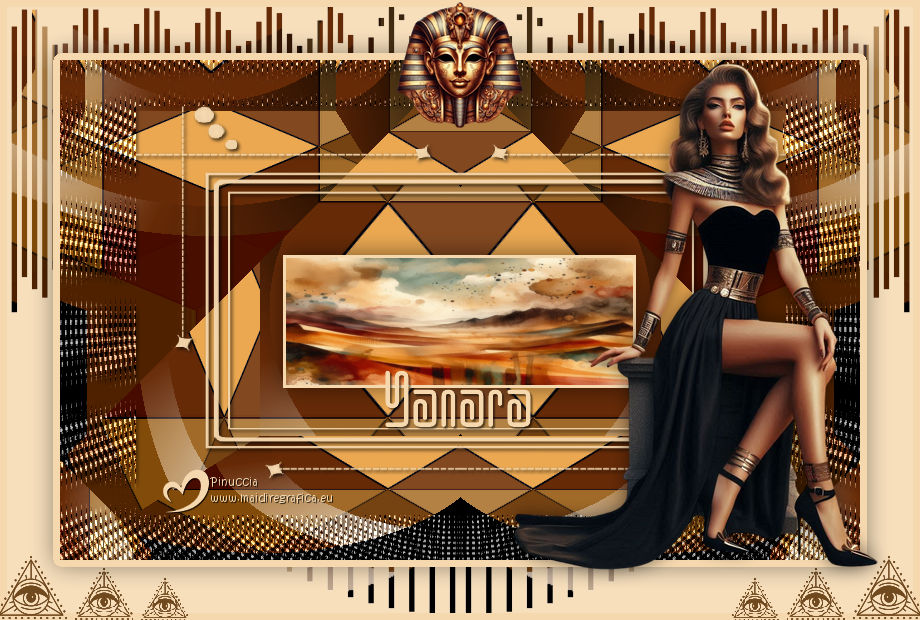
Thanks Brigitte for your invitation to translate

Clic and move the brush to follow the tutorial.

To print


|
This tutorial was translated with PSPX9 and PSP2020, but it can also be made using other versions of PSP.
Since version PSP X4, Image>Mirror was replaced with Image>Flip Horizontal,
and Image>Flip with Image>Flip Vertical, there are some variables.
In versions X5 and X6, the functions have been improved by making available the Objects menu.
In the latest version X7 command Image>Mirror and Image>Flip returned, but with new differences.
See my schedule here
 italian translation here italian translation here
 your versions here your versions here

Necessary

(The links of the tubemakers here).

consult, if necessary, my filter section here
Filters Unlimited 2.0 here
Mehdi - Kaleidoscope 2.1 here
Mehdi - Edge FX here
VM Toolbox - Round Button here
Simple - Blintz here
Alien Skin Eye Candy 5 Impact - Perspective Shadow here
Alf's Border FX - Mirror Bevel here
Alf's Border FX - Binoculars, here
Andrew's Filters 51 - Some Kind of Webbing here
&l6;Bkg Designer sf10III> - VMEshouting'! (da importare in Unlimited) here
Filters VM Toolbox, Simple, Alf's Border and Andrew's can be used alone or imported into Filters Unlimited.
(How do, you see here)
If a plugin supplied appears with this icon  it must necessarily be imported into Unlimited it must necessarily be imported into Unlimited

You can change Blend Modes according to your colors.

Copy the selections in the Selections Folder.
Open the masks in PSP and minimize them with the rest of the material
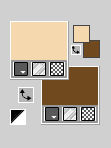
Set your foreground color to the light color #f5d8ae,
and your background color to the dark color #71491f.
1. Open a new transparent image 800 x 500 pixels.
Flood Fill  the transparent image with your background color. the transparent image with your background color.
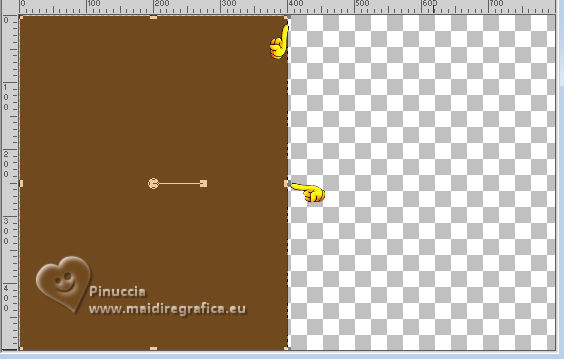
2. Activate your Pick Tool 
mode Scale 
pull the central right node to the left, until 400 pixels.
(If you don't see the rules, go to View>Rules)
3. Activate your Magic Wand Tool  , tolerance and feather 0, , tolerance and feather 0,
and click in the transparent part to select it.
Flood Fill  the selection with your foreground color. the selection with your foreground color.
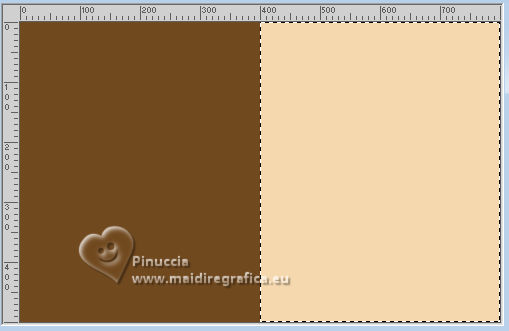
Selections>Select None.
4. Layers>Duplicate.
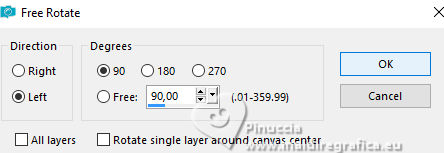
Image>Free Rotate - 90 degrees to left.
Change the Blend Mode of this layer to Soft light.
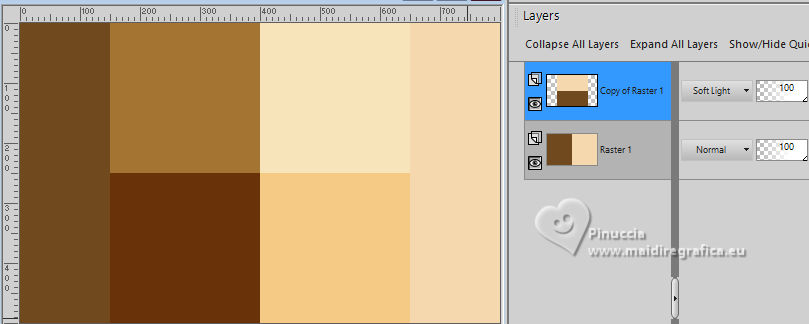
Layers>Merge>Merge visible.
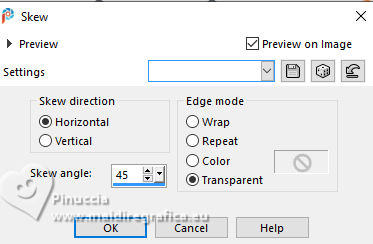
5. Effects>Geometric Effects>Skew.
Layers>Duplicate.
Image>Mirror>Mirror Horizontal.
Change the Blend Mode of this layer to Multiply and reduce the opacity to 80%.

Layers>Merge>Merge All.
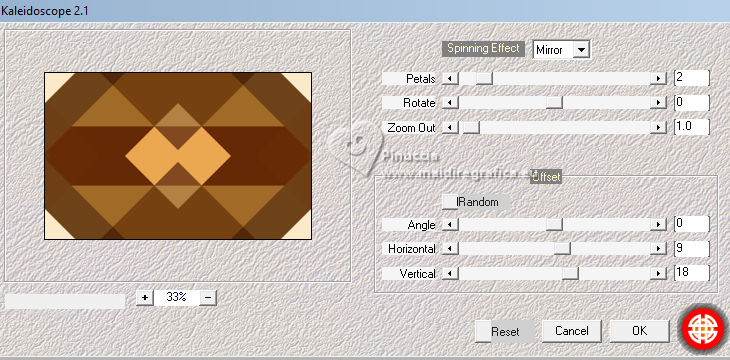
6. Effects>Plugins>Mehdi - Kaleidoscope 2.1.
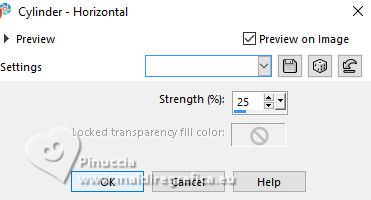
7. Effects>Geometric Effects>Cylinder Horizontal.
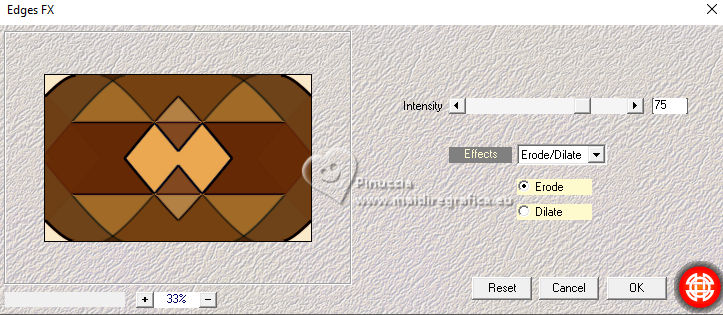
Effects>Plugins>Mehdi - Edges FX
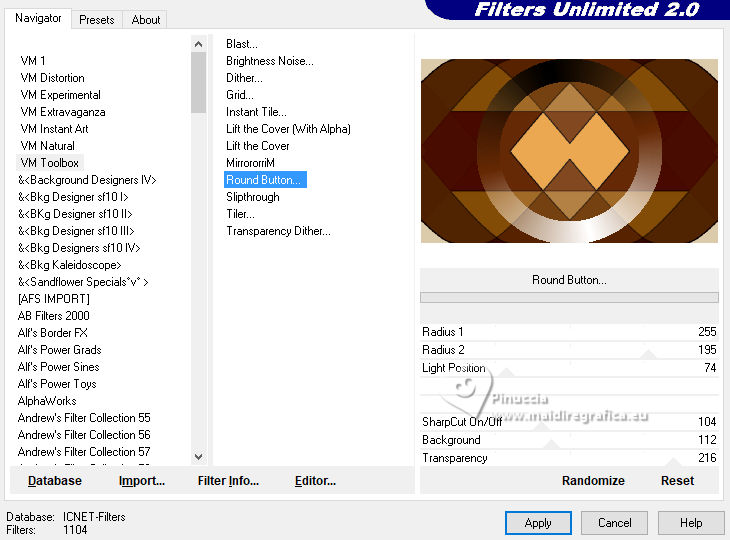
8. Effects>Plugins>Filters Unlimited 2.0 - VM Toolbox - Round Button.
9. Effects>Plugins>Filters Unlimited 2.0 - Alf's Border FX - Binoculars, default settings.
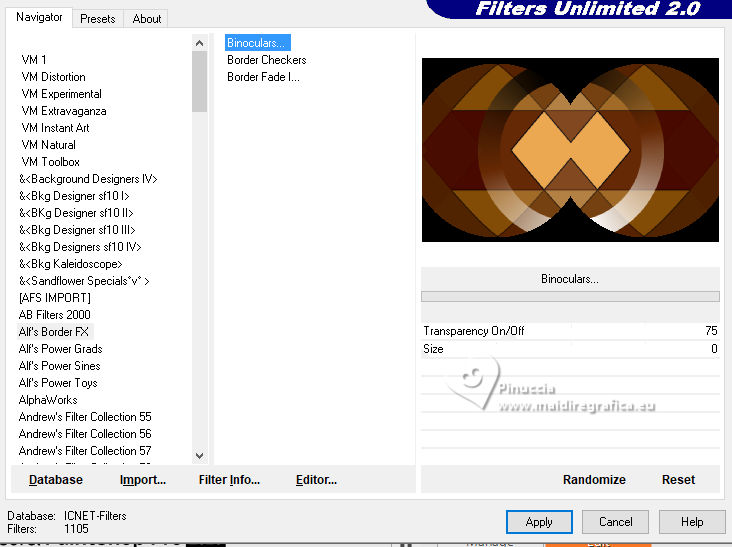
Effects>Plugins>Filters Unlimited 2.0 - Alf's border FX - Mirror Bevel, default settings.
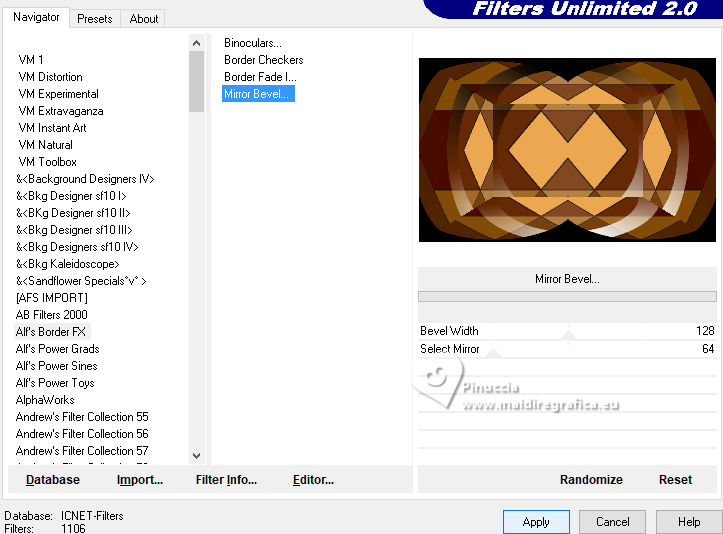
10. Effects>Plugins>Simple - Blintz
This effect works without window; result

Effects>Reflection Effects>Rotating Mirror.

You should have this
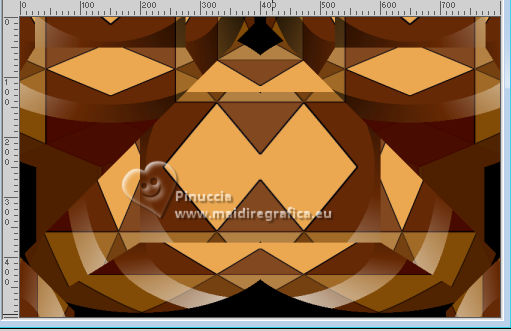
11. Layers>New Raster Layer.
Flood Fill  the layer with your foreground color. the layer with your foreground color.
Layers>New Mask layer>From image
Open the menu under the source window and you'll see all the files open.
Select the mask Masker les 116
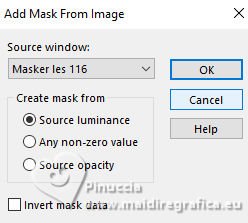
Layers>Merge>Merge Group.
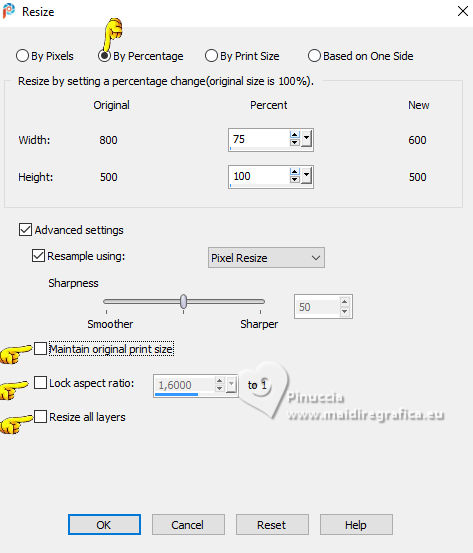
12. Image>Resize, 75% x 100%, Lock aspect ratio and Resize all layers not checked.
13. Effects>Reflection Effects>Rotating Mirror, same settings.
Image>Resize, to 90%, Lock aspect ratio checked, resize all layers not checked.
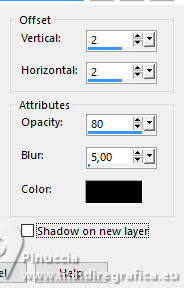
Effects>3D Effects>Drop Shadow, color black.
14. Selections>Load/Save Selection>Load Selection from Disk.
Look for and load the selection Sel-1 les 116
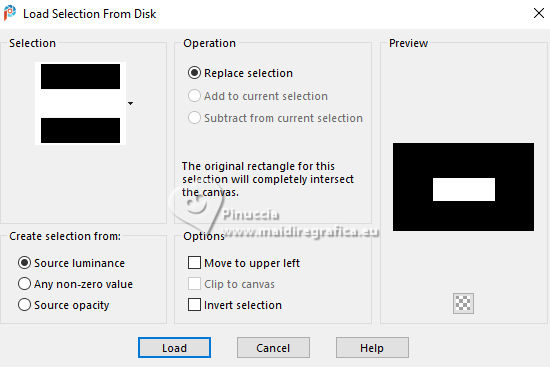
Layers>New Raster Layer.
Flood Fill  the selection with your foreground color. the selection with your foreground color.
Selections>Modify>Contract - 3 pixels.
Open Achtergrond les 116 
Edit>Copy.
Go back to your work and go to Edit>Paste into Selection.
Selections>Select None.
Effects>3D Effects>Drop Shadow, color black.

15. Open Tekst les 116 
Edit>Copy.
Go back to your work and go to Edit>Paste as new layer.
Move  the text to your liking, or see my example. the text to your liking, or see my example.
16. Activate your bottom layer.
Layers>Duplicate.
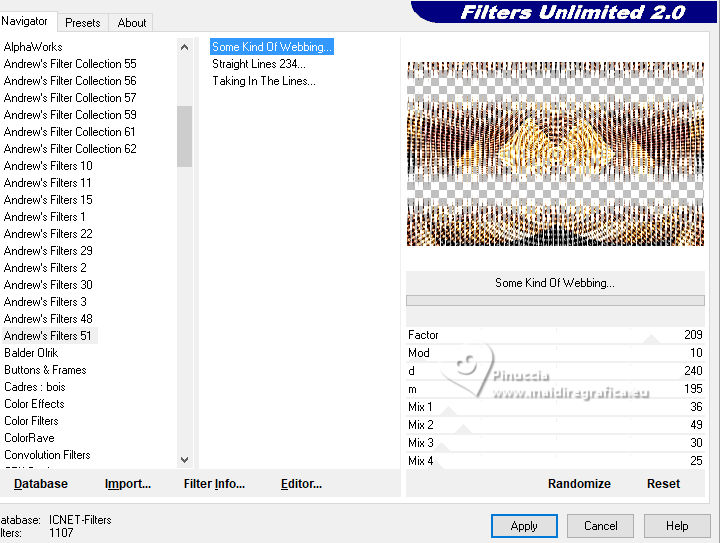
Effects>Plugins>Filters Unlimited 2.0 - Andrew's Filter 51 - Some Kind of Webbing.
17. Selections>Load/Save Selection>Load Selection from Disk.
Look for and load the selection Sel-2 les 116
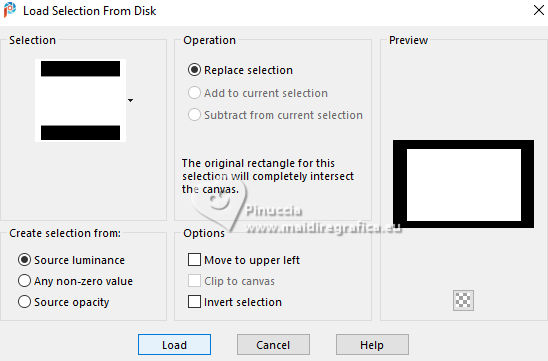
Press CANC on the keyboard 
Selections>Select None.
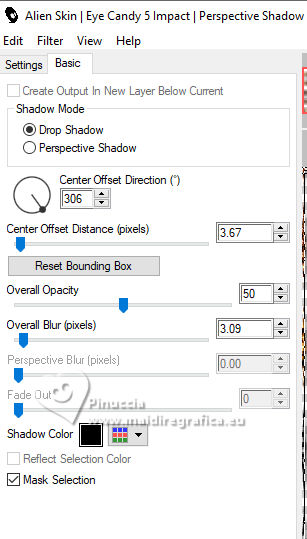
18. Effects>Plugins>Alien Skin Eye Candy 5 Impact - Perspective Tiling,
preset Drop shadow,Low - change Opacity with 50 and ok.
19. Activate again your bottom layer.
Layers>Duplicate.
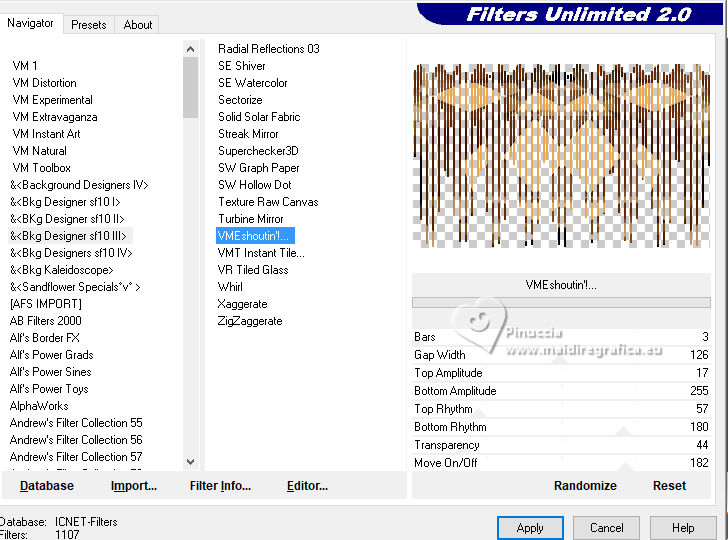
Effects>Plugins>Filters Unlimited 2.0 - &<Bkg Designer sf10III> - VMEshouting'!
20. Effects>Reflection Effects>Rotating Mirror, same settings.
Edit>Cut - to cut and keep the image in memory.
Edit>Paste as new image, and minimize this image.
Go back to your work.
21. Selections>Select All.
Image>Add Borders, 60 pixels, symmetric, foreground color.
Selections>Invert.
Selections>Modify>Contract - 7 pixels.
Edit>Paste into Selection (the image minimized is still in memory).
Selections>Promote Selection to Layer.
Selections>Select None.
22. Activate your Magic Wand Tool  , tolerance and feather 0, , tolerance and feather 0,
and click in the center of the image to select it.
Layers>New Raster Layer.
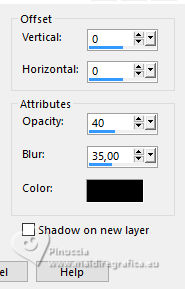
Effects>3D Effects>Drop Shadow, color black.
Selections>Select None.
23. Open Deco-1 les 116 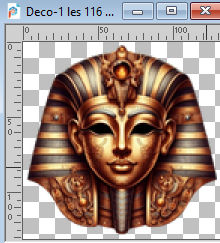
Edit>Copy.
Go back to your work and go to Edit>Paste as new layer.
Objects>Align>Top.
24. Open Deco-2 les 116 
Edit>Copy.
Go back to your work and go to Edit>Paste as new layer.
Objects>Align>Bottom.
Layers>Arrange>Move Down.
Edit>Repeat Move Layer Down.
25. Open your tube 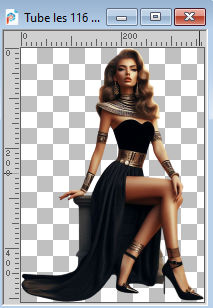
Edit>Copy.
Go back to your work and go to Edit>Paste as new layer.
Layers>Arrange>Bring to Top.
Move  the tube to your liking, or see my example. the tube to your liking, or see my example.
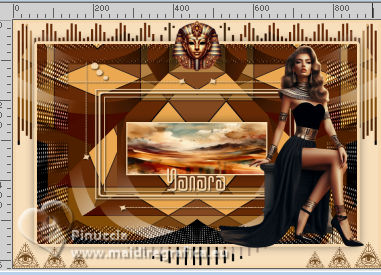
Effects>3D Effects>Drop Shadow, color black.
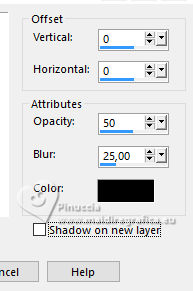
(or according to your tube)
26. Sign your work on a new layer.
Layers>Merge>Merge All.
Resize, if you want, and save as jpg.
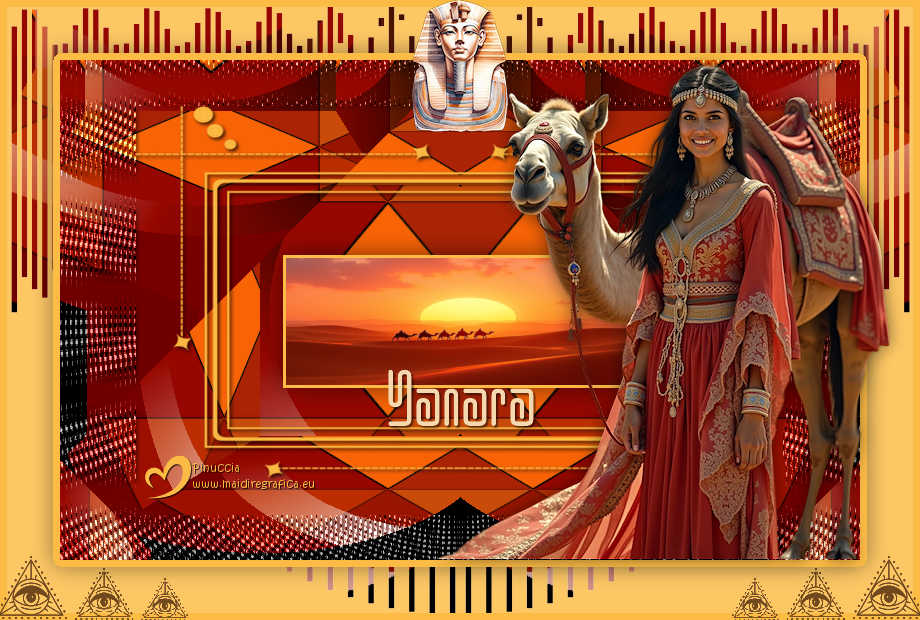
For the tubes of this version thanks Kamil

If you have problems or doubts, or you find a not worked link, or only for tell me that you enjoyed this tutorial, write to me.
7 Avril 2025

|

