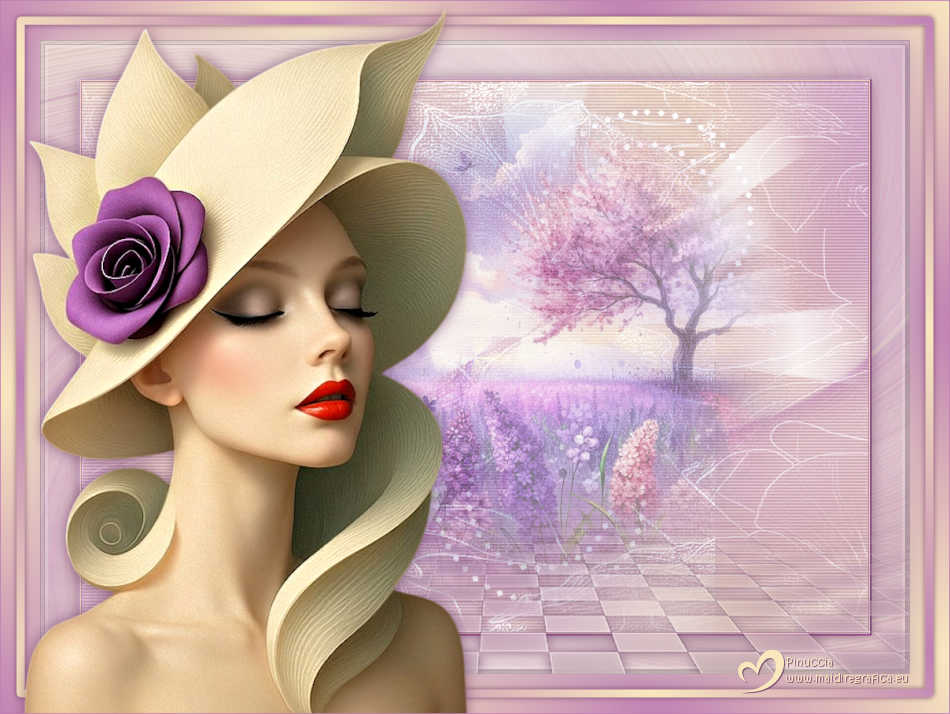
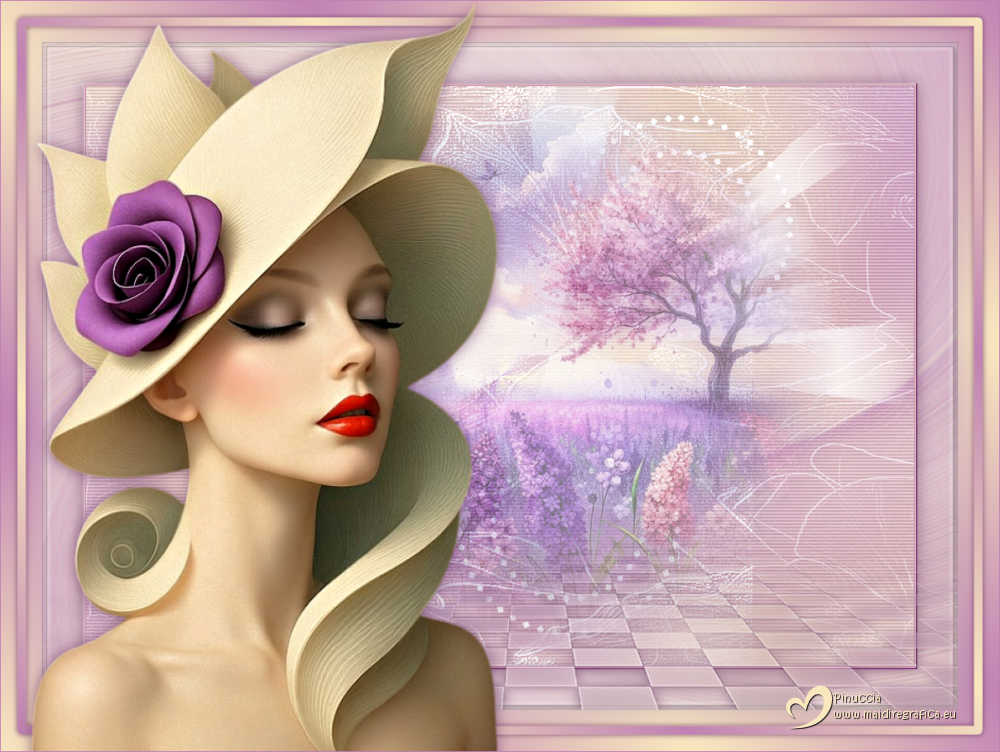
|
AROMAS DE PRIMAVERA


Thanks Yedralina for your invitation to translate your tutorials into english

This tutorial was written with PSP2020 and translated with PSPX9, PSPX8 and PSP2020, but it can also be made using other versions of PSP.
Since version PSP X4, Image>Mirror was replaced with Image>Flip Horizontal,
and Image>Flip with Image>Flip Vertical, there are some variables.
In versions X5 and X6, the functions have been improved by making available the Objects menu.
In the latest version X7 command Image>Mirror and Image>Flip returned, but with new differences.
See my schedule here
 italian translation here italian translation here
 french translation here french translation here
 your versions here your versions here
For this tutorial, you will need:

Thanks: for the tubes thanks Cat Dana and for a mask Silvie.
The rest of the material is by Yedralina
(The links of the tubemakers here).

consult, if necessary, my filter section here
Mehdi - Wavy Lab 1.1. here
Photoeffex - Scanlines here
AAA Foto Frame - Foto Frame here

You can change Blend Modes according to your colors.
In the newest versions of PSP, you don't find the foreground/background gradient (Corel_06_029).
You can use the gradients of the older versions.
The Gradient of CorelX here

Copy the presets in the Presets Folder
Copy the selection in the Selections Folder.
Open the masks in PSP and minimize them with the rest of the material.
Colors:

Set your foreground color to #bf81b3
and your background color to #f9e8bc.
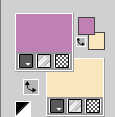
color 3 #e0c2db
color 4 (for the Drop shadow) #66345d
1. Open a new transparent image 1000 x 700 pixels.
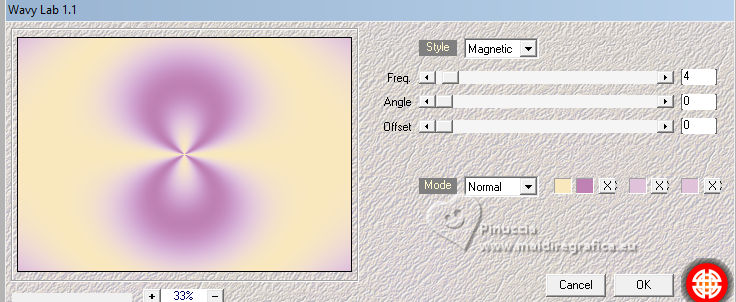
2. Effects>Plugins>Mehdi - Wavy Lab 1.1.
This filter creates gradients with the colors of your Materials palette.
The first is your background color, the second is your foreground color.
Change the last two colors created by the filtre with the color 3 #e0c2db.
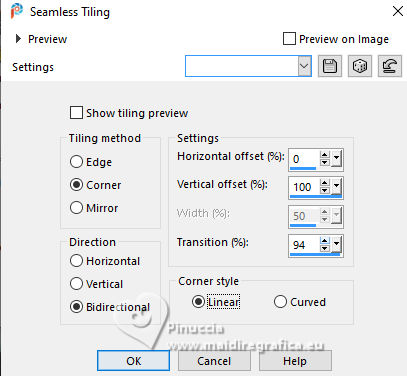
3. Effects>Image Effects>Seamless Tiling.
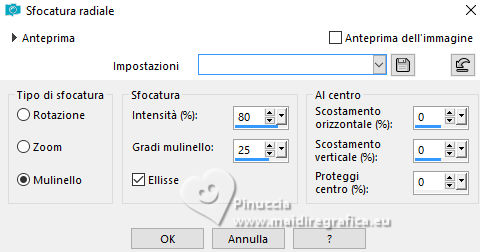
4. Adjust>Blur>Radial Blur.
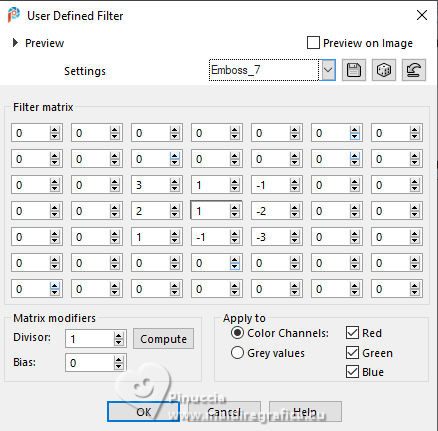
5. Effects>User Defined Filter - preset Emboss 7.
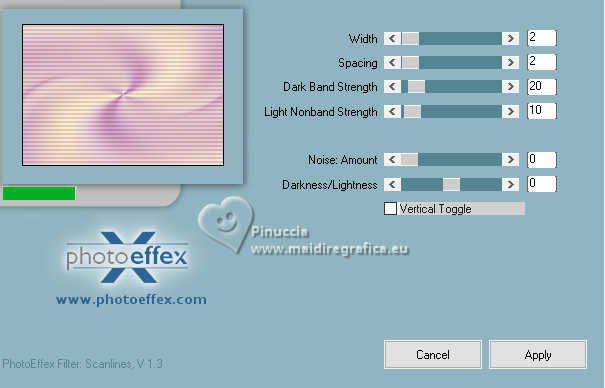
6. Effects>Plugins>Photoeffex - Scanlines.
7. Set your foreground color to white.
Layers>New Raster Layer.
Flood Fill  the layer with the color white. the layer with the color white.
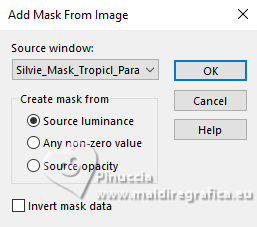
Layers>New Mask layer>From image
Open the menu under the source window and you'll see all the files open.
Select the mask Silvie_Mask_Tropicl_Paradise99U
Layers>Duplicate.
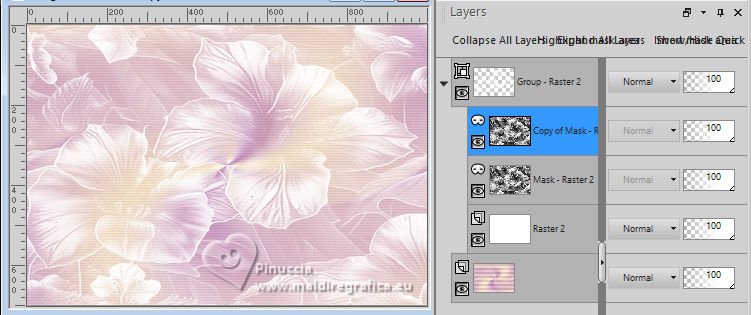
Layers>Merge>Merge Group.
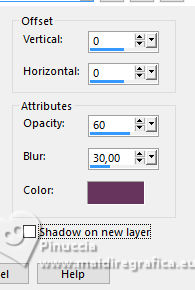
8. Effects>3D Effects>Drop Shadow, color 4 #66345d.
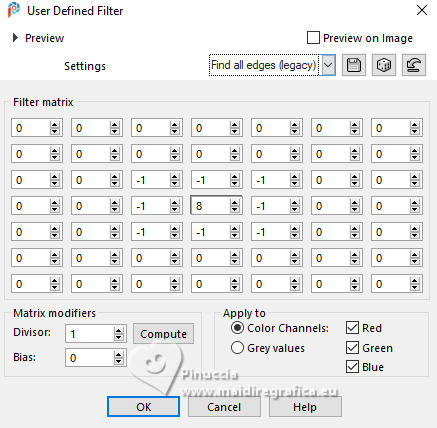
9. Effects>User Defined Filter - preset Find all edge (legacy)
Reduce the opacity of this layer to 65%.
10. Selections>Load/Save Selection>Load Selection from Disk.
Look for and load the selection ©Yedralina_Sel0885
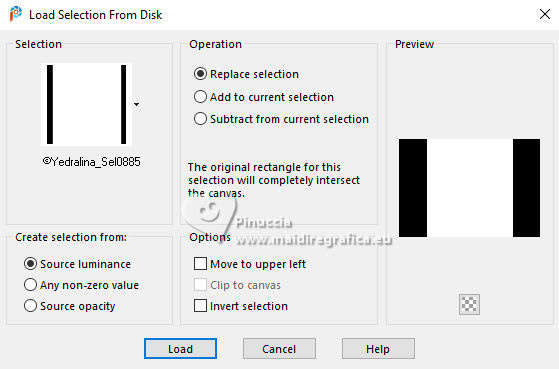
Selections>Promote Selection to Layer.
Selections>Select None.
11. Effects>User Defined Filter - preset Emboss 7.

12. Open deco 1ADP 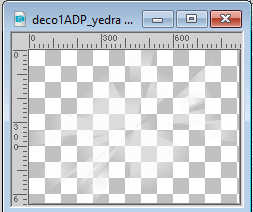
Edit>Copy.
Go back to your work and go to Edit>Paste as new layer.
13. K key to activate your Pick Tool 
Position X: 121,00 - Position: 0,00.

Change the Blend Mode of this layer to Screen.
14. Open deco 2ADP 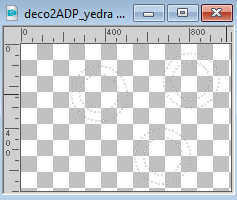
Edit>Copy.
Go back to your work and go to Edit>Paste as new layer.
It is not necessary to move it; it should be to Position X: 144,00 and Position Y: 34,00.

Effects>3D Effects>Drop Shadow, same settings.
Layers>Arrange>Move Down.
Activate again your top layer.
15. Open the misted 2025 04 05 Cat Dana N7 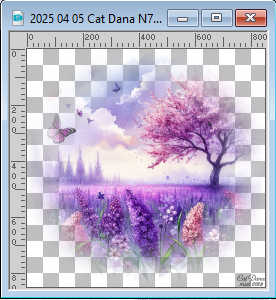
Erase the watermark and go to Edit>Copy.
Go back to your work and go to Edit>Paste as new layer.
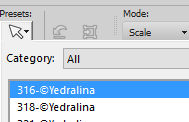
Resize, if necessary, or use the preset Preset_Pick_316-©Yedralina
Move  the tube slightly to the right: the tube slightly to the right:
Position X: 230,00 - Position Y: -7,00.

M key to deselect the Tool.
Reduce the opacity of this layer +/-52%, or according to the colors of your tube.
16. Edit>Copy Special>Copy Merged.
Edit>Paste as new image, and minimize this image.
17. Set your foreground color to the first one #bf81b3
background color #f9e8bc.

Set your foreground color to a Foreground/Background Gradient, style Linear.
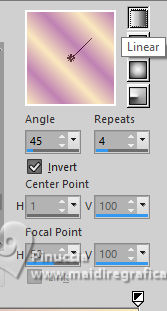
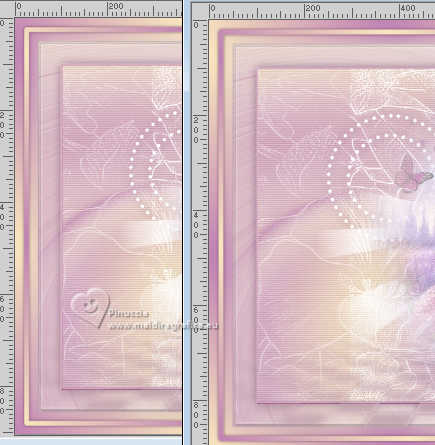
Note: In her first version, Yedralina used the Invert gradient here unselected,
and selected at point 30.
I did the same. You decide what you prefer.
See the two examples under the title
Image>Add Borders, 1 pixel, symmetric, foreground color.
Image>Add Borders, 1 pixel, symmetric, background color.
Image>Add Borders, 1 pixel, symmetric, foreground color.
18. Selections>Select All.
Image>Add Borders, 50 pixels, symmetric, whatever color.
19. Selections>Invert.
Edit>Paste into Selection - the image minimized at step 16 is still in memory.
20. Adjust>Blur>Radial Blur, same settings.

21. Effects>User Defined Filter - preset Emboss 7

Selections>Invert.
Effects>3D Effects>Drop Shadow, color 4 #66345d.

22. Selections>Invert.
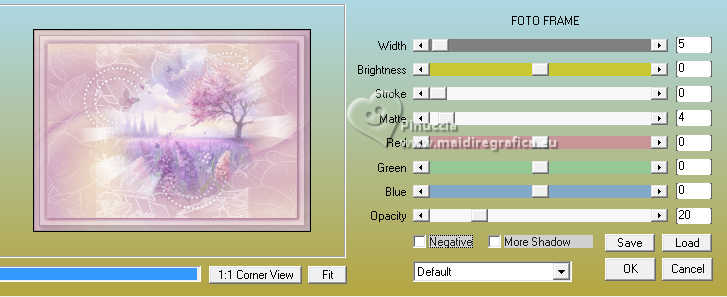
Effetti>Plugins>AAA Frames - Foto Frame.
Selections>Select None.
23. Layers>Duplicate.
Adjust>Blur>Gaussian Blur - radius 20.

24. Layers>New Mask layer>From image
Open the menu under the source window
and select the mask Empty_1400x1050)
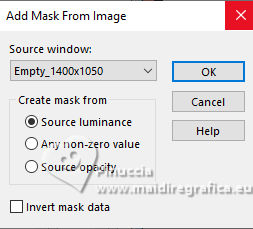
Layers>Merge>Merge Group.
Effects>Edge Effects>Enhance.
25. Effects>3D Effects>Drop Shadow, color 4 #66345d.
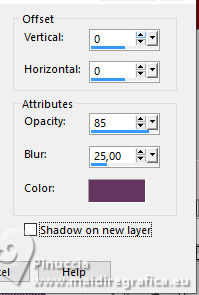
Image>Mirror>Mirror Horizontal.
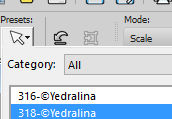
26. K key to activate your Pick Tool 
open the presets menu and select the preset 318©Yedralina
27. Selections>Select All.
Image>Add Borders, 50 pixels, symmetric, whatever color.
Selections>Invert.
Flood Fill  the selection with your Gradient. the selection with your Gradient.
28. Adjust>Blur>Gaussian Blur - radius 20.

29. Selections>Select All.
Selections>Modify>Contract - 25 pixels.
30. Selections>Modify>Select Selection Borders.
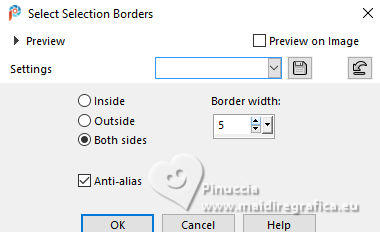
Uncheck Invert to invert the gradient colors.
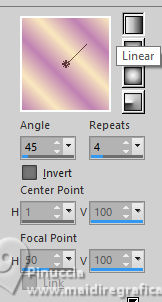
Flood Fill  the selection with your Gradient. the selection with your Gradient.
Effects>3D Effects>Drop Shadow, color 4 #66345d.
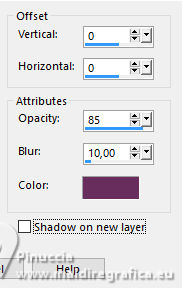
Selections>Select None.
31. Open your main tube 2025 04 27 Cat Dana N1 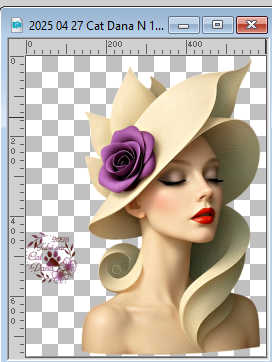
Erase the watermark and go to Edit>Copy.
Go back to your work and go to Edit>Paste as new layer.
Image>Resize, if necessary, I resized to 120%.
Adjust>Sharpness>Sharpen.
Place  correctly the tube. correctly the tube.
32. Effects>3D Effects>Drop Shadow, color 4 #66345d.
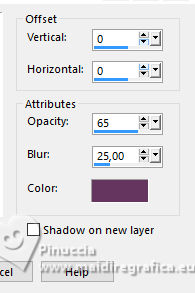
33. Image>Add Borders, 1 pixel, symmetric, foreground color.
34. Image>Resize, 1000 pixels width, resize all layers checked.
35. Sign your work on a new layer.
36. Layers>Merge>Merge All and save as jpg.
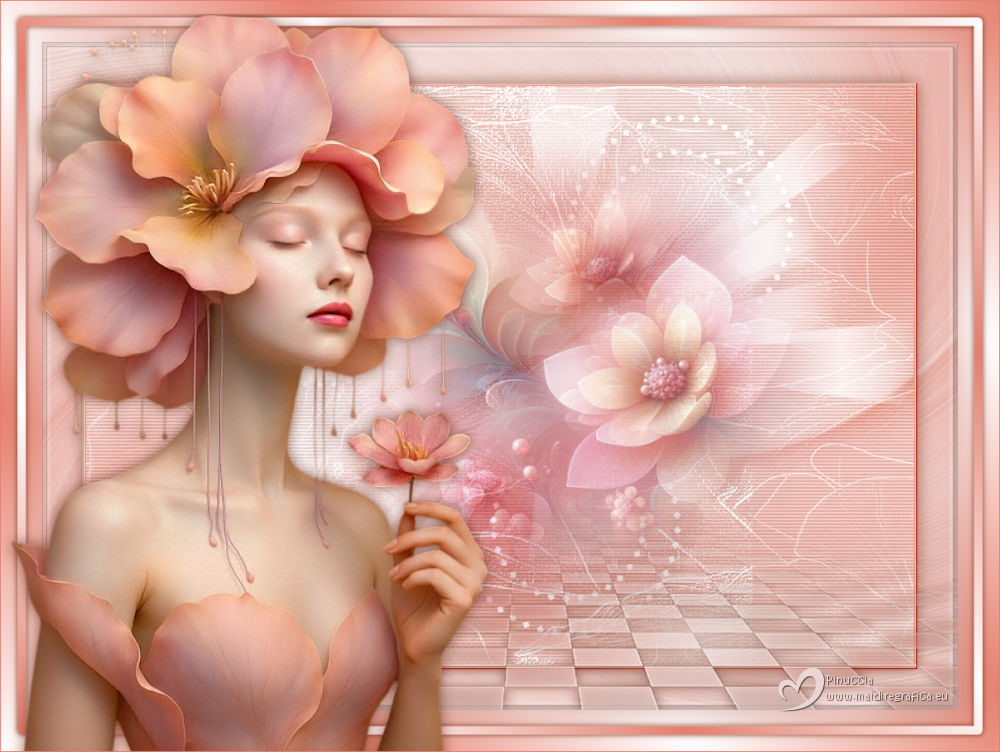
For the tubes of this version thanks Cat Dana
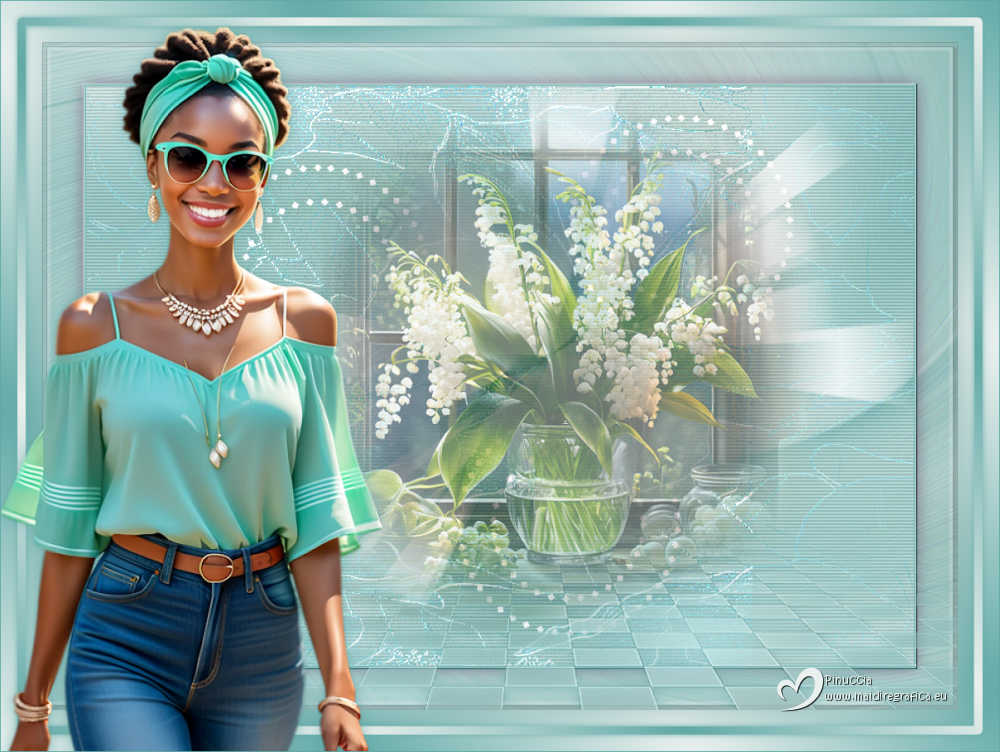
For the tubes of this version thanks Kamil and Mentali

If you have problems or doubts, or you find a not worked link, or only for tell me that you enjoyed this tutorial, write to me.
16 May 2025

|

