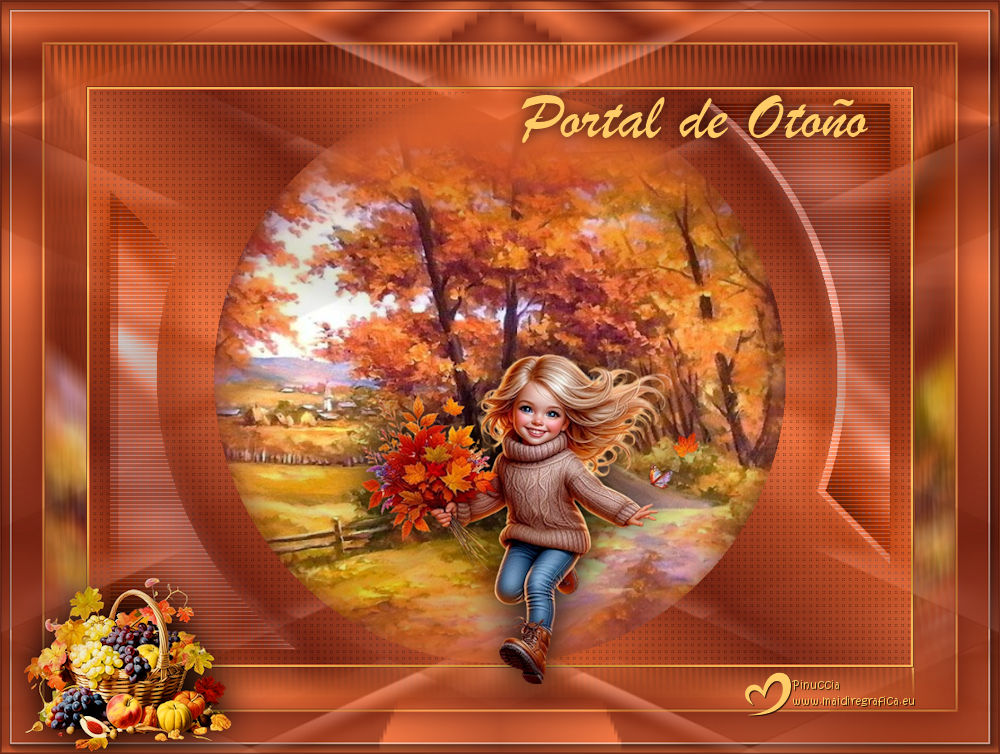
|
PORTAL DE OTOÑO
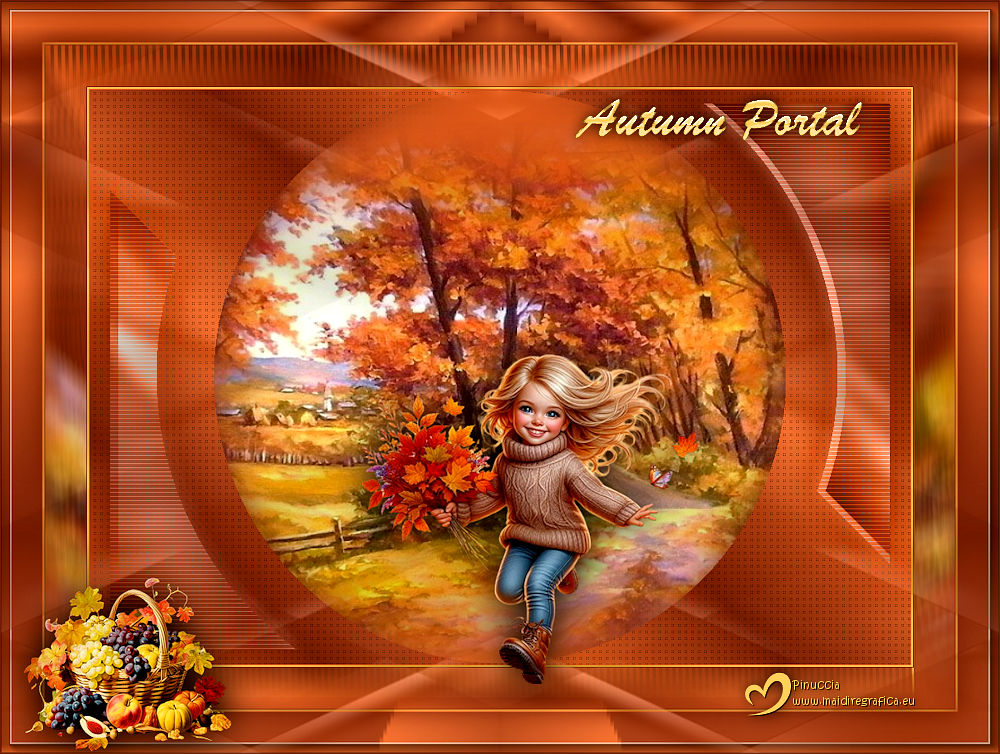
 AUTUMNM PORTAL AUTUMNM PORTAL


Thanks Yedralina for your invitation to translate your tutorials into english

This tutorial was written with PSP2020 and translated with PSPX9, PSPX8 and PSP2020, but it can also be made using other versions of PSP.
Since version PSP X4, Image>Mirror was replaced with Image>Flip Horizontal,
and Image>Flip with Image>Flip Vertical, there are some variables.
In versions X5 and X6, the functions have been improved by making available the Objects menu.
In the latest version X7 command Image>Mirror and Image>Flip returned, but with new differences.
See my schedule here
 italian translation here italian translation here
 french translation here french translation here
 your versions here your versions here
For this tutorial, you will need:

For the tubes thanks Cloclo.
The rest of the material is by Yedralina.
(The links of the tubemakers here).

consult, if necessary, my filter section here
Filters Unlimited 2.0 here
Carolaine and Sensibility - CS-Texture here
Cybia - Screenworks here
Mura's Meister - Perspective Tiling here
AAA Frames - Foto Frame / AAA Filters - Custom here
Lokas - Aqua here
Filters Cybia can be used alone or imported into Filters Unlimited.
(How do, you see here)
If a plugin supplied appears with this icon  it must necessarily be imported into Unlimited it must necessarily be imported into Unlimited

You can change Blend Modes according to your colors.
In the newest versions of PSP, you don't find the foreground/background gradient (Corel_06_029).
You can use the gradients of the older versions.
The Gradient of CorelX here

Copy the selection in the Selections Folder.
Colors
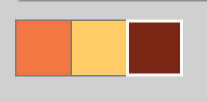
Set your foreground color to the color 1 #f07643,
and your background color to the color 3 #7a2817
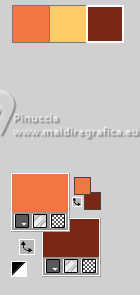
color 2 #ffcc68
Set your foreground color to a Foreground/Background Gradient, style Linear.
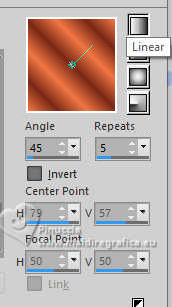
To begin, set your foreground color to Color.

1. Open a new transparent image 1000 x 700 pixels.
Flood fill  the transparent image with your foreground color. the transparent image with your foreground color.
2. Layers>New Raster Layer.
Selections>Select All.
3. Open the misted 23(2) 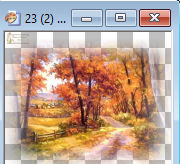
Erase the watermark and go to Edit>Copy.
Go back to your work and go to Edit>Paste into Selection.
Selections>Select None.
4. Open the tube Deco00212©Yedralina 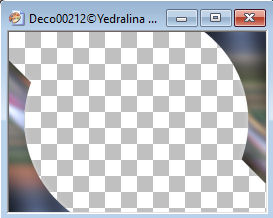
Edit>Copy.
Go back to your work and go to Edit>Paste as new layer.
5. Change the Blend Mode of this layer to Luminance (legacy).
6. Effects>Plugins>Carolaine and Sensibility - CS_Texture, default settings.
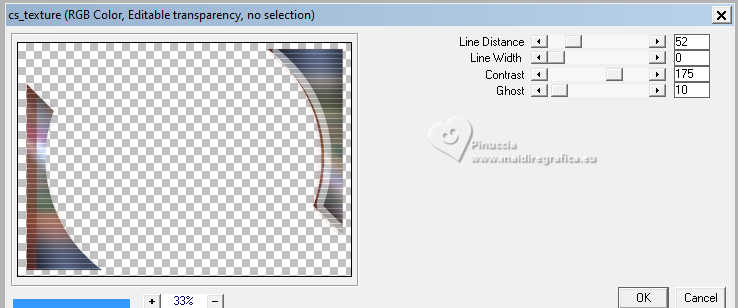
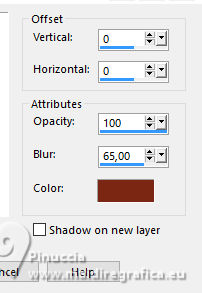
7. Effects>3D Effects>Drop Shadow, background color.
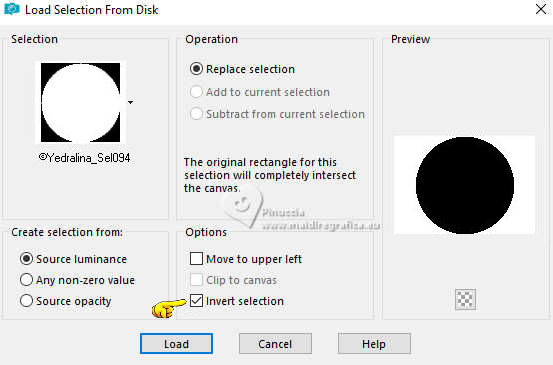
8. Selections>Load/Save Selection>Load Selection from Disk.
Look for and load the selection ©Yedralina_Sel094
Please note that the selection name begins with the © sign, and PSP follows alphabetical order.
Therefore, you must find the selection at the top of the list, before the letter a.
9. Set your foreground color to the Gradient you created at the beginning.
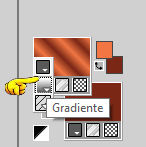
Layers>New Raster Layer.
Flood Fill  the selection with your Gradient. the selection with your Gradient.
Keep selected.
10. Effects>3D Effects>Drop shadow, background color (3) or black.

Selections>Select None.
12. Layers>Arrange>Move Down.
We have this
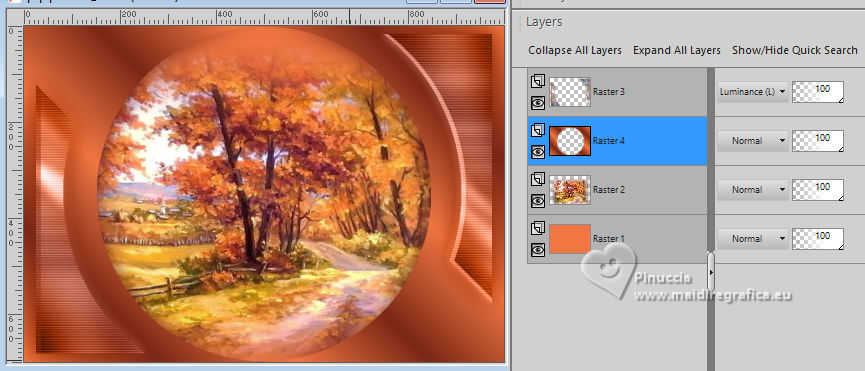
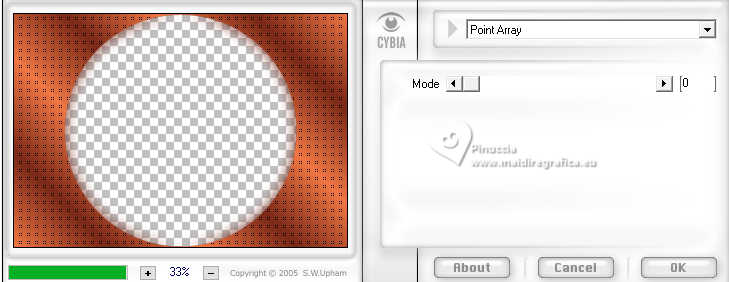
13. Effects>Plugins>Screenworks - Point Array

This version works without window; result:
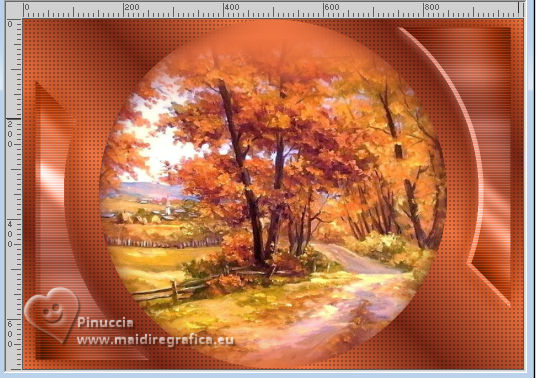
if you use the full version of this filter:
Effects>Plugins>Cybia - Screenworks.
14. Layers>Merge>Merge Visible to New Layer.
if you're using an older version that doesn't have this command:
Edit>Copy Special>Copy Merged
Edit>Paste as new layer
15. Layers>Arrange>Bring to Top.
16. Effetti>Plugins>Mura's Meister - Perspective Tiling.
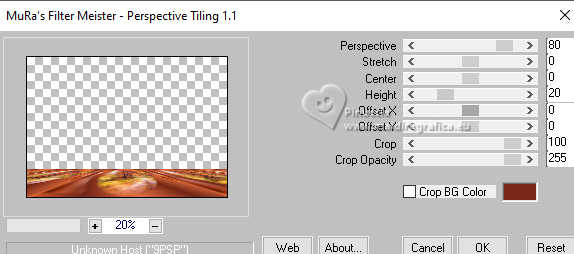
17. Activate your Magic Wand Tool  , tolerance 0 and feather 30, , tolerance 0 and feather 30,

and click on the transparent zone to select it.
Press +/-10 times CANC on the keyboard 
Selections>Select None.
18. Edit>Cut (this command cuts and keep in memory).
Edit>Paste as new image.
On this image: Image>Mirror>Mirror vertical (Image>Flip).
Minimize the image, which you'll need for the borders
19. Image>Add Borders, 1 pixel, symmetric, foreground color (color 1)
Image>Add Borders, 2 pixels, symmetric, color 2 #ffcc68.
Image>Add Borders, 1 pixel, symmetric, background color (color 3) .
20. Selections>Select All.
Image>Add Borders, 50 pixels, symmetric, whatever color.
21. Selections>Invert.
Invert the colors of your Gradient
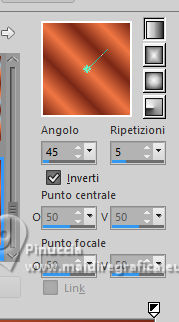
Flood Fill  the selection with your Gradient. the selection with your Gradient.
Keep selected.
22. Activate the image minimized at step 18 
Edit>Copy.
Go back to your work and go to Edit>Paste into Selection.
23. Adjust>Blur>Motion Blur.
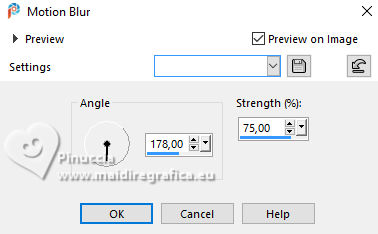
Selections>Select None.
24. Image>Add Borders, 1 pixel, symmetric, background color (color 3)
Image>Add Borders, 2 pixels, symmetric, color 2 #ffcc68.
Image>Add Borders, 1 pixel, symmetric, foreground color (color 1).
25. Selections>Select All.
Image>Add Borders, 50 pixels, symmetric, background color (color 3).
Selections>Invert.
Selections>Promote Selection to Layer.
Selections>Select None.
26. Layers>New Raster Layer.
Invert again the Gradient's colors

Flood Fill  the layer with your Gradient. the layer with your Gradient.
27. Effects>Plugins>Mura's Meister - Perspective Tiling.
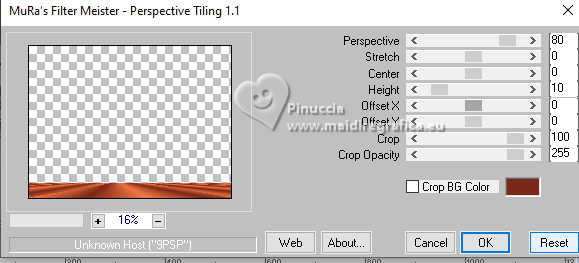
28. Effects>Geometric Effects>Skew.
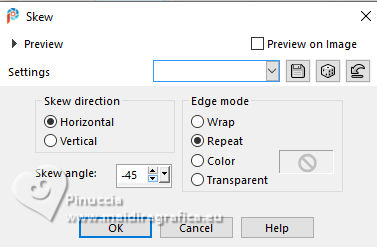
29. Effects>Reflection Effects>Rotating Mirror.

Edit>Cut.
30. Activate your background layer.
Layers>Promote Background Layer.
31. Activate your Magic Wand Tool  , tolerance 0, feather 30, , tolerance 0, feather 30,
and click in the layer above to select it.
Activate again your top layer, which is still empty.
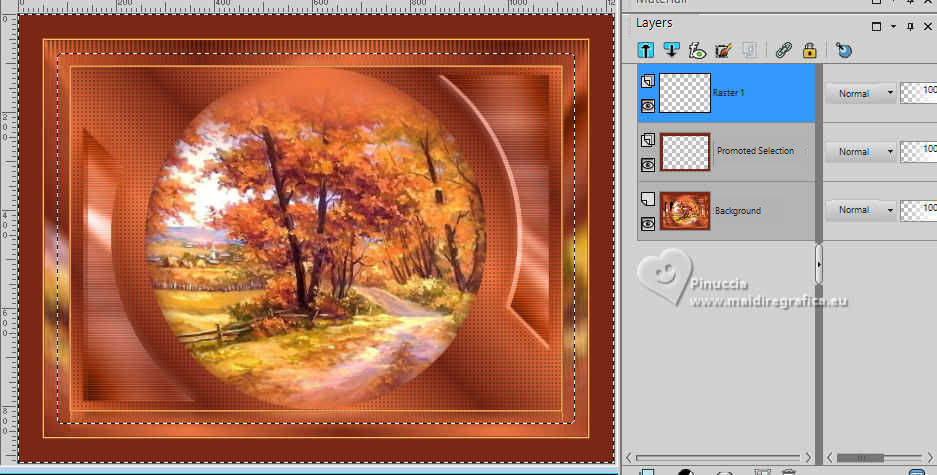
32. Edit>Paste into Selection - it is in memory the layer cut at the step 29.
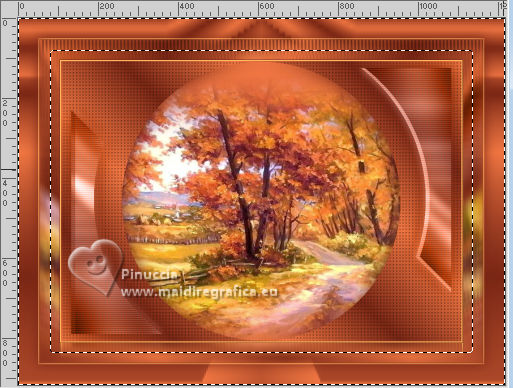
Layers>Merge>Merge Down.
33. We have this
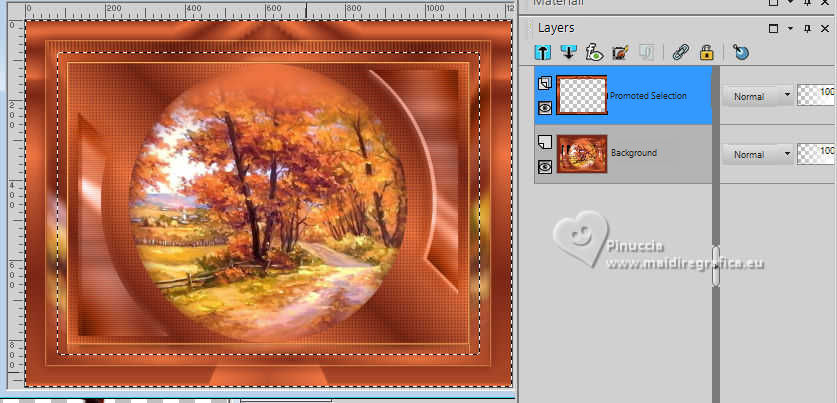
Layers>Merge>Merge Down.
34. Effects>Plugins>AAA Frames - Foto Frame.
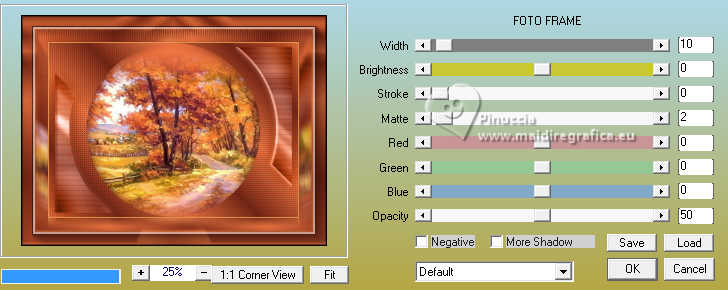
Selections>Select None.
35. Open Deco00374©Yedralina 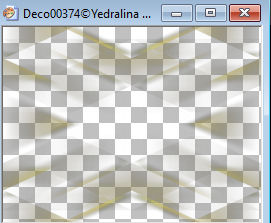
Edit>Copy.
Go back to your work and go to Edit>Paste as new layer.
It is not necessary to move it.
Change the Blend Mode of this layer to Luminance, or other to your liking.
36. Open your main tube preview51 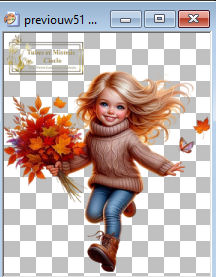
Erase the watermark and go to Edit>Copy.
Go back to your work and go to Edit>Paste as new layer.
Image>Resize, if necessary, for the provided tube to 120%, resize all layers not checked.
Adjust>Sharpness>Sharpen.
Place  correctly the tube. correctly the tube.
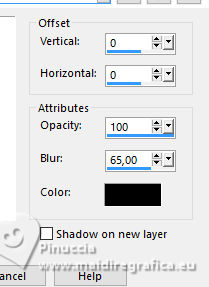
Effects>3D Effects>Drop Shadow, at your choice; for me:
37. Open your deco tube 22 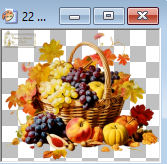
Erase the watermark and go to Edit>Copy.
Go back to your work and go to Edit>Paste as new layer.
Image>Resize, if necessary, for the provided tube to 50%, resize all layers not checked.
Adjust>Sharpness>Sharpen.
Move  the tube at the bottom left. the tube at the bottom left.
Effects>3D Effects>Drop Shadow, same settings used for the main tube.
38. Image>Add Borders, 1 pixel, symmetric, background color (color 3) .
39. Image>Resize, 1000 pixels width, resize all layers checked.
40. Now we can add the text Titulo Portal_Otoñ_yedra 
Edit>Copy.
Go back to your work and go to Edit>Paste as new layer.
If you prefer, you can write it with the provided font, background color color 2 #ffcc68.

adapt the size according to your text and your PSP version
Effects>Edge Effects>Enhance.
41. Effects>Plugins>Lokas Software - Aqua - color 2 #ffcc68
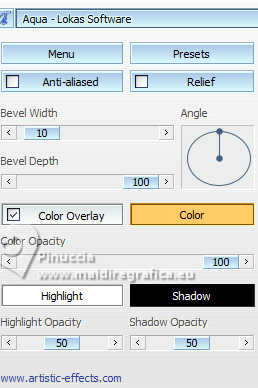
42. Effects>3D Effects>Drop shadow, color black

K key to activate your Pick Tool 
Position x: 521,00 - Position Y: 95,00

43. Sign your work on a new layer.
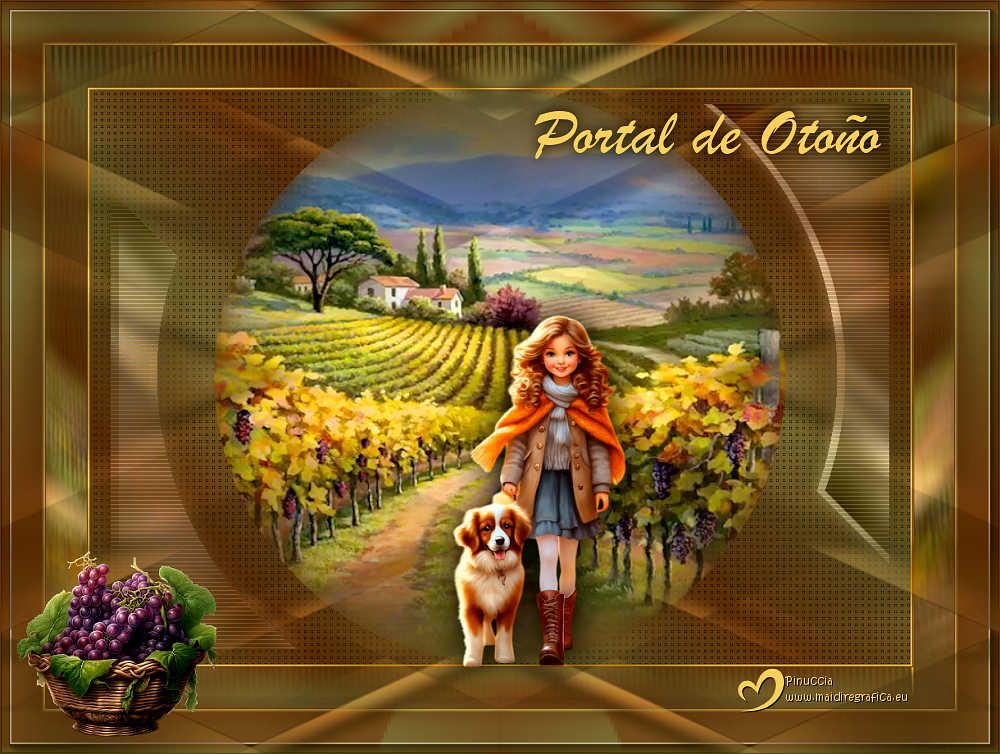
Layers>Merge>Merge All.
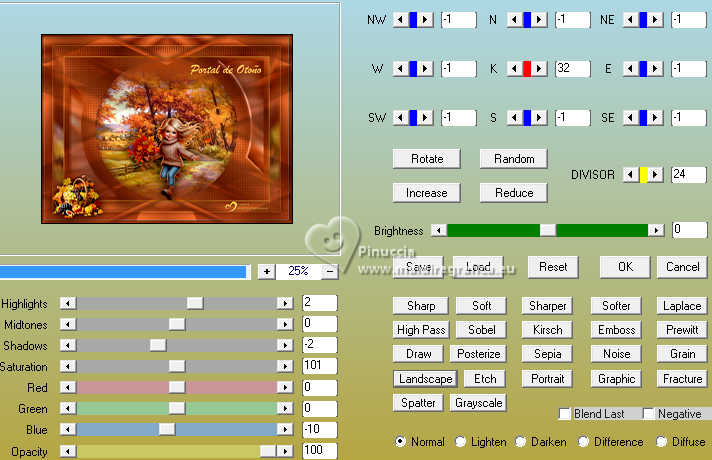
44. Optional: Effects>Plugins>AAA Filters - Custom - Landscape.
Save as jpg
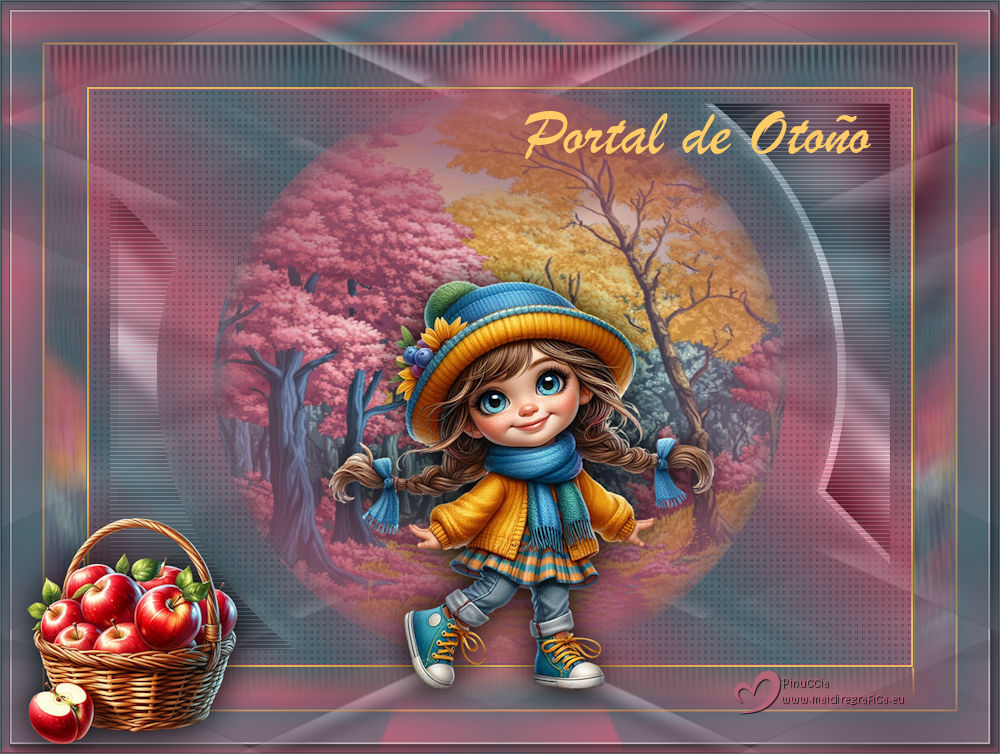
For the tubes of this version thanks Cloclo.

If you have problems or doubts, or you find a not worked link, or only for tell me that you enjoyed this tutorial, write to me.
1 October 2025

|
 AUTUMNM PORTAL


 AUTUMNM PORTAL