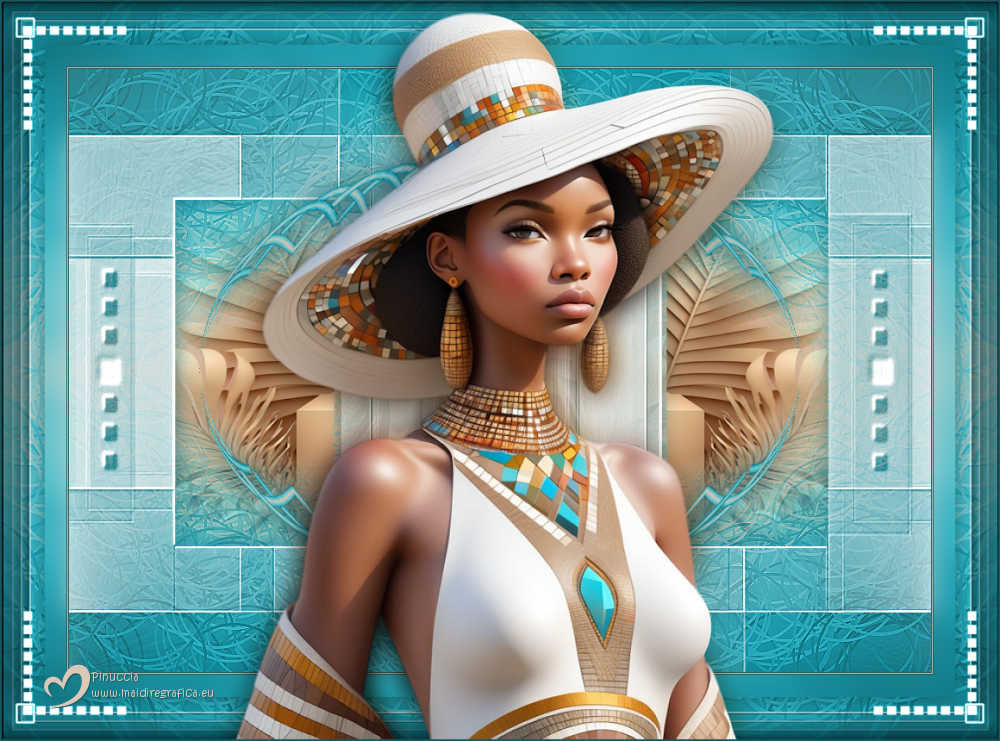
|
PRIMAVERAL


Thanks Yedralina for your invitation to translate your tutorials into english

This tutorial was written with PSP2020 and translated with PSPX9, PSPX8 and PSP2020, but it can also be made using other versions of PSP.
Since version PSP X4, Image>Mirror was replaced with Image>Flip Horizontal,
and Image>Flip with Image>Flip Vertical, there are some variables.
In versions X5 and X6, the functions have been improved by making available the Objects menu.
In the latest version X7 command Image>Mirror and Image>Flip returned, but with new differences.
See my schedule here
 italian translation here italian translation here
 french translation here french translation here
 your versions here your versions here
For this tutorial, you will need:

For the tubes thanks Kamil.
The rest of the material is by Yedralina
(The links of the tubemakers here).

consult, if necessary, my filter section here
Mehdi - Wavy Lab here
Mehdi - Fur 2 here
Flaming Pear - Flexify 2 here
Mura's Meister - Copies here
AAA Foto Frame - Foto Frame here

You can change Blend Modes according to your colors.

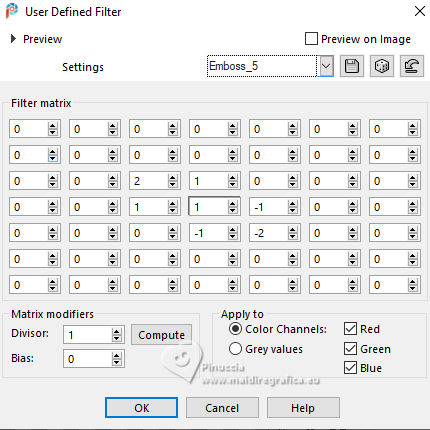
Copy the presets Emboss 5 and 316-©Yedralina in the Presets Folder.
Copy the selection in the Selections Folder.
Open the mask in PSP and minimize it with the rest of the material.
Colors
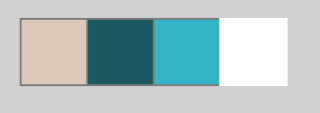
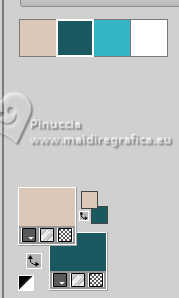
Set your foreground color to #dcc8b8
and your background color to #19595f.
color 3 #34b4c4
color 4 #ffffff
1. Open a new transparent image 1000 x 700 pixels.
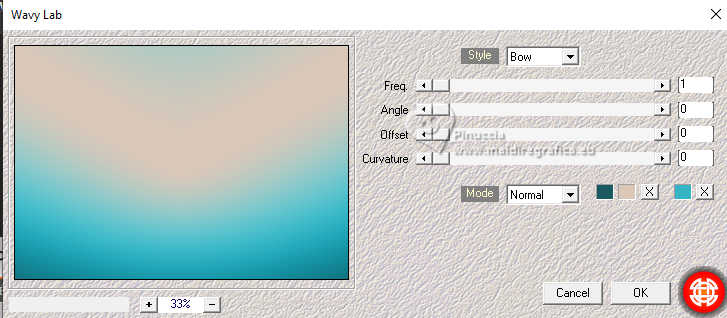
2. Effects>Plugins>Mehdi - Wavy Lab
This filter creates gradients with the colors of your Materials palette.
The first is your background color, the second is your foreground color.
Change the last color created by the filtre with the color 3 #34b4c4.
3. Effects>Plugins>Mehdi - Fur 2
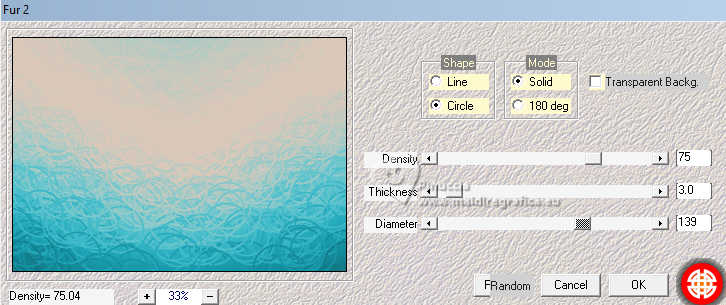
4. Image>Mirror>Mirror Vertical (Image>Flip).
Effects>Reflection Effects>Rotating Mirror.
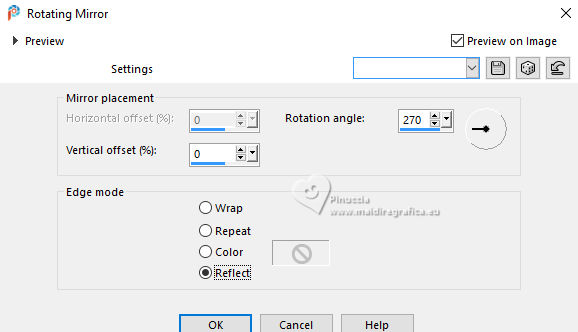
Effects>Edge Effects>Enhance.
5. Open the misted KamilTube-4629-BG 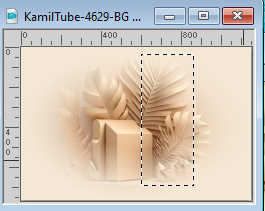
The tube contains a selection that you may want to use later, if you like it.
Duplicate the tube and minimize the original.
On the copy:
Selections>Select None.
Edit>Copy.
Go back to your work and go to Edit>Paste as new layer.
Adapt the tube with your Pick Tool (K key on the keyboard),
open the presets menu and select the preset 316-©Yedralina
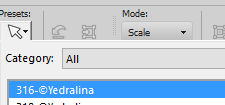
or adjust manually.
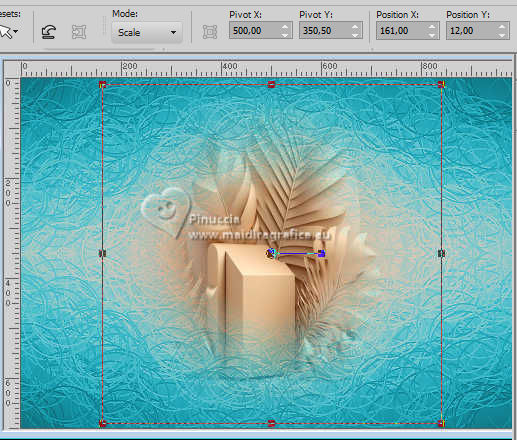
M key to deselect the Tool.
Adjust>Sharpness>Sharpen.
6. Layers>New Raster Layer.
Set your foreground color to the color white.
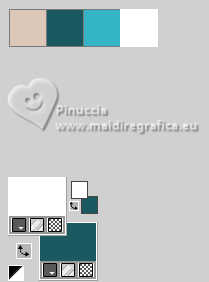
Flood Fill  the layer with the color white. the layer with the color white.
7. Layers>New Mask layer>From image
Open the menu under the source window and you'll see all the files open.
Select the mask Mask_23_GB_2019
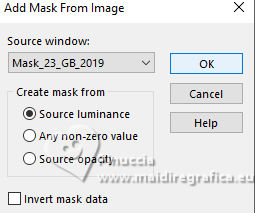
Layers>Merge>Merge Group.
8. Effects>User Defined Filter - select the preset Emboss 5
9. Activate again your misted.
Activate your Selection Tool  , rectangle, , rectangle,

Select a part to your liking, to the right side.
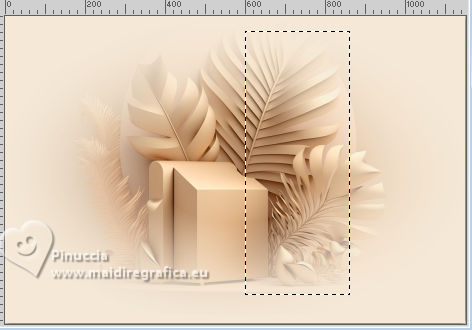
If you are using the supplied tube and if you like better,
you can use the selection already in the tube.

10. Edit>Copy.
Go back to your work.
11. Layers>New Raster Layer.
Selections>Load/Save Selection>Load Selection from Disk.
Look for and load the selection ©Yedralina_Sel0898
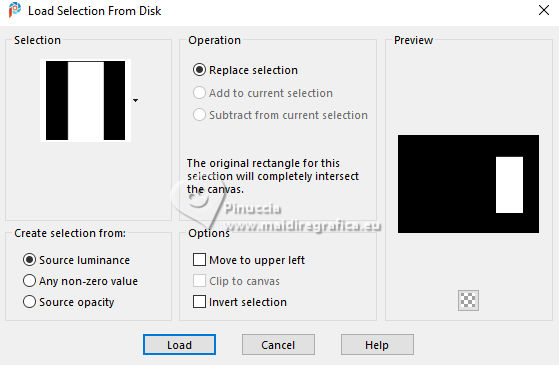
12. Edit>Paste into Selection.
Selections>Select None.
13. Effects>Reflection Effects>Rotating Mirror, default settings.

Layers>Arrange>Move Down.
Activate the top layer of the mask.
14. Effects>3D Effects>Drop shadow, background color.
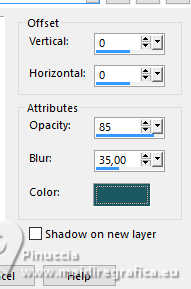
Activate your background layer.
15. Layers>Duplicate.
Layers>Arrange>Bring to Top.
16. Effects>Geometric Effects>Perspective horizontal.
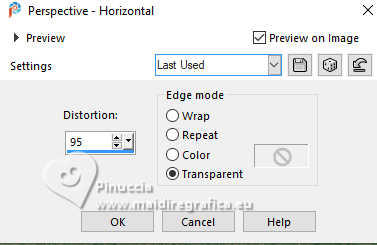
17. Image>Mirror>Mirror horizontal.
Again Effects>Geometric Effects>Perspective horizontal, same settings.
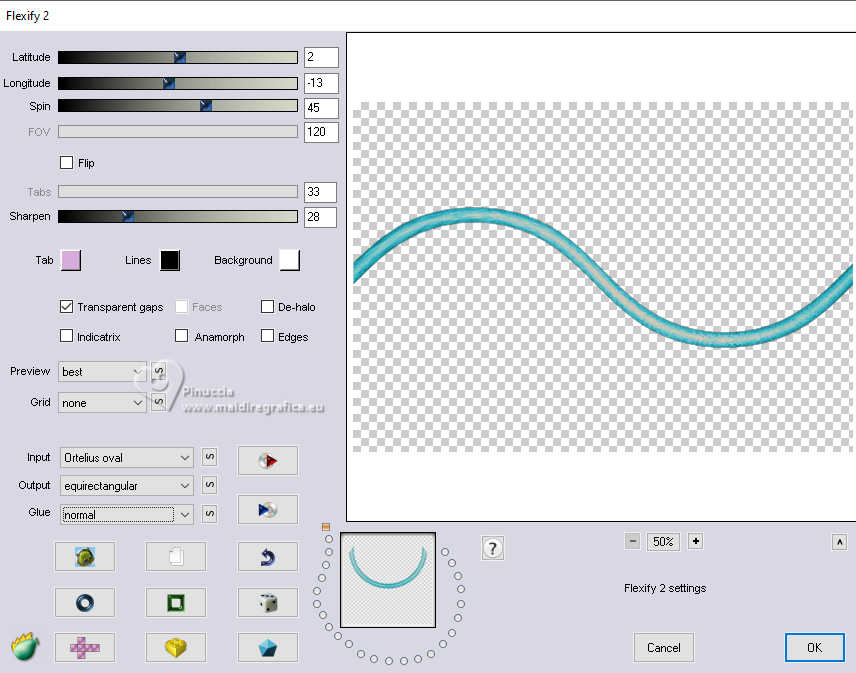
18. Effects>Plugins>Flaming Pear - Flexify 2.
19. Image>Resize, to 35%, resize all layers not checked.
K key to activate your Pick Tool 
Position X: 316,00 - Position Y: 96,00.

20. Effects>Reflection Effects>Rotating Mirror.

Effects>Reflection Effects>Rotating Mirror.

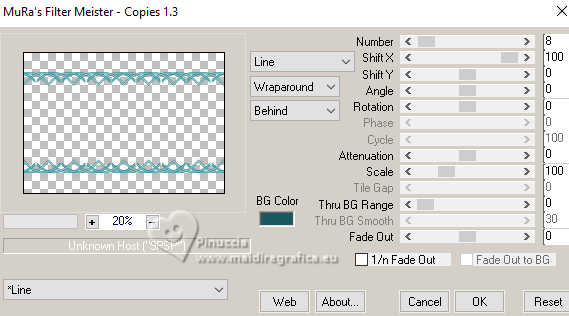
21. Effects>Plugins>Mura's Meister Copies.
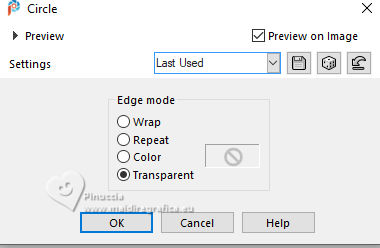
22. Effects>Geometric Effects>Circle.
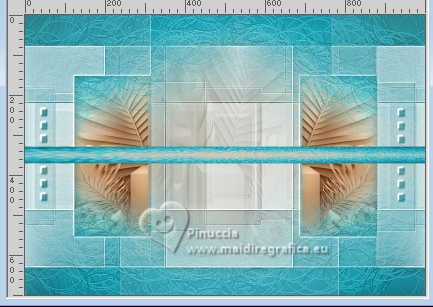
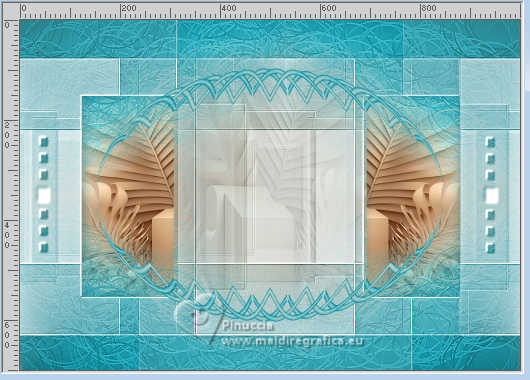
23. You should have this:
24. Effects>3D Effects>Drop Shadow, background color.

Activate your bottom layer.
25. Edit>Copy
Edit>Paste as new image, and minimize this image.
Go back to your work.
26. Set again your foreground color to the first color.

Image>Add Borders, 1 pixel, symmetric, background color.
Image>Add Borders, 1 pixel, symmetric, foreground color.
Image>Add Borders, 1 pixel, symmetric, background color.
27. Selections>Select All.
Image>Add Borders, 25 pixels, symmetric, whatever color.
Selections>Invert.
Edit>Paste into Selection - the image of step 25.
Adjust>Blur>Gaussian Blur - radius 15.

29. Selections>Select All.
30. Image>Add Borders, 50 pixels, symmetric, whatever color.
31. Selections>Invert.
Edit>Paste into Selection - tha image of step 25 is still in memory.
32. Selections>Invert.
Effects>3D Effects>Drop Shadow, background color.

33. Selections>Invert.
Effects>Plugins>AAA Frames - Foto Frame

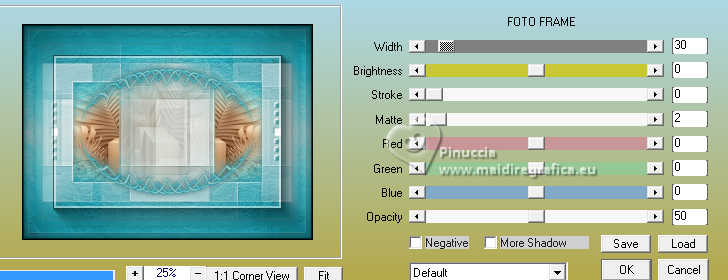
34. Repeat Effects>Plugins>AAA Frames - Foto Frame, width 30
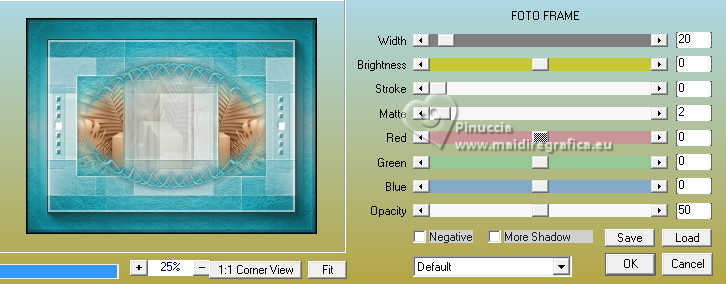
35. One more time Effects>Plugins>AAA Frames - Foto Frame, width 20.
36. Effects>Reflection Effects>Rotating Mirror, default settings.

Effects>Reflection Effects>Rotating Mirror.

Selections>Select None.
37. Open your main tube KamilTube-4629 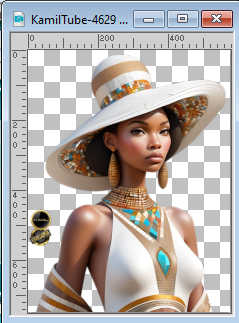
Erase the watermark and go to Edit>Copy.
Go back to your work and go to Edit>Paste as new layer.
Image>Resize, if necessary - for the supplied tube to 115%, resize all layers not checked.
If you resize the tube, Adjust>Sharpness>Sharpen.
Place  correctly the tube. correctly the tube.
38. Layers>Duplicate.
Adjust>Blur>Gaussian Blur - radius 15.

Layers>Arrange>Move Down.
Change the Blend Mode of this layer to Multiply.
39. Activate your top layer.
Open the tube Deco00351©Yedralina 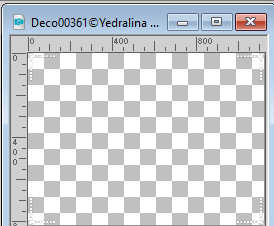
Edit>Copy.
Go back to your work and go to Edit>Paste as new layer.
Don't move it.
Change the Blend Mode of this layer to Luminance (legacy).
40. Sign your work on a new layer.
41. Image>Add Borders, 2 pixels, symmetric, background color.
42. Image>Resize, 1000 pixels width, resize all layers checked.
Save as jpg.
For the tubes of these versions thanks
Nena Silva and Cat Dana
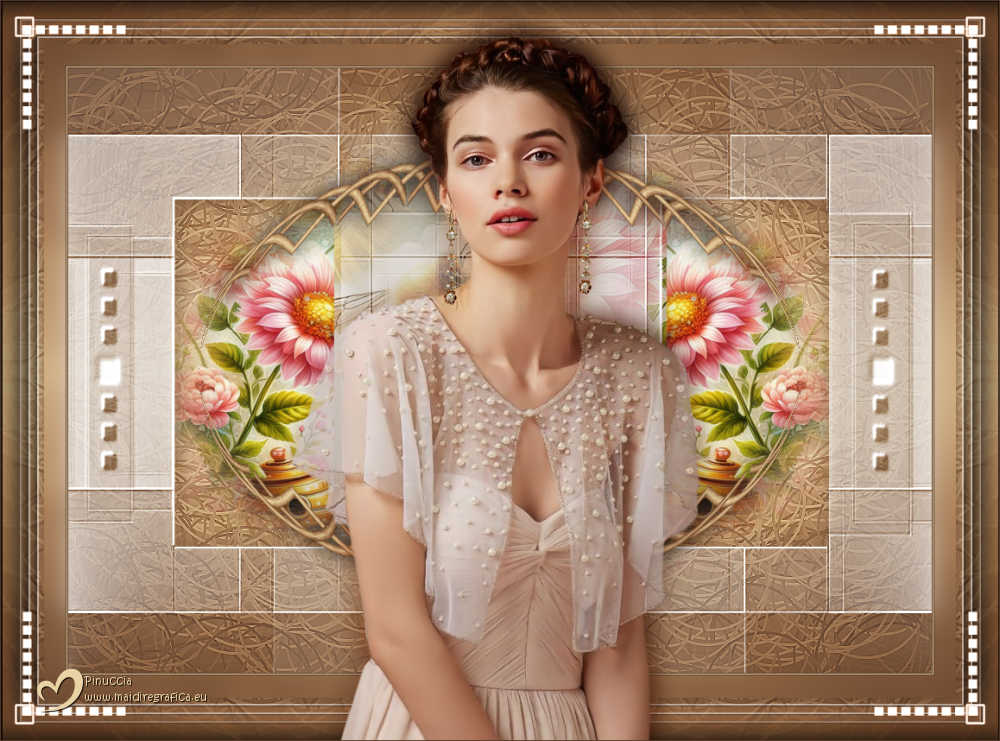
Luz Cristina and Mentali
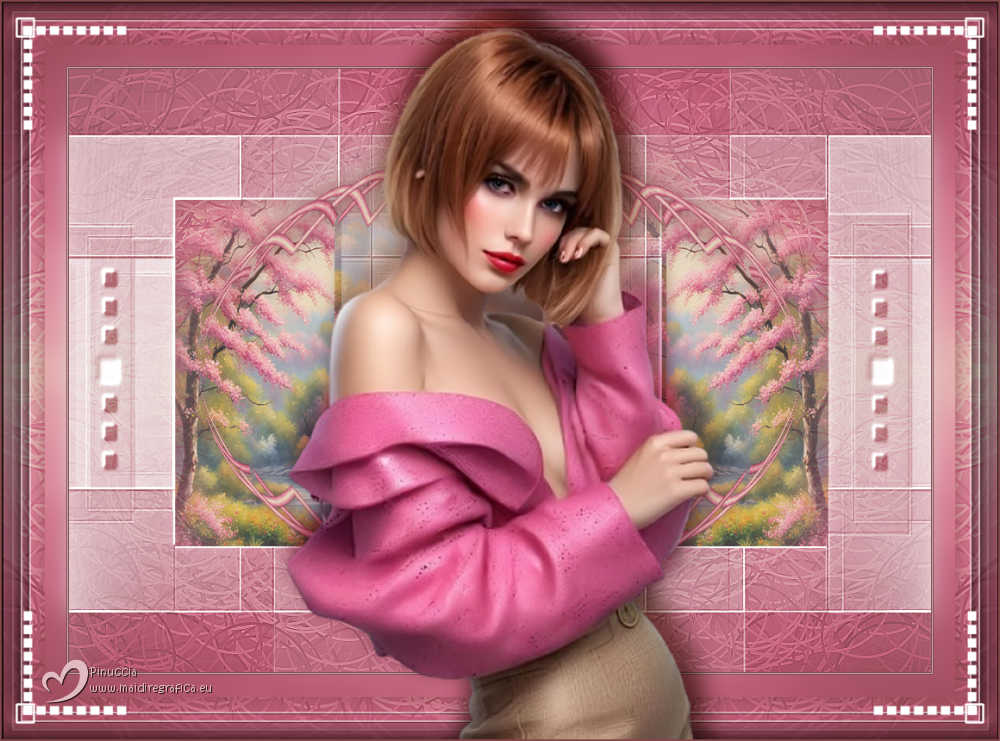
Kamil
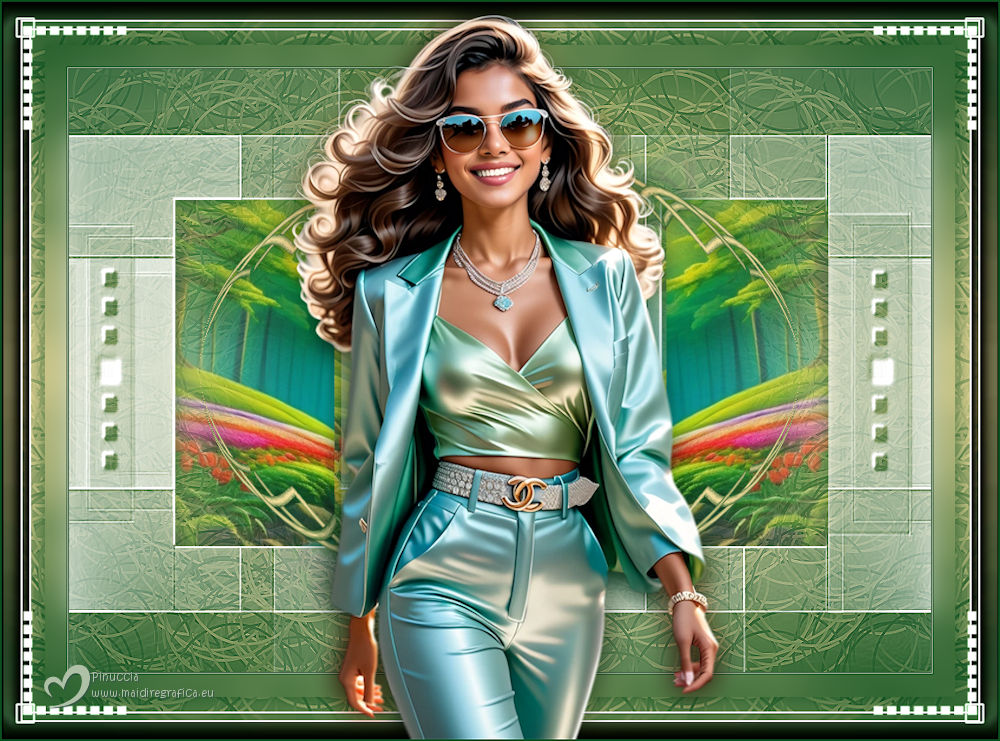

If you have problems or doubts, or you find a not worked link, or only for tell me that you enjoyed this tutorial, write to me.
8 Giugno 2025

|

