|
ZIPPER SIGNATURE


Thanks Yedralina for your invitation to translate your tutorials into english

This tutorial was written with PSP2020 and translated with PSPX9, PSPX8 and PSP2020, but it can also be made using other versions of PSP.
Since version PSP X4, Image>Mirror was replaced with Image>Flip Horizontal,
and Image>Flip with Image>Flip Vertical, there are some variables.
In versions X5 and X6, the functions have been improved by making available the Objects menu.
In the latest version X7 command Image>Mirror and Image>Flip returned, but with new differences.
See my schedule here
 italian translation here italian translation here
 french translation here french translation here
 your versions here your versions here
For this tutorial, you will need:

(The links of the tubemakers here).
Animation Shop here

1. Open the tube cremallera 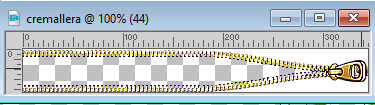
Window>Duplicate, or on the keyboard shift+D, to duplicate the image.
Close the originale for another use,
and work on the copy.
From your layers palette, you can see that the tube has 46 layers,
so it is very important that none of them move,
for the animation to be perfect.
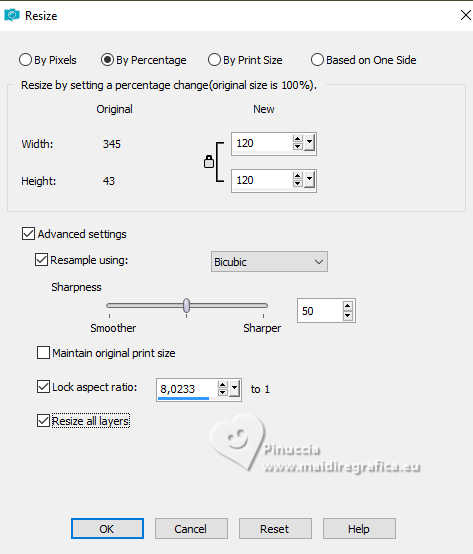
Let's zoom in on the zipper a bit. To do so, go to:
Image>Resize, to 120%, resize all layers checked.
Activate the layer 24.
Layers>View>Current Only.
2. Layers>New Raster Layer, and rename this layer FOND
3. Layers>Arrange>Send to Bottom.
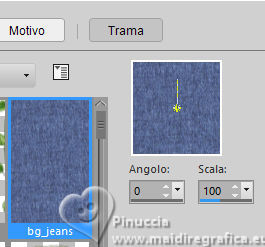
4. Choose and set your foreground color to a color that matches your colors,
our pattern, or our texture.
In my case, I chose the color #bec7de,
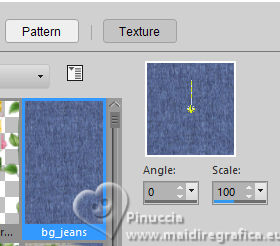
which matches my denim pattern bg_jeans 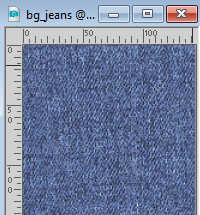 . .
Flood Fill  the layers FONDO with your foreground color. the layers FONDO with your foreground color.
(You can give it a texture effect if you prefer,
by going to Effects>Texture Effects>Texture, or any other color you like.
In my case, I left it solid.)

5. Layers>New raster layer, and rename this layer Image
Selection>Select all.
Open the small tube flowerstocreatewith 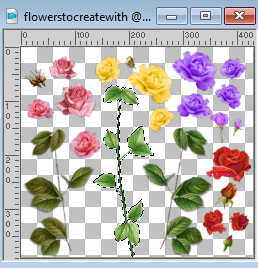
The tube contains an active selection: Edit>Copy.
In my case, Edit>Paste as new image,
To rotate it so it's horizontal, like the zipper:
Image>Rotate Left.
Edit>Copy.
Go back to your work and go to Edit>Paste into Selection.
Selections>Select None.
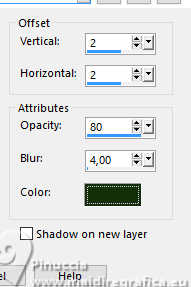
Effects>3D Effects>Drop shadow, color #15300c

6. Stay on the layer IMAGE.
activate your Text Tool 
Choose a font or use the supplied one, and write your text or name
choosing colors and sizes best suited to your zipper.
Please note: the text should not exceed 3/4 of the zipper,
so as not to overwhelm its closure.
Layers>Convert to raster layer.
Effects>3D effects>Drop shadow, as desired.
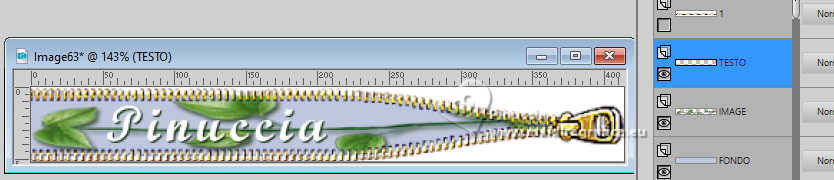
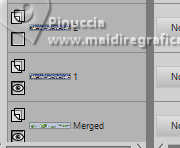
My zipper and the layers palette.
7. In the Layers Palette, make sure all layers are closed (including layer 24),
except for the FOND, TEXT, and IMAGE layers.
8. Activate the layer FOND layer
9. Layers>Merge>Merge Visible.
From here, pay particular attention to the layers and blends you apply.
From here on, these are the steps followed for my translations.
Finally, I added the translation of the original steps of the tutorial, for completeness.
My steps
10. Open and activate the layer 1.
11. Activate your Magic Wand Tool 

Click in the white zones to select them.

12. Flood Fill the selection with the color, gradient, or texture you used for the background,
or, if you prefer, with another color that creates contrast.
For my example, I used the texture bg_jeans

Selections>Select None.
Edit>Copy Special>Copy Merged.
Open Animation Shop and go to Edit>Paste>Paste as new animation.
13. Go back to PSP.
Close the layer 1.
Open and activate the layer 2.
Select the white zones with your Magic Wand Tool .
Flood Fill the selection with your Pattern.
Selections>Select None.
Edit>Copy Special>Copy Merged.
Go back to Animation Shop and go to Edit>Paste>Paste after the current frame.
14. In PSP.
Close the layers 2.
Open and activate the layer 3.
Select the white zones with your Magic Wand Tool
Flood Fill the selection with your Pattern.
Selections>Select None.
Edit>Copy Special>Copy Merged.
Go back to Animation Shop and go to Edit>Paste>Paste after the current frame.
15. In PSP.
close the layer 3.
Open and activate the layer 4.
Select the white zones with your Magic Wand Tool
Flood Fill the selection with your Pattern.
Selections>Select None.
Edit>Copy Special>Copy Merged.
Go back to Animation Shop and go to Edit>Paste>Paste after the current frame.
16. And continue like this, repeating step 15 for all the other layers.
At the end, you will have a 46-frame animation in Animation Shop.
Check the result by clicking View 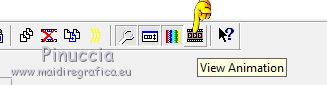
and save as a GIF.
Other version
*****
Translation from step 10 of the original tutorial.
10. Open and activate the layer Raster 1.
Now we have the Raster 1 layer visible
and the Merged layer (from the merging of the FOND-TEXT-IMAGE layers).
11. Layers>Merge>Merge Visible.
12. Activate the Magic Wand tool
Click in the white areas to select them.
13. Flood Fill the selection with the color, gradient, or texture you used for the background,
or, if you prefer, with another texture that creates contrast.
In my case, I used the bg_jeans texture
Selection>Deselect.
Layers>Merge>Merge Visible.
14. Save the image in PSP format and name it 01.
We can open a folder to save it,
since that's where you'll save all the files you create until the zipper animation is complete
(for a total of 46 layers, so be careful not to move anything.)

15. Go back to to your work and undo the merge.
To do this, click the undo arrow
at the top of the program bar.

16. In the Layers Palette, close Layer 1 and activate the layer 2,
opening it and leaving the Merged layer open as well.
17. Click again your Magic Wand Tool
on the white parts of the zipper
and fill them  with your preferred color, gradient, or texture. with your preferred color, gradient, or texture.
Selections>Select None.
Layers>Merge>Merge Visible.
Save your work in PSP and name the image 02.
18. Undo the merge again by clicking the undo arrow
and go back to the Layers Palette.
Now close layer 2 and open layer 3.
Select the white areas of the zipper with the magic wand Tool
and flood fill them with the chosen color, gradient, or texture.
Layers>Merge>Merge Visible and save as a PSP file.
Name the image 03.
19. Return to the image and undo the merge.
In the Layers palette, close layer 3 and open layer 4.
20. Follow all the steps as for other merges:
Magic wand, select the white part of the zipper... fill with color, gradient, or texture...
Selections>Select None.
Layers>Merge>Merge Visible and save as 04.
Continue merging all the layers following these steps.
It's a laborious process due to the number of layers in the zipper,
but it's important to be careful for the animation to be successful.
REMEMBER: Close the previous layer, open the next layer.
Magic Wand - Fill Selection - Remove Selection -
Merge Visible Layers - Save As - Unmerge -
The images we save (merged) must be in order (05, 06, etc.)
and must be in the same location.
Then, we can merge all the images using Animation Shop.
If we've saved all the files, we're ready to create the animation.
21. Then Open Animation Shop.
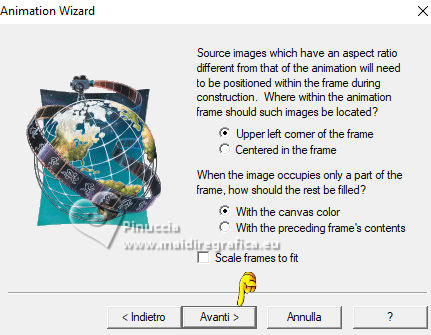
22. Select the Animation Wizard:
File>Wizard
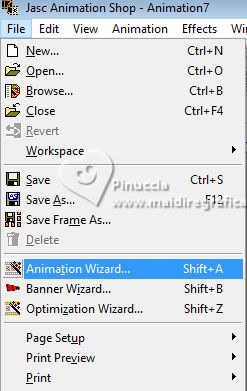
See the screenshots.
My animation is in English,
but you can use the location and icon that appear to the left of each prompt as a guide.
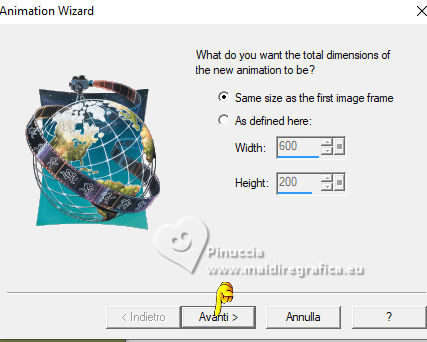
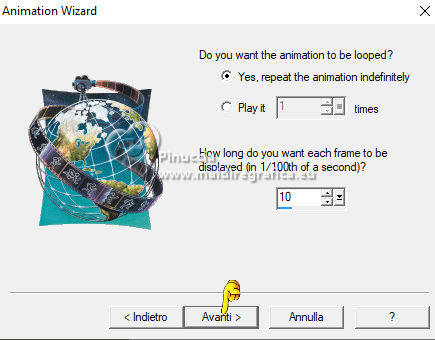
23. Follow all the steps below,
paying attention to the settings in each new window that appears,
and click Next to continue:

24. Keep the default speed at 10.
25. Select Add Image
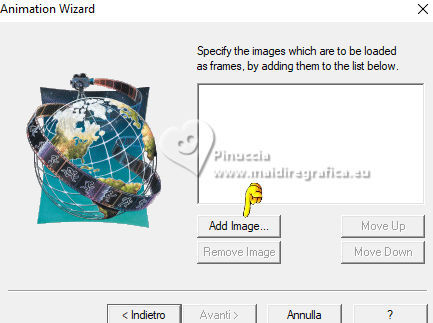
26. Find the folder where we saved our compressed PSP files and select them by column,
starting with the first file (01), as shown in the screenshot, then click Open
27. You'll see these files appear in the wizard.
Click Add Image again until you have all 46 files in the wizard,
then select NEXT
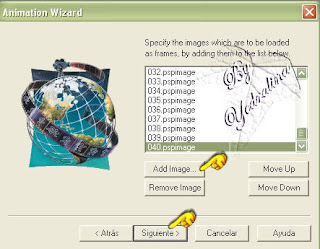
Select Finalize

29. Since you have 46 frames, the animation will take a while to load and will open like this

30. To check if our animation was created correctly,
select View Animation
If everything is correct, all that's left to do is save it:
File... save as and follow the optimization wizard.
Save as gif

If you have problems or doubts, or you find a not worked link, or only for tell me that you enjoyed this tutorial, write to me.
10 August 2025

|