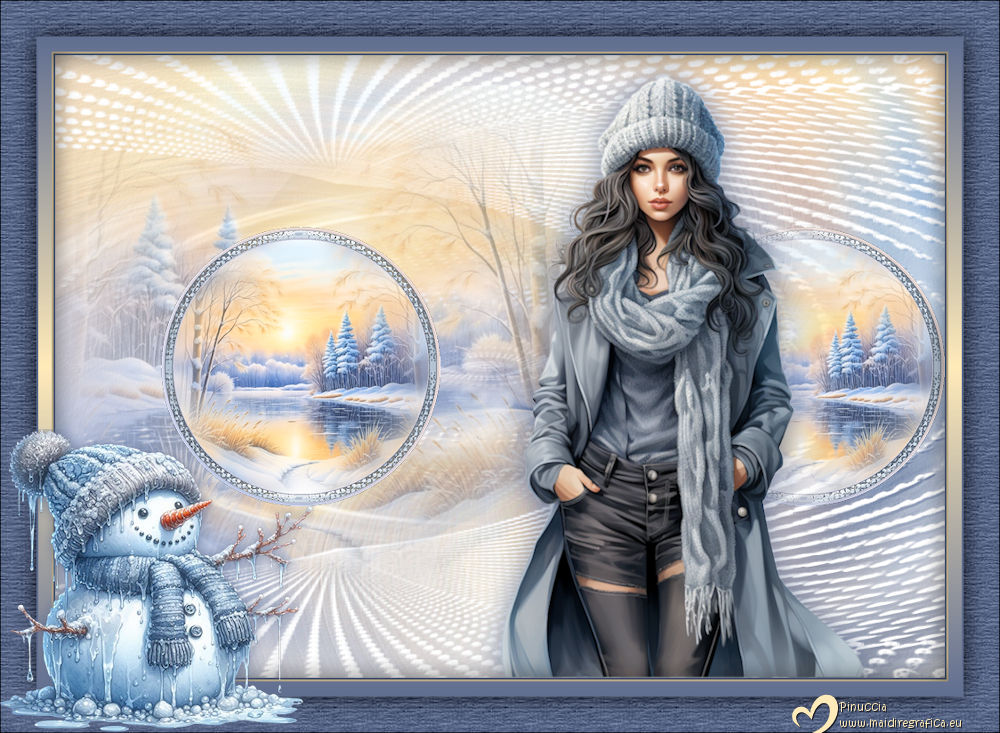
|
ENERO 2026
 JANUARY 2026 JANUARY 2026

Thanks Yedralina for your invitation to translate your tutorials into english

This tutorial was written with PSP2020 and translated with PSPX9, PSPX8 and PSP2020, but it can also be made using other versions of PSP.
Since version PSP X4, Image>Mirror was replaced with Image>Flip Horizontal,
and Image>Flip with Image>Flip Vertical, there are some variables.
In versions X5 and X6, the functions have been improved by making available the Objects menu.
In the latest version X7 command Image>Mirror and Image>Flip returned, but with new differences.
See my schedule here
 italian translation here italian translation here
 french translation here french translation here
 your versions here your versions here

For this tutorial, you will need:
Thanks for the tubes Renée and LoriM; for the mask Silvie.
The rest of the material is by Yedralina.
(The links of the tubemakers here).

consult, if necessary, my filter section here
Filters Unlimited 2.0 here
Filter Factory Gallery D - Vortex here
Lokas Filter - Aqua here
VanDerLee - Snowflakes here
Filters Factory Gallery can be used alone or imported into Filters Unlimited.
(How do, you see here)
If a plugin supplied appears with this icon  it must necessarily be imported into Unlimited it must necessarily be imported into Unlimited
Animation Shop here
You can change Blend Modes according to your colors.
In the newest versions of PSP, you don't find the foreground/background gradient (Corel_06_029).
You can use the gradients of the older versions.
The Gradient of CorelX here

Copy the Presets in the Presets Folder
Open the mask in PSP and minimize it with the rest of the material.
If you have problems with Alpha Channel, open a new transparent image 1000 x 700 pixels,
and use the selections from Disk.
Choose two colors from your misted.
For my example:
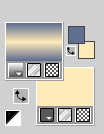
Set your foreground color to #606e90,
and your background color to #ffeab9.
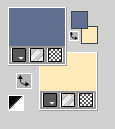
color 3 lighter than color 1 (for the shadow) #b3c3d4
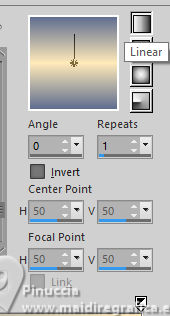
Prepare in the foreground a Foreground/Background Gradient, style Linear.
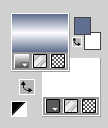
To begin, set your background color to white #ffffff.
1. Open CanalAlpha_INVIERNO 26
Window>Duplicate or, on the keyboard, shift+D to make a copy.

Close the original.
The copy, that will be the basis of your work, is not empty,
but contains the selections saved to alpha channel.
Flood Fill  the transparent image with your white background color #ffffff. the transparent image with your white background color #ffffff.
2. Selections>Select All.
Open the misted CS_2025_2211_007 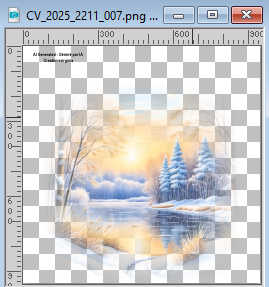
Erase the watermark and go to Edit>Copy.
Go back to your work and go to Edit>Paste into Selection.
Selections>Select None.
3. Effects>Image Effects>Seamless Tiling, default settings.

Adjust>Blur>Gaussian Blur - radius 15

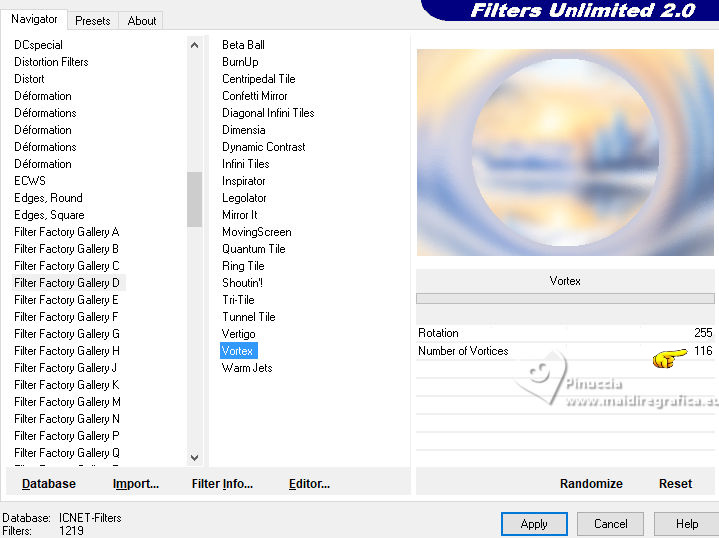
4. Effects>Plugins>Filters Unlimited 2.0 - Filter Factory Gallery D - Vortex
5. Selections>Load/Save Selection>Load Selection from Alpha Channel.
The selection #1 is immediately available. You just have to click Load
(from disk ©Yedralina_Sel094).
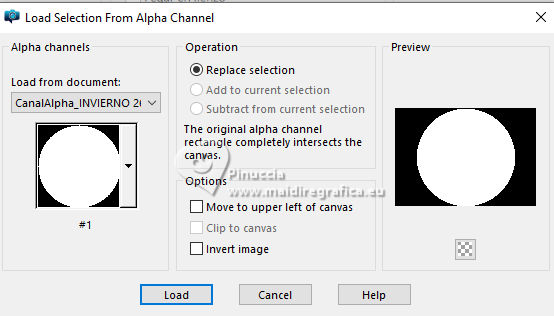
Selections>Promote Selection to Layer.
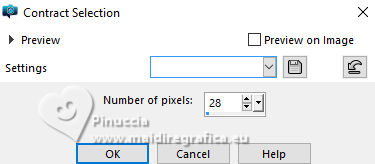
6. Selections>Modify>Contract - 28 pixels.
7. Edit>Paste into Selection - your misted is still in memory.
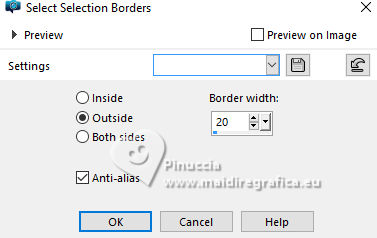
Selections>Modify>Select Selection Borders.
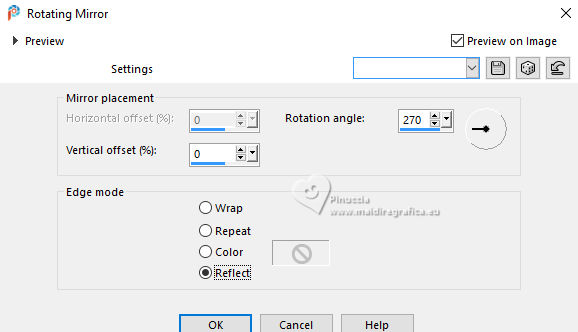
8. Effects>Texture Effects>Mosaic Antique
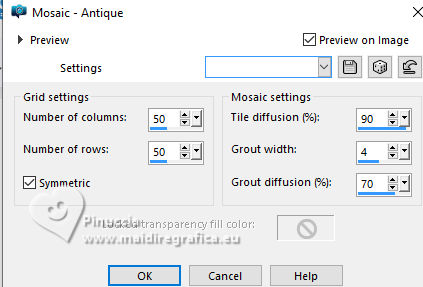
Effects>Reflection Effects>Rotating Mirror.
9. Effects>Plugins>Lokas - Aqua - color 3 #b3c3d4
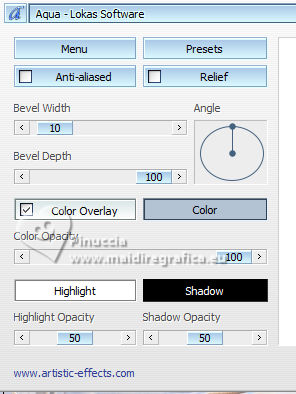
Selections>Select None.
10. Layers>Duplicate.
Image>Resize, to 45%, resize all layers not checked.
Adjust>Sharpness>Sharpen.
Activate the layer below, Promoted Selection.
11. Adjust>Blur>Radial Blur.
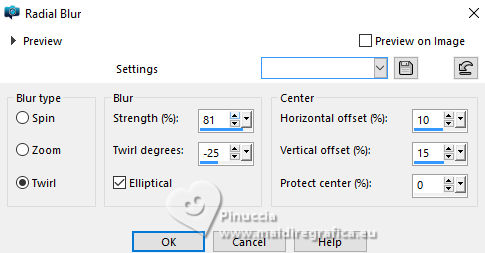
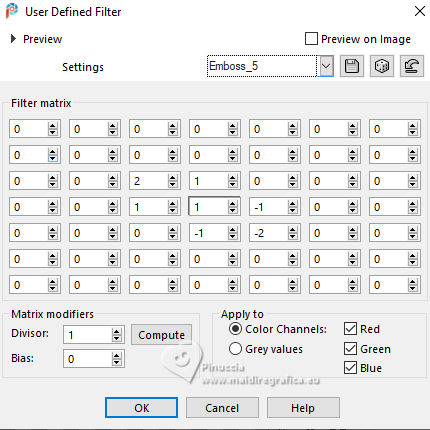
12. Effects>User Defined Filter - Emboss 5
13. Layers>New Raster Layer.
Flood Fill  with your white background color. with your white background color.
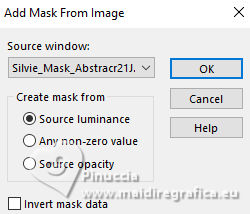
14. Layers>New Mask layer>From image
Open the menu under the source window and you'll see all the files open.
Select the mask Silvie_Mask_Abstract21
Layers>Merge>Merge Group.
15. Image>Flip>Flip Vertical
In this case, since the image occupies the entire canvas,
You can also do Image>Mirror>Mirror Vertical (Image>Flip)
See the notes on this topic here
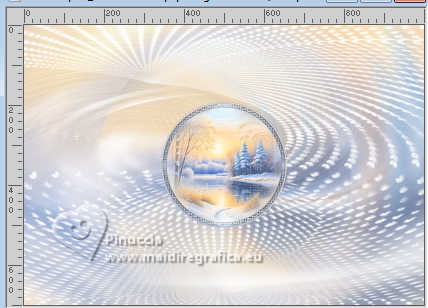
Effects>Reflection Effects>Rotating Mirror.

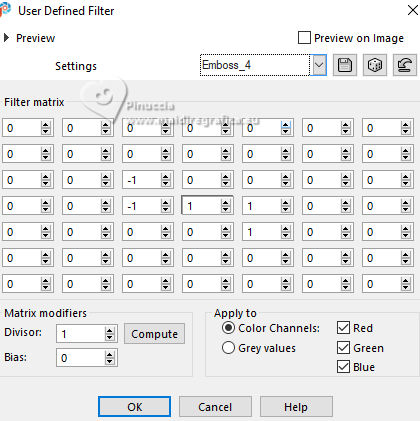
Effects>User Defined Filter - Emboss 4
16. Activate your top layer, Copy of Promoted Selection.
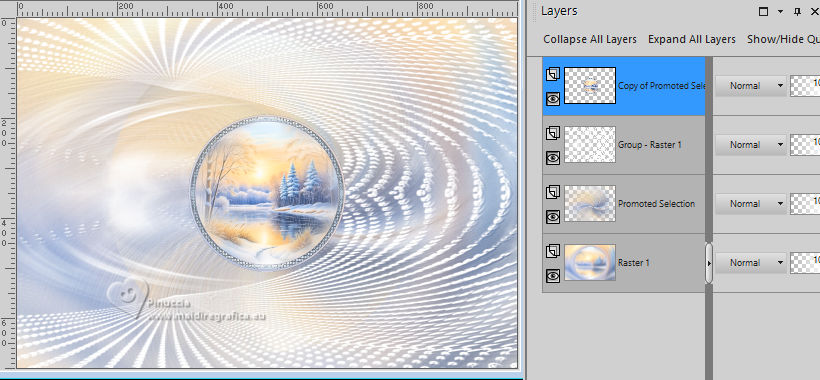
K key to activate your Pick Tool 
Position x: 119,00 - Position Y: 193,00.

Layers>Duplicate.
17. Effects>Image Effects>Seamless Tiling.

Objects>Align>Right, or Pick Tool 
Position X: 186,00 - Position Y: 193,00

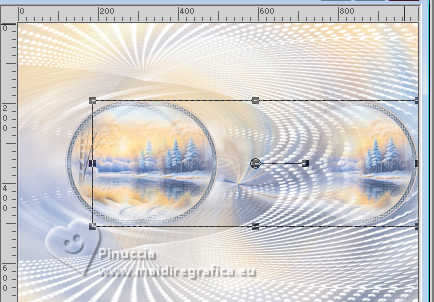
If you close the mask's layer, you'll see this
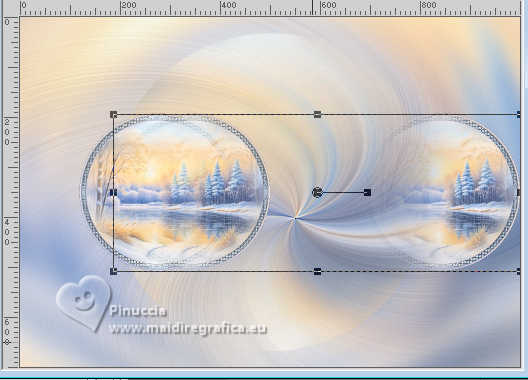
18. Selection Tool 
(no matter the type of selection, because with the custom selection your always get a rectangle)
clic on the Custom Selection 
and set the following settings.
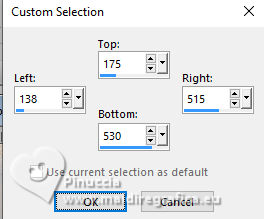
Press CANC on the keyboard 
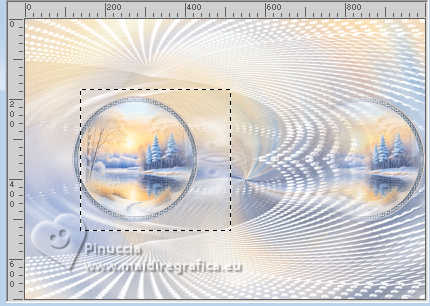
Selections>Select None.
Layers>Arrange>Move Down.
19. Edit>Paste as new layer - your misted is still in memory.
Image>Resize, if necessary - for the supplied tube to 75%, resize all layers not checked.
Move  the tube at the upper left. the tube at the upper left.
Pick Tool 

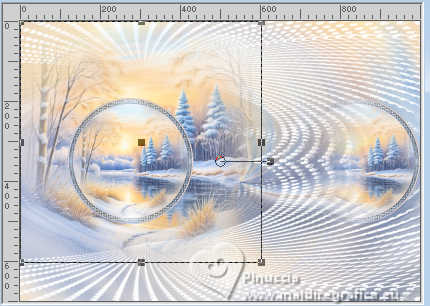
For my second version I did:
Layers>New Raster Layer.
Selections>Select All.
Edit>Paste into Selection.
Selections>Select None,
and I moved the tube at the upper left.
20. Image>Flip>Flip Horizontal.
This case is different from the previous one, because the image doesn't occupy the entire canvas.
It's equivalent to Image>Mirror>Mirror Horizontal (Image>Mirror), but the image remains in the same position.
Therefore, if you're using an older version, you'll need to do the following:
Image>Mirror and then Objects>Align>Left
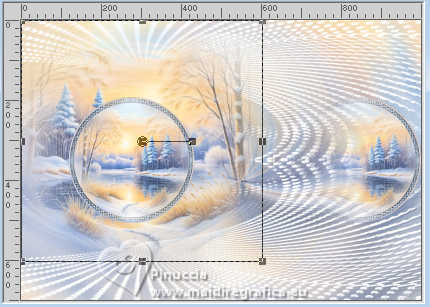
Reduce the opacity of this layer +/-50%, according to the used tube.
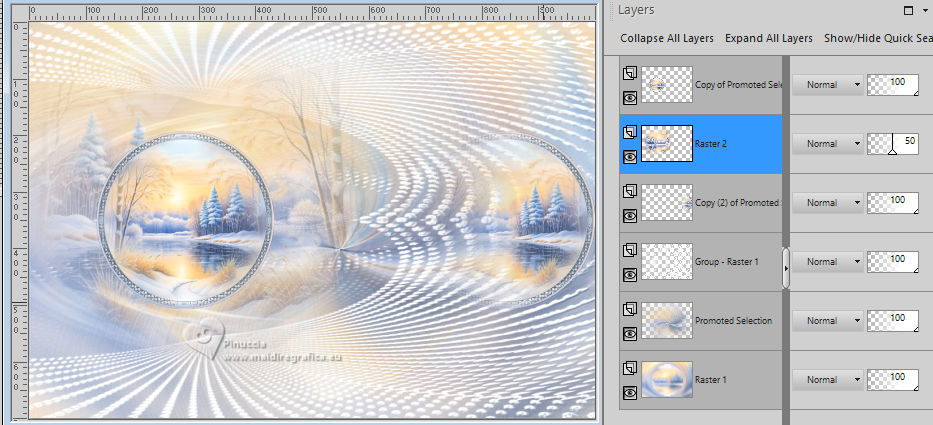
21. Activate your top layer.
Open your main tube Renee-Tubes-Noel-2023-2-1 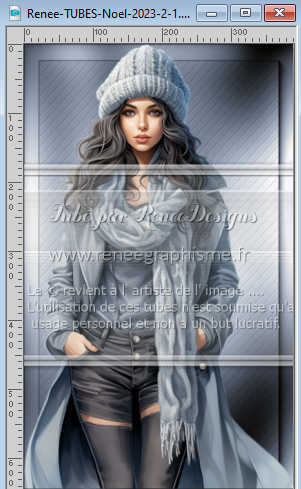
Edit>Copy.
Go back to your work and go to Edit>Paste as new layer.
Image>Resize, if necessary, for the supplied tube to 105%, resize all layers not checked.
Move  the tube to the right, or to your liking. the tube to the right, or to your liking.
For the example Pick Tool 
Position X: 500,00 - Position Y: 23,00.

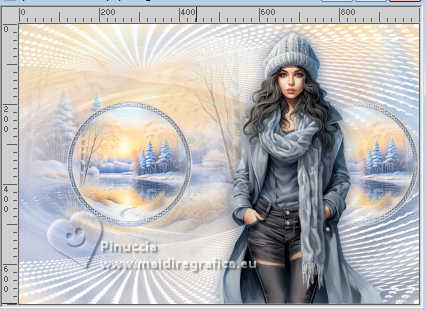
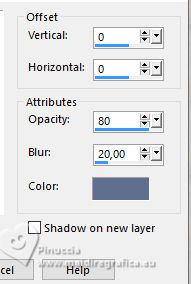
Effects>3D Effects>Drop Shadow, foreground color.
22. Set your background color to #ffeab9,
to get the gradient ready before starting.
Image>Add Borders, 2 pixels, symmetric, foreground color.
Image>Add Borders, 2 pixels, symmetric, background color.
Selections>Select All.
Image>Add Borders, 15 pixels, symmetric, foreground color.
Selections>Invert.
Flood Fill  the selection with your Gradient. the selection with your Gradient.
23. Effects>3D Effects>Drop Shadow, color black.

Selections>Select None.
24. Image>Add Borders, 4 pixels, symmetric, background color.
Selections>Select All.
Image>Add Borders, 40 pixels, symmetric, foreground color.
Effects>3D Effects>Drop Shadow, last settings.
25. Selections>Invert.
Effects>Plugins>Filters Unlimited 2.0 - Paper Textures - Hemp Paper 1, default settings.
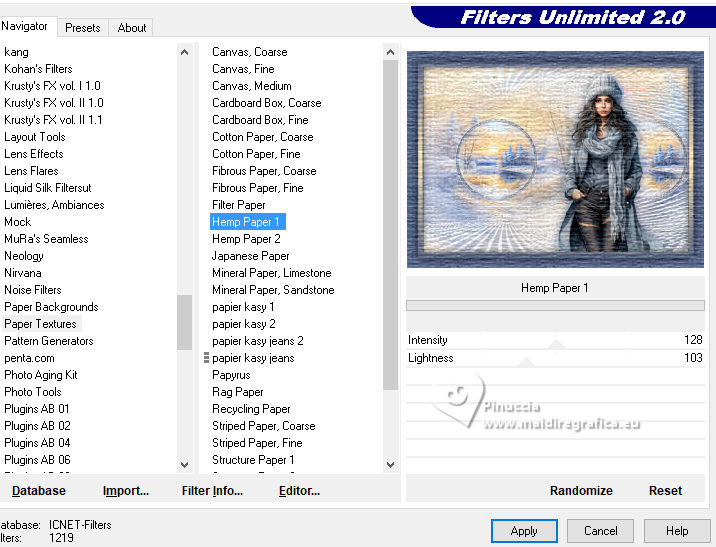
Selections>Select None.
Image>Add Borders, 1 pixel, symmetric, color black.
26. Open the tube MeltingSnowman5AimadeByLoriM12-23 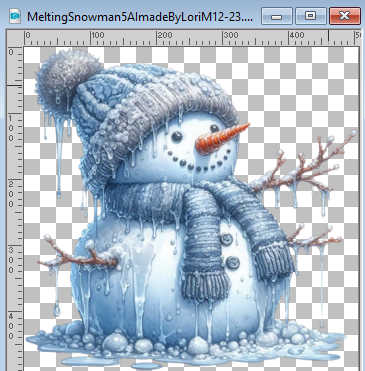
Edit>Copy.
Go back to your work and go to Edit>Paste as new layer.
Image>Resize, if necessary - for the supplied tube to 70%, resize all layers not checked.
Adjust>Sharpness>Sharpen.
Objects>Align>Bottom
Objects>Align>Left.
Effects>3D Effects>Drop Shadow, foreground color.

27. Sign your work on a new layer.
Layers>Merge>Merge All.
If you don't want to realize the animation:
Image>Resize, 1000 pixels width, resize all layers checked.
Save as jpg.
28. If you want to create the animation, don't resize your work and continue.
Selections>Load/Save Selection>Load Selection from Alpha Channel.
Open the selections menu and load th selection #2 (from Disk Sel0130).
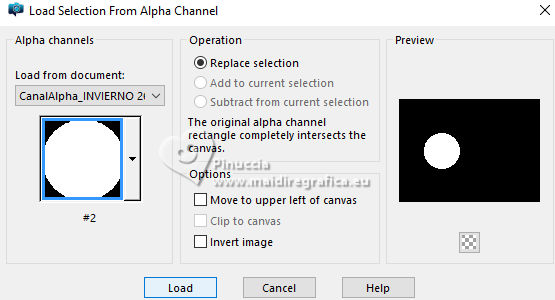
If you prefer, see the quicker method after translation
Effects>Plugins>VanDerLee - Snowflakes
if you use the previous version of this plugin (the result doesn't change):
Effects>Plugins>VDL Adrenaline - Snowflakes
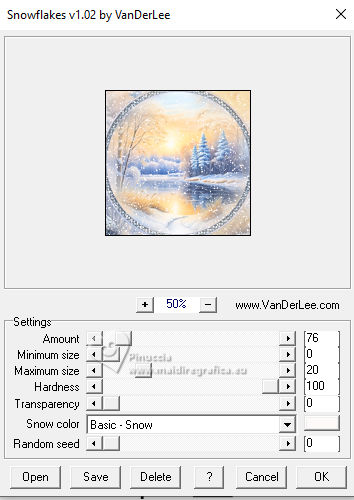 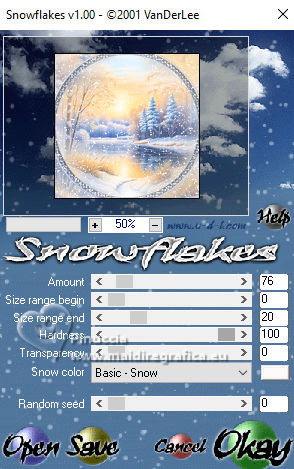
Selections>Select None.
29. Edit>Copy.
Open Animation Shop and go to Edit>Paste>Paste as new image
30. Go back to PSP.
Edit>Undo Select None
Edit>Undo Snowflakes
Effects>Plugins>VanDerLee - Snowflakes, change Random Seed with 50 and ok
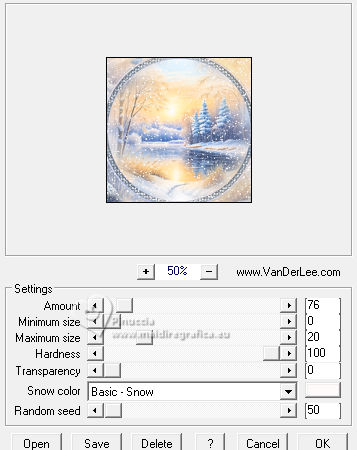 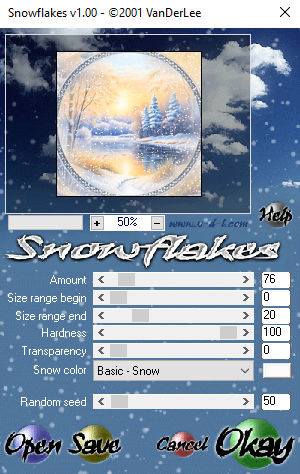
Selections>Select None.
Edit>Copy.
To back to Animation Shop and go to Edit>Paste>Paste after the current frame.
31. Again in PSP.
Edit>Undo Select None
Edit>Undo Snowflakes
Effects>Plugins>VanDerLee - Snowflakes, change Random Seed with 125 and ok
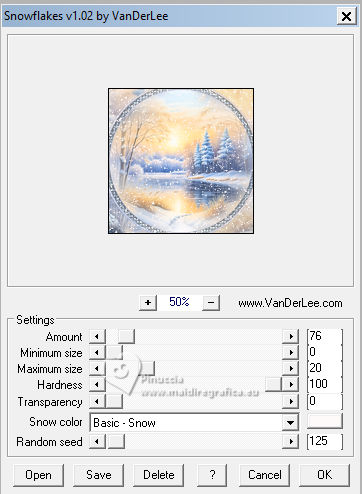 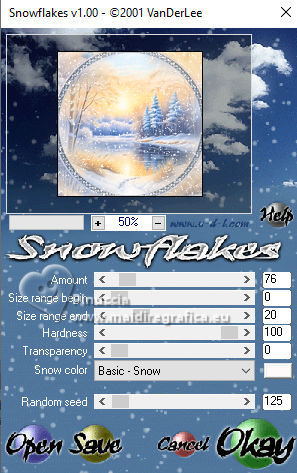
Selections>Select None.
Edit>Copy.
To back to Animation Shop and go to Edit>Paste>Paste after the current frame.
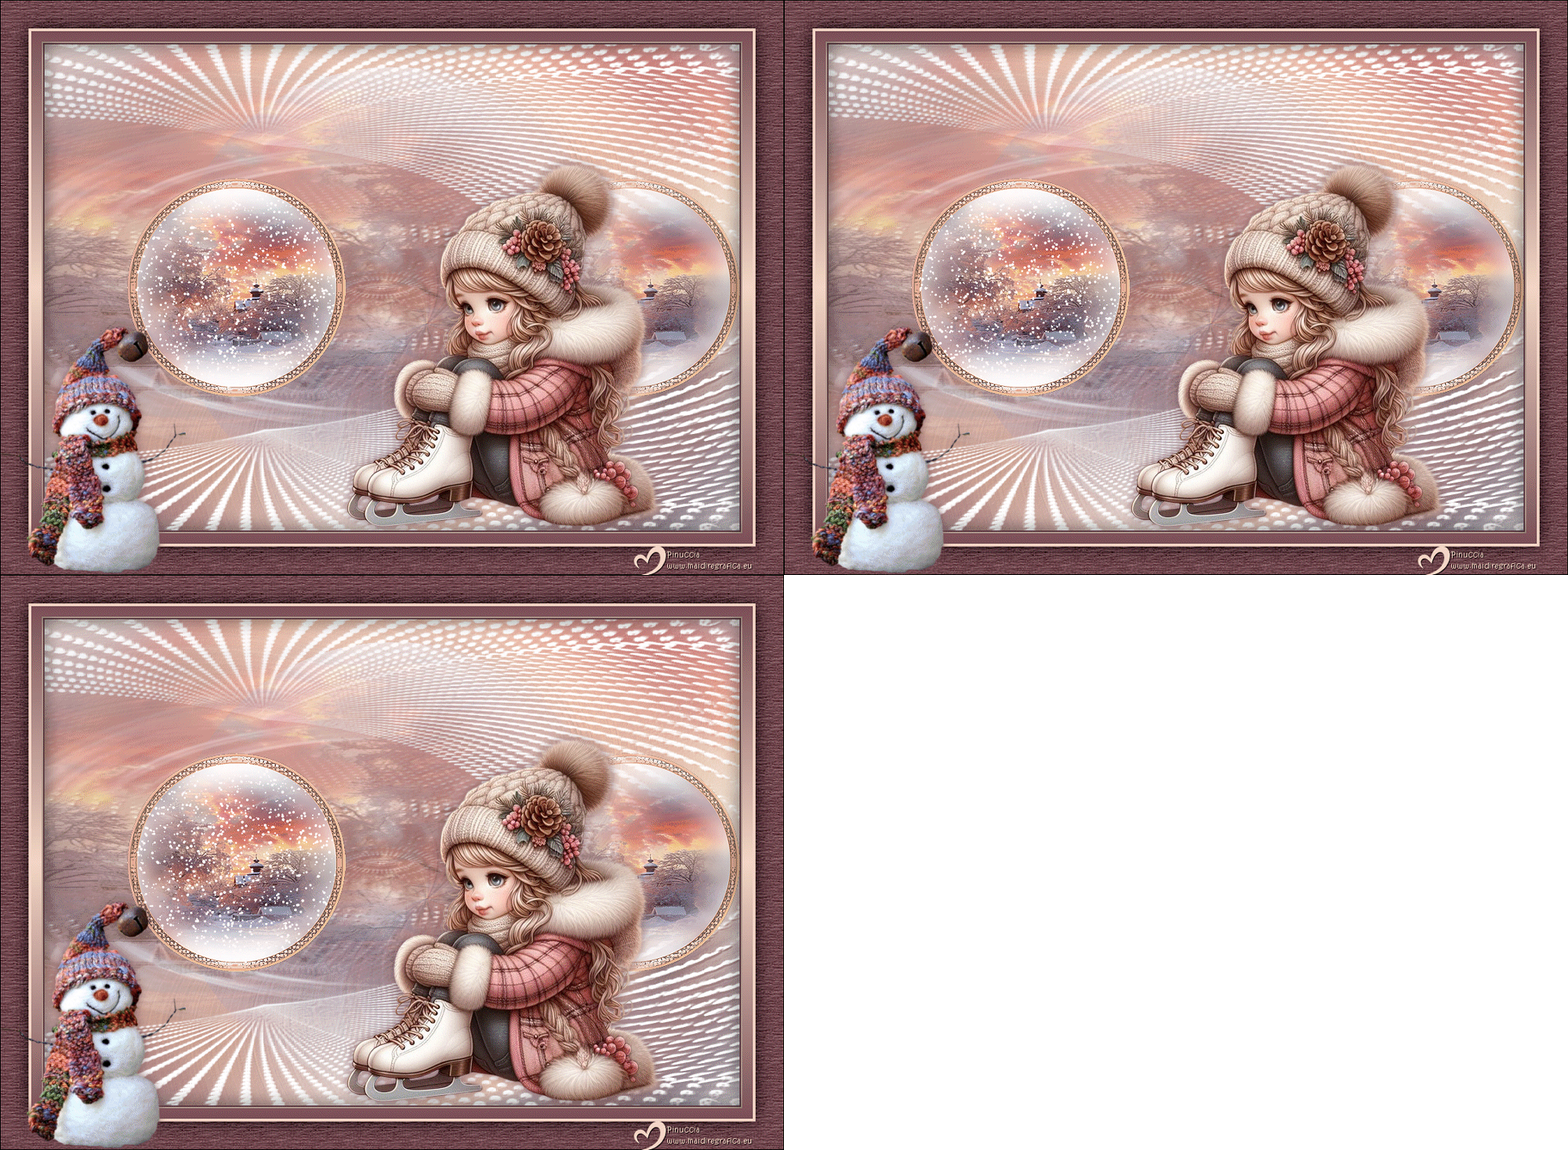
And here is your animation composed by 3 frames.
Edit>Select All
Animation>Resize animation - 1000 pixels width.
Keep the display time to 10
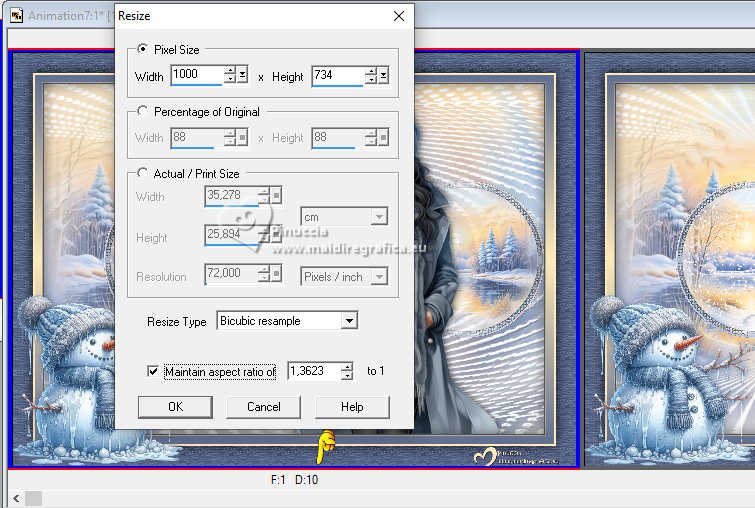
Check the result clicking on View animation 
and save as gif.
*****
Quick method for creating the animation
After loading selection 2:
Layers>Duplicate - 2 times and activate the layer 1
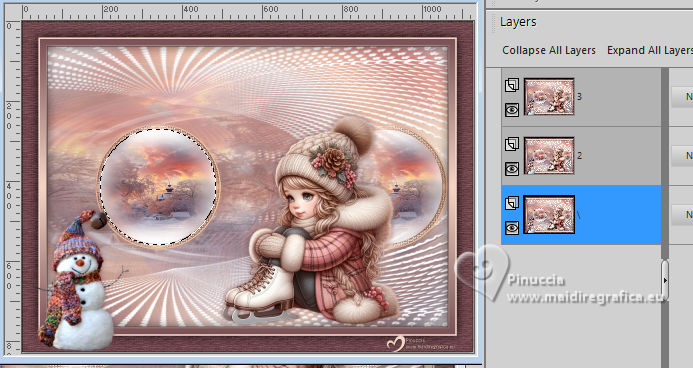
Plugin Snowflakes, Random Seed 0
Activate the layer 2
Filter Snowflakes, Random Seed 50
Activate the layer 3
Filter Snowflakes, Random Seed 125
Selections>Select None.
Save your work as PSP Animation Shop (*psp)
Open your saved work in Animation Shop and here is you animation composed by 3 frames

Animation>Resize Animation - 1000 pixels width
Keep the display time to 10
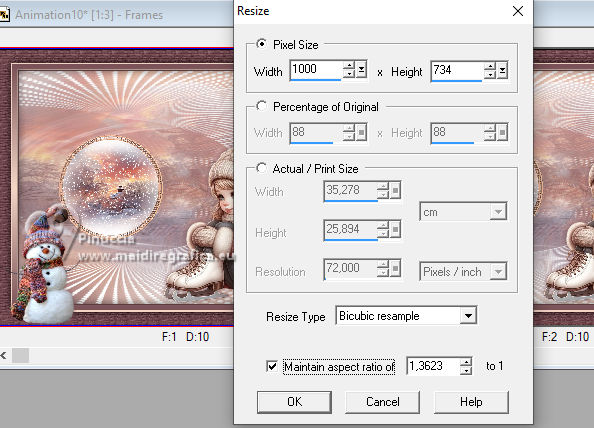
Check the result clicking on View animation 
and save as gif.
******
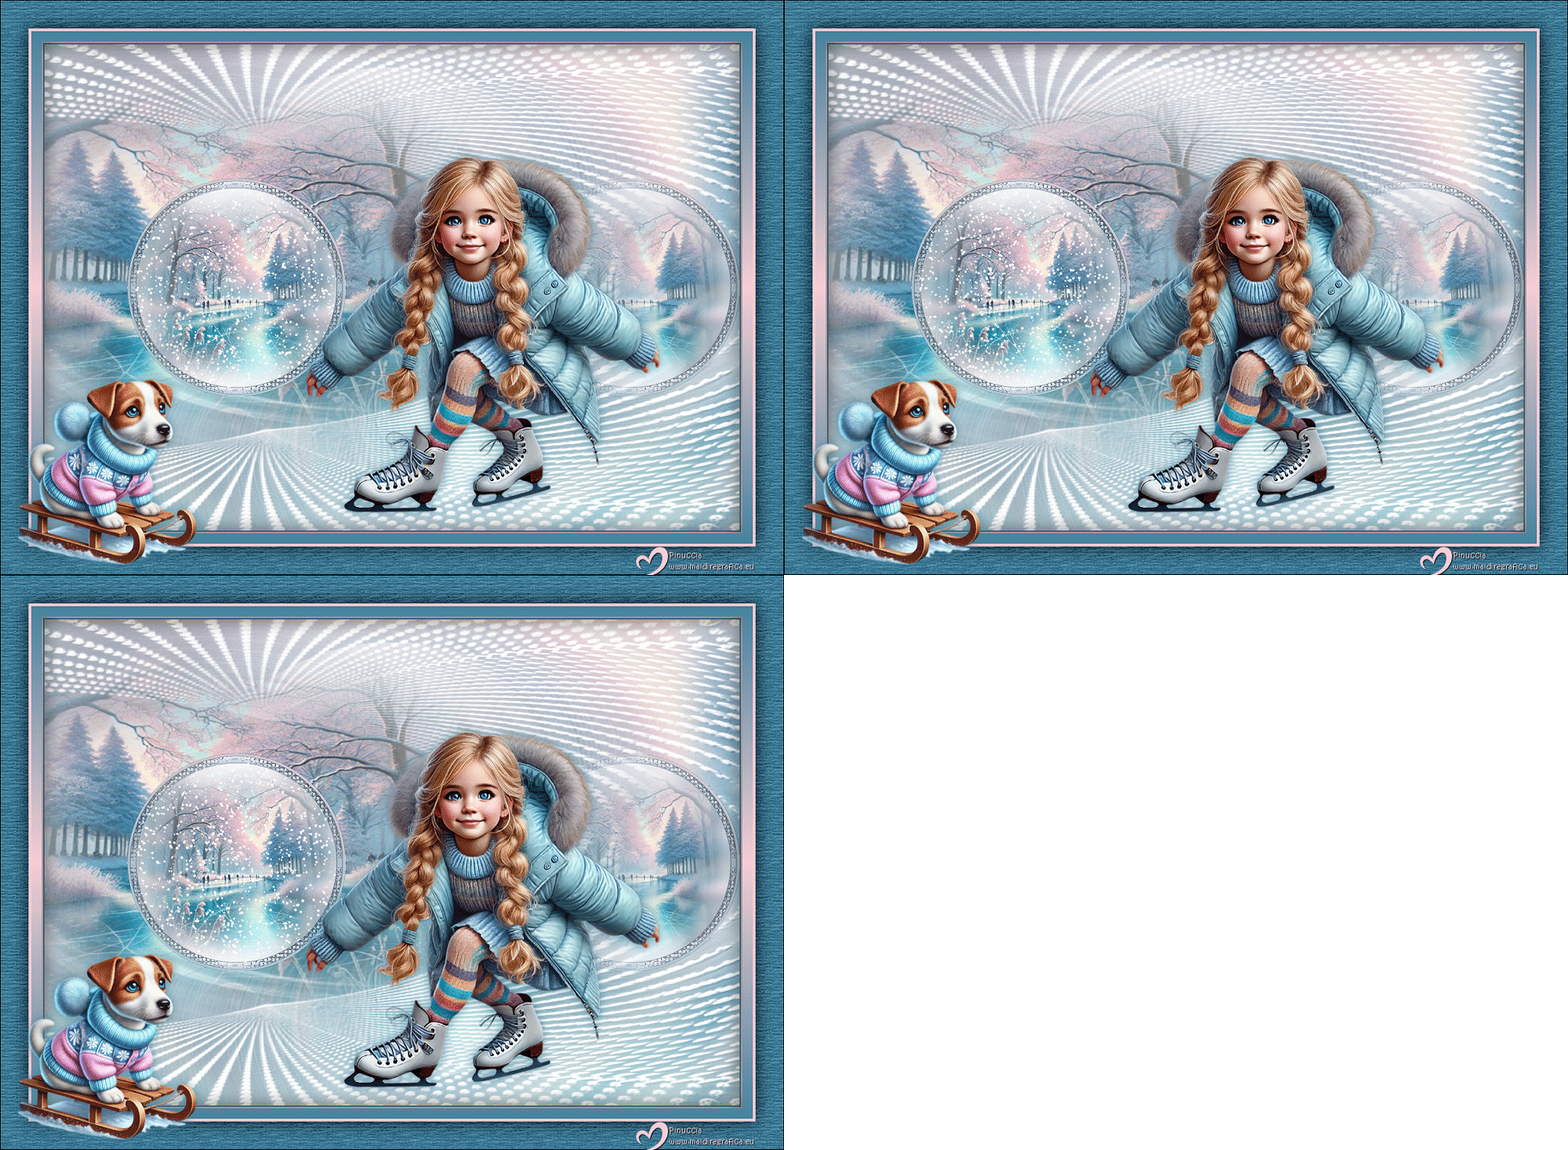
For the tubes of these versions thanks
LoriM, Ema and Yedralina

If you have problems or doubts, or you find a not worked link, or only for tell me that you enjoyed this tutorial, write to me.
10 January 2025

|
 JANUARY 2026

 JANUARY 2026