|
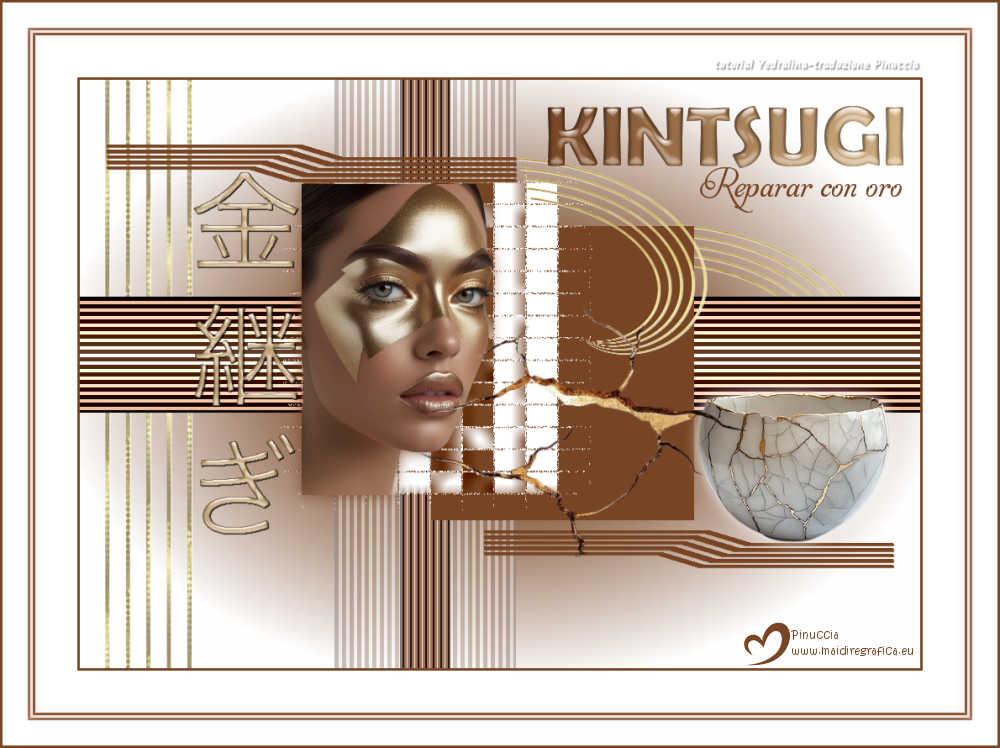
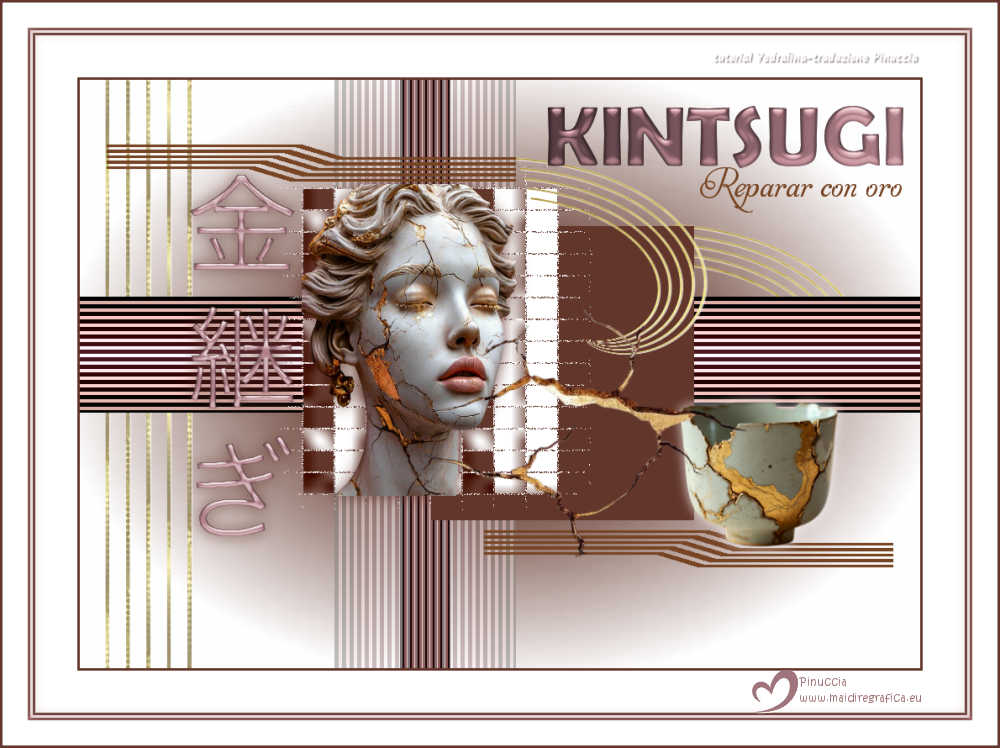
KINTSUGI

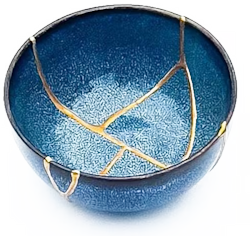
Kintsugi is an ancient 15th-century Japanese technique that involves repairing broken ceramic objects,
using natural lacquer and gold powder, enhancing the cracks rather than hiding them.
Philosophical significance: beyond a restoration method,
Kintsugi is described as a profound metaphor for resilience. The broken object is not thrown away.
Its wounds become its source of strength and beauty, transforming the breakage into a story of rebirth and uniqueness.
Thanks Yedralina for your invitation to translate your tutorials into english
This tutorial was written with PSP2020 and translated with PSPX9, PSPX8 and PSP2020, but it can also be made using other versions of PSP.
Since version PSP X4, Image>Mirror was replaced with Image>Flip Horizontal,
and Image>Flip with Image>Flip Vertical, there are some variables.
In versions X5 and X6, the functions have been improved by making available the Objects menu.
In the latest version X7 command Image>Mirror and Image>Flip returned, but with new differences.
See my schedule here
 italian translation here italian translation here
 french translation here french translation here
 your versions here your versions here
For this tutorial, you will need:

(The links of the tubemakers here).

consult, if necessary, my filter section here
Filters Unlimited 2.0 here
Visual Manipulation - Transmission here
Toadies - What are you here
AP 01 [Lines] - Lines SilverLining here
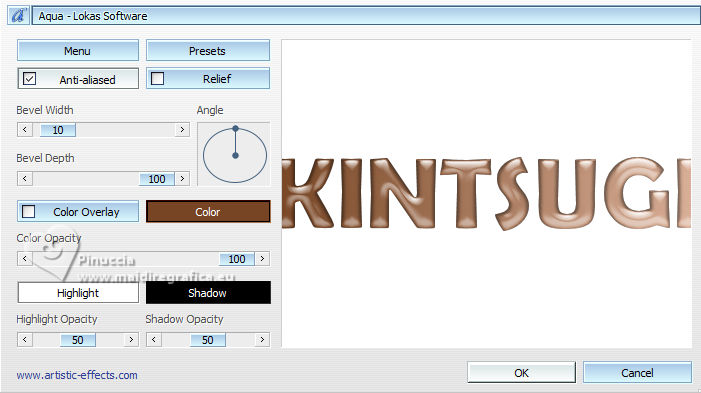
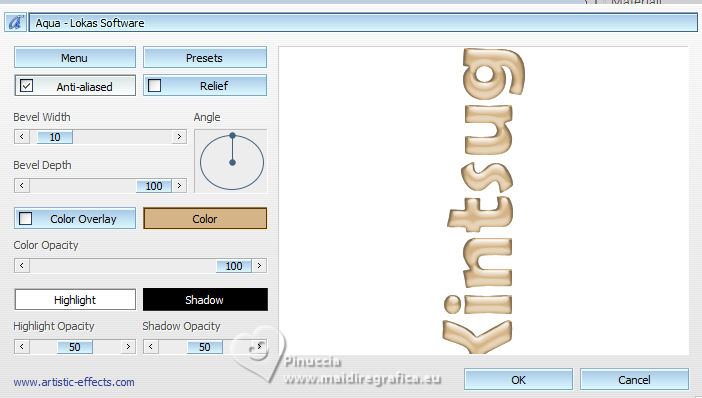
Facoltativo: LOkas Software - Aqua here
Filtres Visual Manipulation and Toadies can be used alone or imported into Filters Unlimited.
(How do, you see here)
If a plugin supplied appears with this icon  it must necessarily be imported into Unlimited it must necessarily be imported into Unlimited
You can change Blend Modes according to your colors.
In the newest versions of PSP, you don't find the foreground/background gradient (Corel_06_029).
You can use the gradients of the older versions.
The Gradient of CorelX here
Copy the mask in the Masks Folder.
Open the golden pattern in PSP and minimize it with the rest of the material.
If you have problems with alpha canal, open a new white image 1000 x 700 pixels,
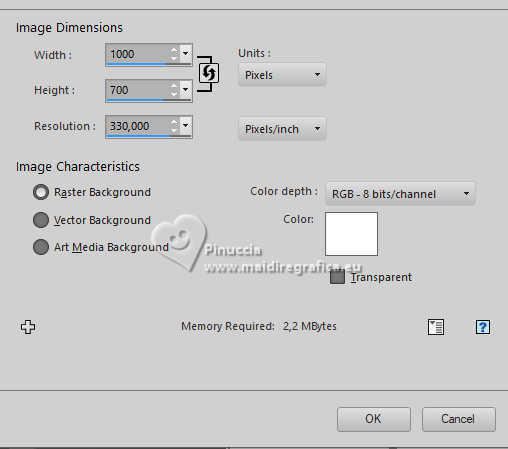
and use the selections from disk.
if you open the Alpha Canal and minimize it, you'll find the selections on the your new image
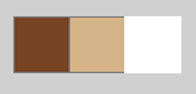
Colors:
colors 1 #774524
colors 2 #d5b587
colors 3 #ffffff
1. Open CanalAlpha_KINTSUGI
This image, that will be the basis of your work, is not empty,
but contains the selections saved to alpha channel.
Set your foreground color to white #ffffff
Flood Fill  the transparent image with color white. the transparent image with color white.
2. Set your foreground color to color 1 #774524
and your background color to color 2 #d5b587
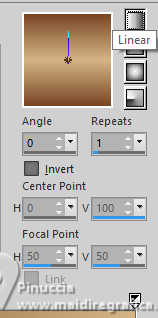
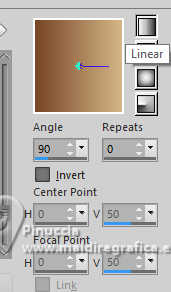
Set your foreground color to a Foreground/Background Gradient, style Linear.
Layers>New Raster Layer.
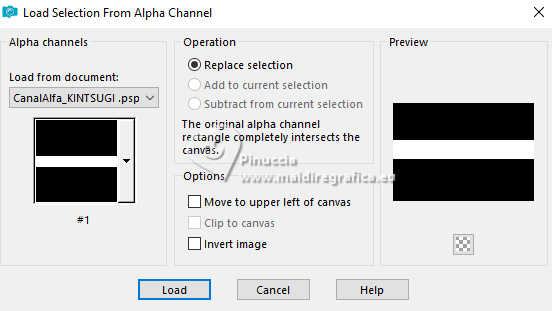
Selections>Load/Save Selection>Load Selection from Alpha Channel.
The selection #1 is immediately available.
You just have to click Load
or Selections from disk ©Yedralina_Sel1003
Flood Fill the selection with your Gradient.
3. Effects>Plugins>Visual Manipulation - Transmission
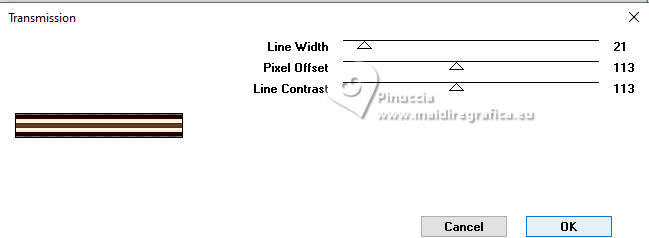
Selections>Select None.
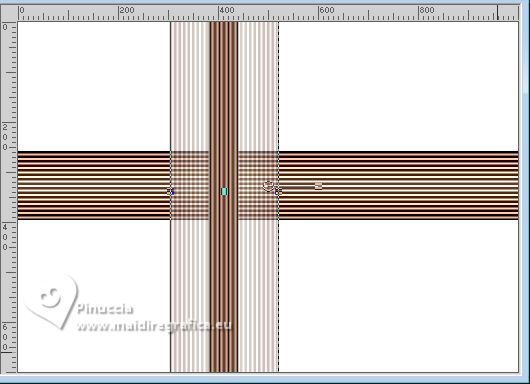
4. Layers>Duplicate.
Image>Free Rotate - 90 degrees to left.
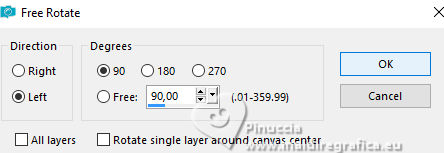
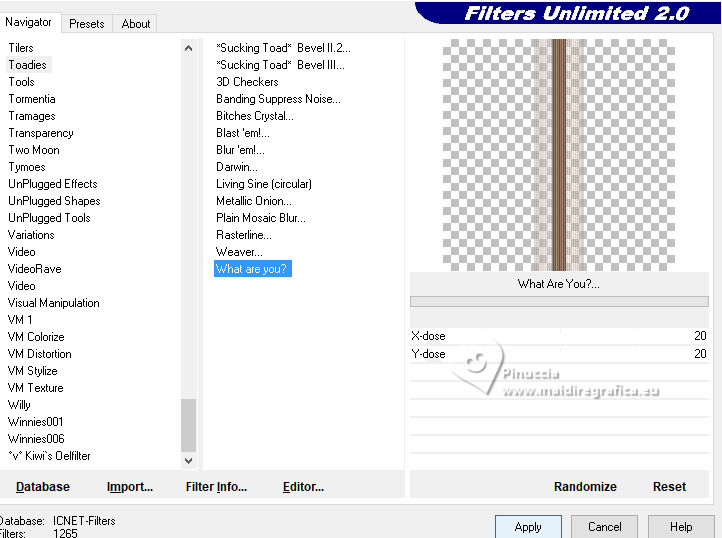
5. Effects>Plugins>Filters Unlimited 2.0 - Toadies - What are you, default settings.
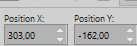
6. K key to activate your Pick Tool 
Position X: 303,00 - Position Y: -162,00.
7. Layers>New Raster Layer.
Selections>Load/Save Selection>Load Selection from Alpha Channel.
Open the selections menu and load the selection #2 (or ©Yedralina_Sel1004
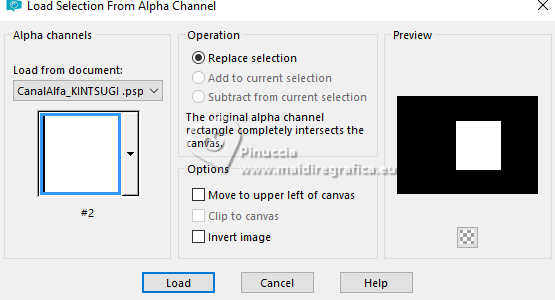
Set your foreground color to Color.
Flood Fill the selection with your dark foreground color.
Keep selected.
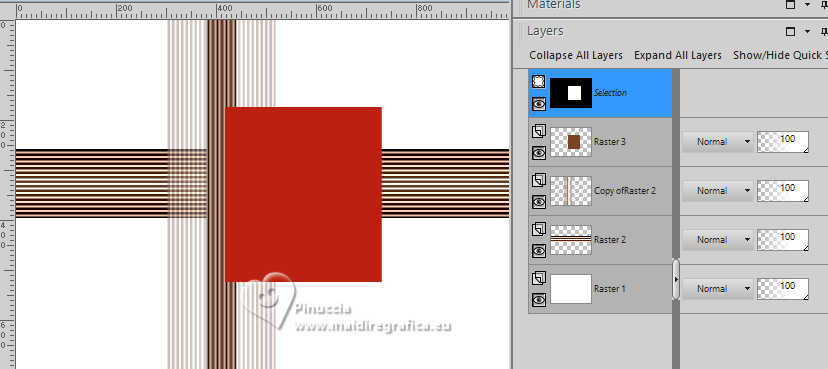
8. Selections>Modify Selection and the selected area turns red.
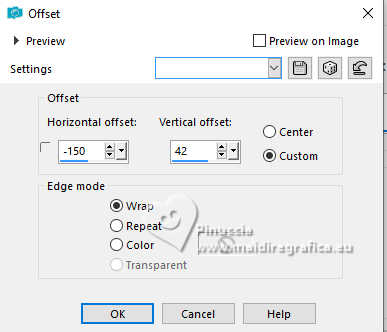
9. Effects>Image Effects>Offset.
 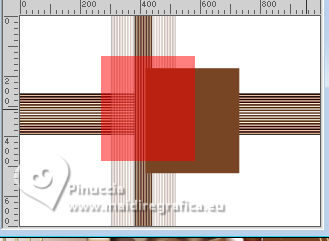
10. Selections>Modify Selection and the red area returns to normal.
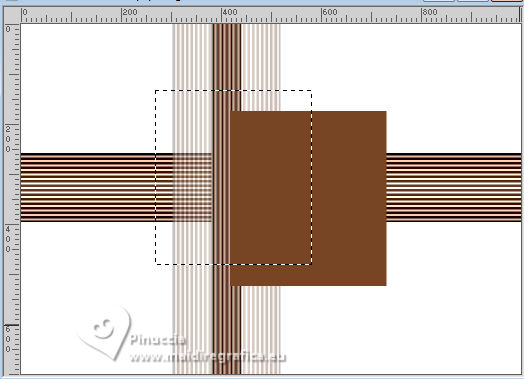
11. Layers>New Raster Layer.
Flood Fill this selection again with your dark foreground color.
Keep always selected.
12. Effects>Plugins>AP &91;Lines] - Lines SilverLining.
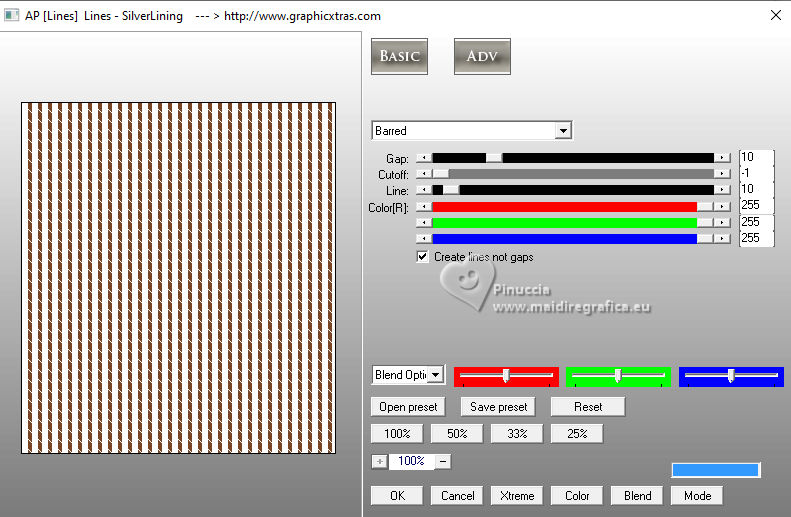
Selections>Select none.
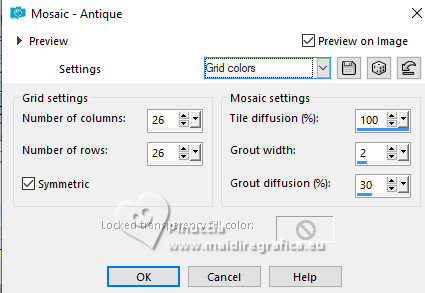
13. Effects>Texture Effects>Mosaic Antique - preset Grid colors
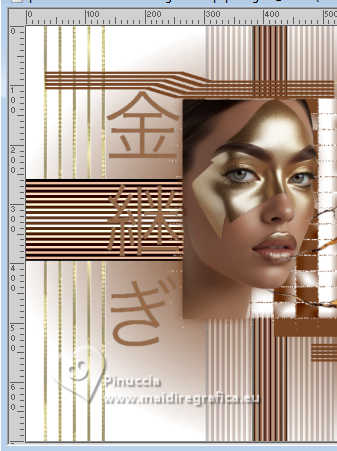
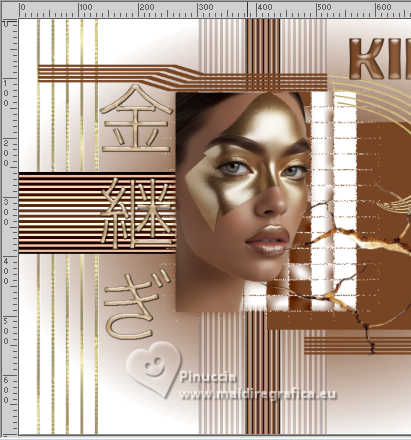
14. Open your main tube 4856©Yedralina 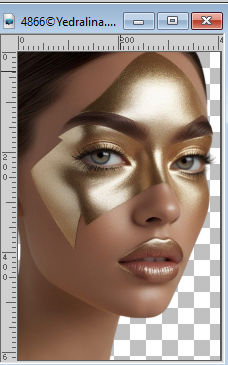
Edit>Copy.
Go back to your work and go to Edit>Paste as new layer.
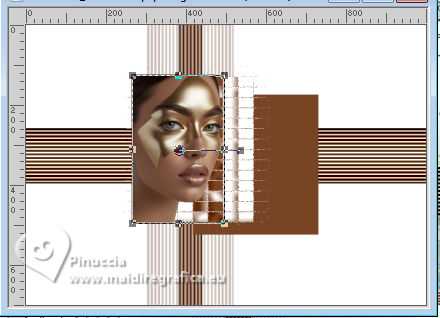
15. K key to activate your Pick Tool
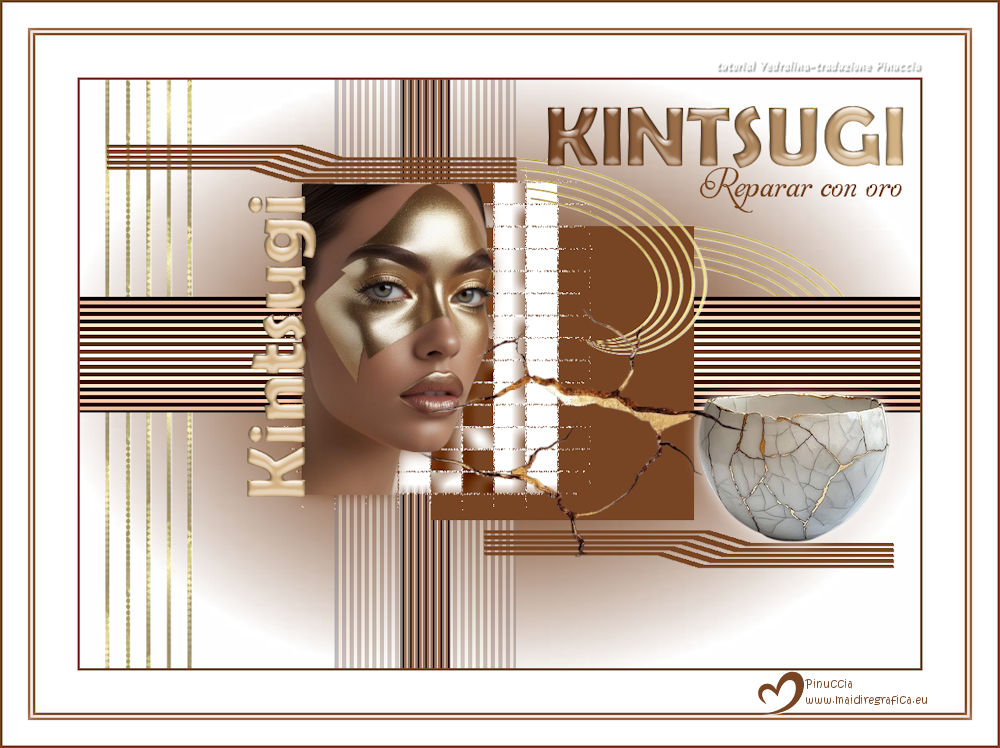
and pull the nodes to fit the size as in the final image.
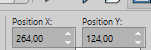
To move it: Position X: 264,00 - Position Y: 124,00.
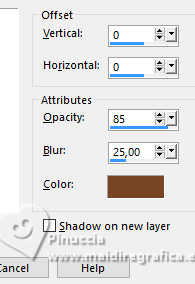
16. Effects>3D Effects>Drop Shadow, foreground color or black.
17. Open the tube Deco00404©Yedralina 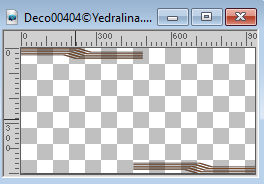
Edit>Copy.
Go back to your work and go to Edit>Paste as new layer.
To move the tube: Position X: 32,00 - Position Y: 77,00.
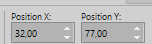
Change the color applying your foreground color with your Change Color Tool 
18. Effects>3D Effects>Drop Shadow, foreground color oo black.
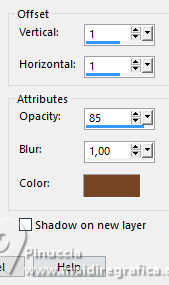
19. Open the tube Deco00405©Yedralina 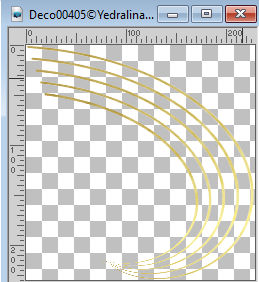
Edit>Copy.
Go back to your work and go to Edit>Paste as new layer.
If you change color; you can do it with your background color
Position the tube: Position X: 518,00 - Position Y: 92,00.
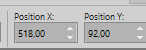
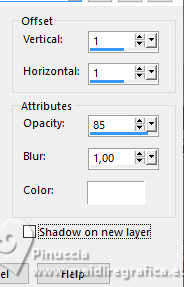
Layers>Arrange>Move Down.
Effects>3D Effects>Drop Shadow, color white or black
20. Layers>Duplicate.
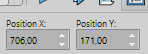
Position X: 706,00 - Position Y: 171,00.
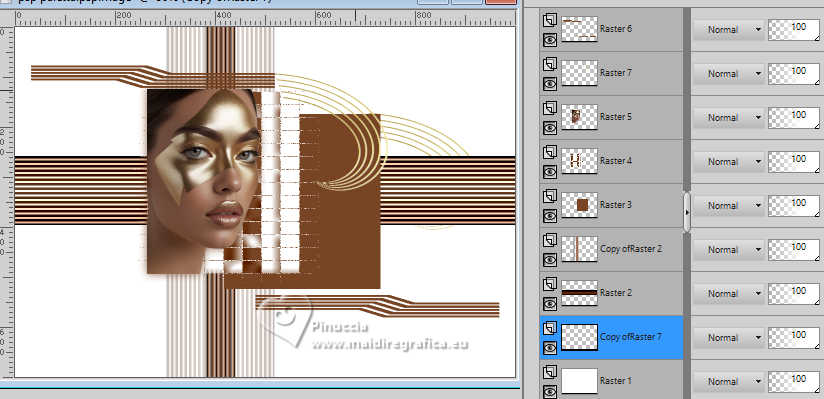
Move this layer over the background layer.
21. Activate again your top layer.
Open the tube 4865©Yedralina 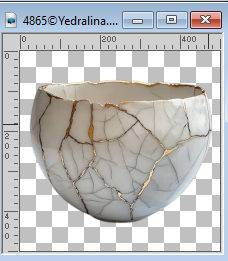
Edit>Copy.
Go back to your work and go to Edit>Paste as new layer.
Image>Resize, if necessary - for the supplied tube I resized to 50%.
Adjust>Sharpness>Sharpen.
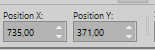
22. Move  the tube to the right. the tube to the right.
For me: Position X: 735,00 - Position Y. 371,00.
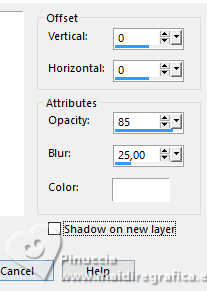
Effects>3D Effects>Drop Shadow, color white.
23. Open the tube Deco00406©Yedralina 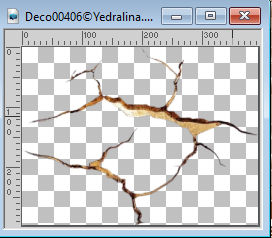
Edit>Copy.
Go back to your work and go to Edit>Paste as new layer.
K key to activate your Pick Tool
Position X: 401,00 - Position Y: 271,00.
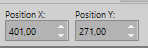
Author's note: These settings are specific to my work; adapt them to yours,
so that they fit the decorative tube, as shown in the final image.
24. Open the horizontal text TitH_KINTSUGI_yedra 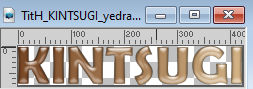
Edit>Copy.
Go back to your work and go to Edit>Paste as new layer.
K key to activate your Pick Tool
Position X: 557,00 - Position Y: 31,00.
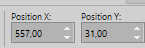
Change the color, according to the colors of your work.
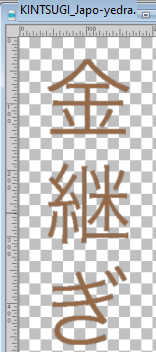
23. Open the vertical text TitV_Kintsugi_yedra 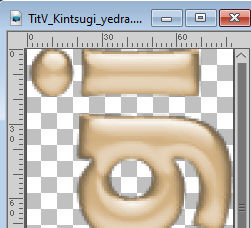
Edit>Copy.
Go back to your work and go to Edit>Paste as new layer.
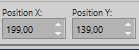
Position X: 199,00 - Position Y: 139,00.
24. Open the text Reparar con oro_yedra 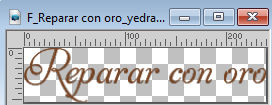
Edit>Copy.
Go back to your work and go to Edit>Paste as new layer.
or write it in your language, using the font Aphrodite, background color: light color

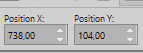
Position X: 738,00 - Position Y: 104,00.
25. Activate your white background layer.
Layers>New Raster Layer.
Flood Fill the layer with your dark foreground color.
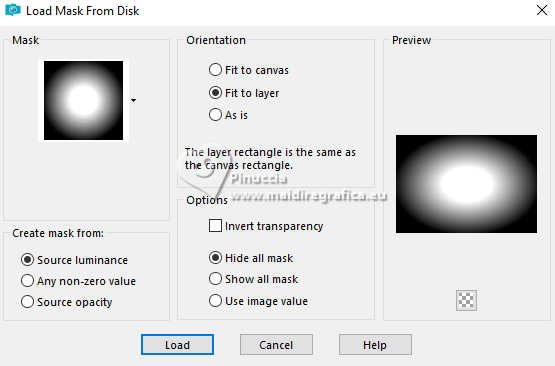
26. Layers>Load/Save Mask>Load Mask from Disk.
Look for and load the mask 20-20
Layers>Merge>Merge Group.
27. Layers>New Raster Layer.
Selections>Load/Save Selection>Load Selection from Alpha Channel.
Open the selections menu and load the selection #3 (or ©Yedralina_Sel1005)
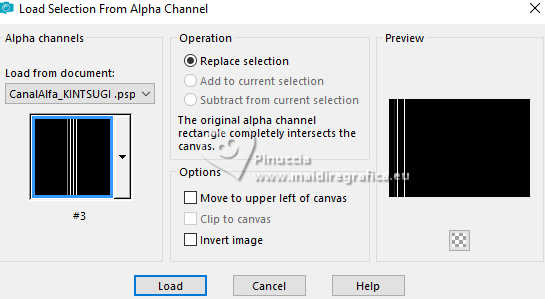
28. Set your foreground color to Pattern and sed the golden pattern Dorado 1245, with these settings
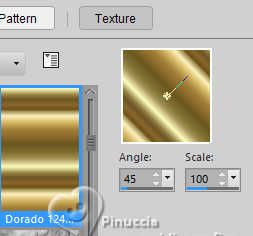
Flood Fill the selection with your golden pattern.
29. Effects>Plugins>AP [Lines] - Lines SilverLining, last settings.
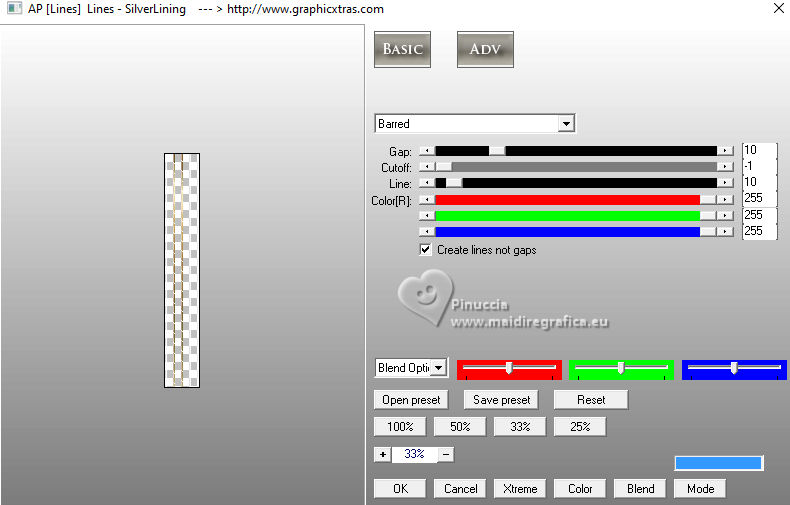
Translator's note.
I tried deselecting before using the filter, and also afterward,
but the result was unsatisfactory.
That's why I followed the author's note.
Author's note:
You can replace this step by copying and pasting as a new layer
the tube Deco00407©Yedralina 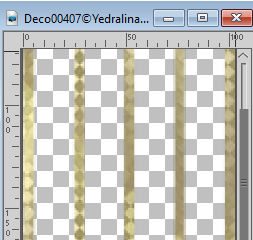
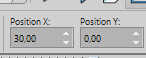
Position X: 30,00 - Position Y: 0,00
30. Effects>3D Effects>Drop Shadow, color white.
31. Image>Add Borders, 3 pixels, symmetric, dark color.
Image>Add Borders, 50 pixels, symmetric, color white.
Image>Add Borders, 3 pixels, symmetric, dark color.
Image>Add Borders, 3 pixels, symmetric, color white.
Image>Add Borders, 3 pixels, symmetric, dark color.
32. Selections>Select All.
Image>Add Borders, 30 pixels, symmetric, color white.
Selections>Invert.
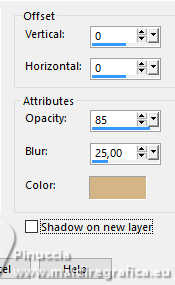
Effects>3D Effects>Drop Shadow, light background color.
Selections>Select None.
33. Image>Add Borders, 3 pixels, symmetric, dark foreground color.
34. Image>Resize, 1000 pixels width.
35. Sign your work on a new layer.
Layers>Merge>Merge All and save as jpg.
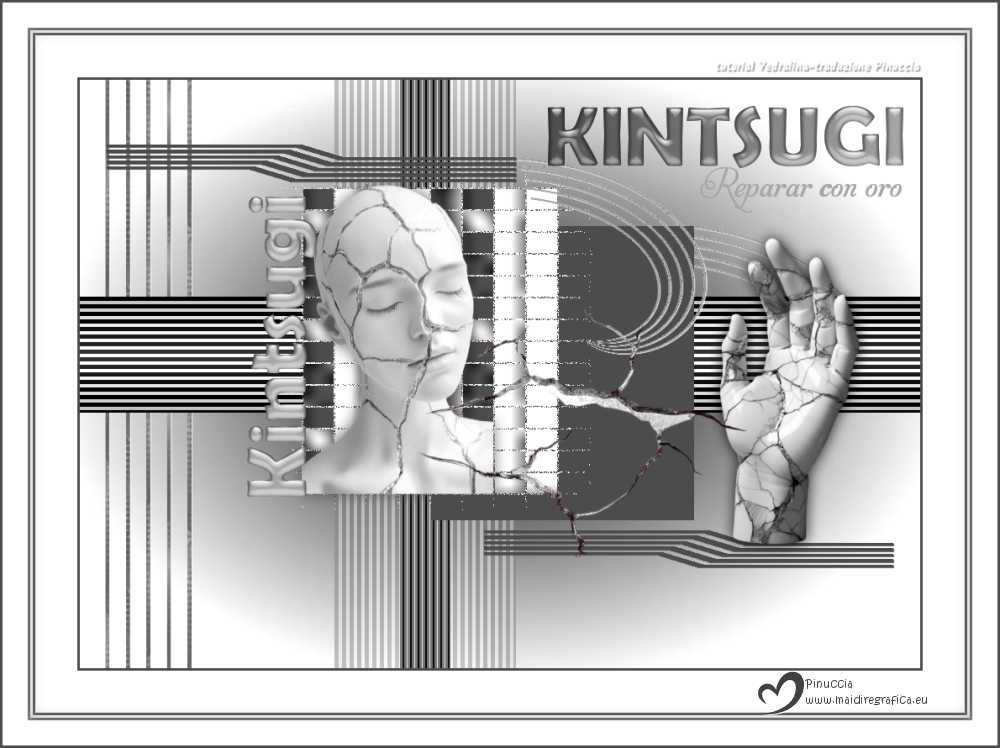
Version with tubes by Yedralina
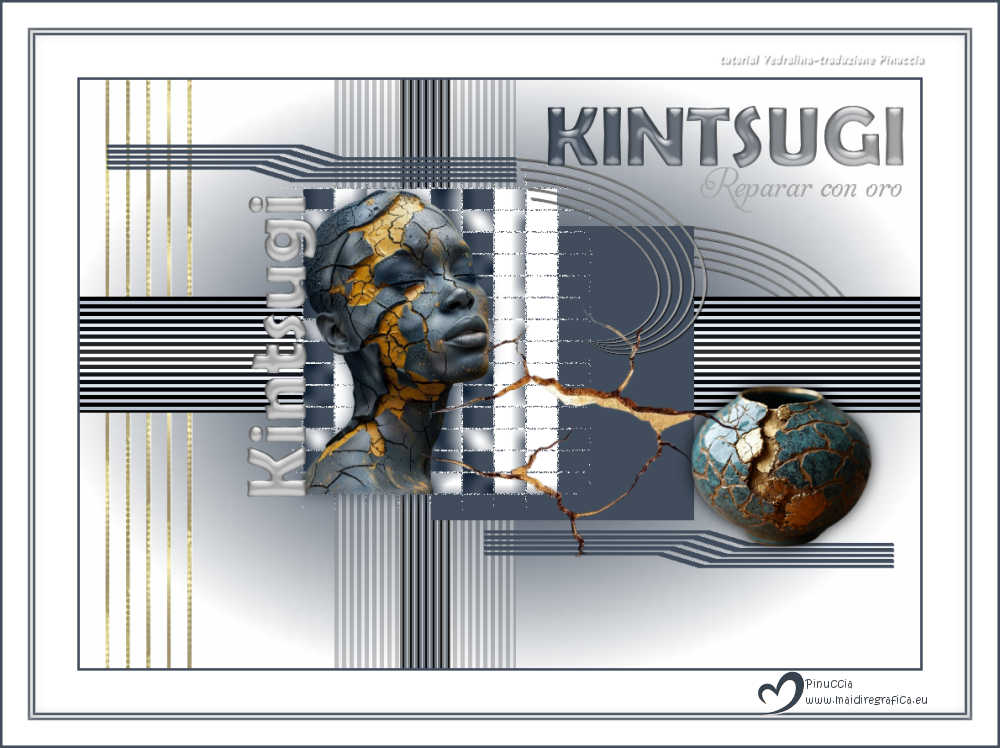
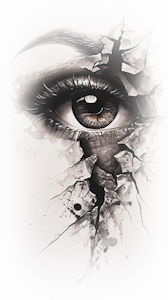
Versions with my tubes from Pinterest images
If you have problems or doubts, or you find a not worked link, or only for tell me that you enjoyed this tutorial, write to me.
26 August 2026

|


 , font Berlin Sans FB Demi, size 100

 to the left, as in the example.